On January 30th, 2015, disaster struck AudaciousRC.....
Needless to say, it was a very traumatic time for Lee, and Colton felt pretty terrible for causing the MidAir collision...
Should this happen to you, FEAR NOT, let the stress roll away, for AudaciousRC is here to save the day... But in all seriousness, should you crack your precious GoPro lens, don't worry because with $20 and about 30 minutes of time you can be back in business, capturing those epic aerial views.
Disclaimer: This article pertains to the GoPro Hero 3+, the procedure may differ slightly for a Hero 3 or Hero 4
VIDEO TUTORIAL (Pictures and explanation below video)
Step 1
Purchase a new GoPro lens. The one we used is linked here -->
https://www.amazon.com/gp/product/B00IDUWBLU/ref=oh_aui_detailpage_o01_s00?ie=UTF8&psc=1
Step 2
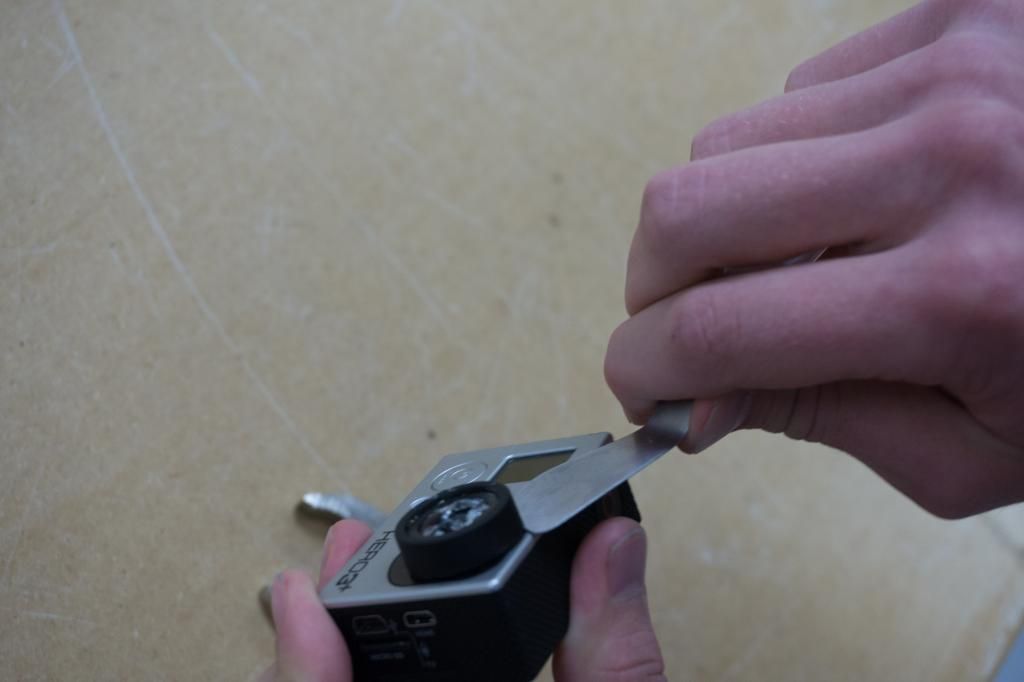
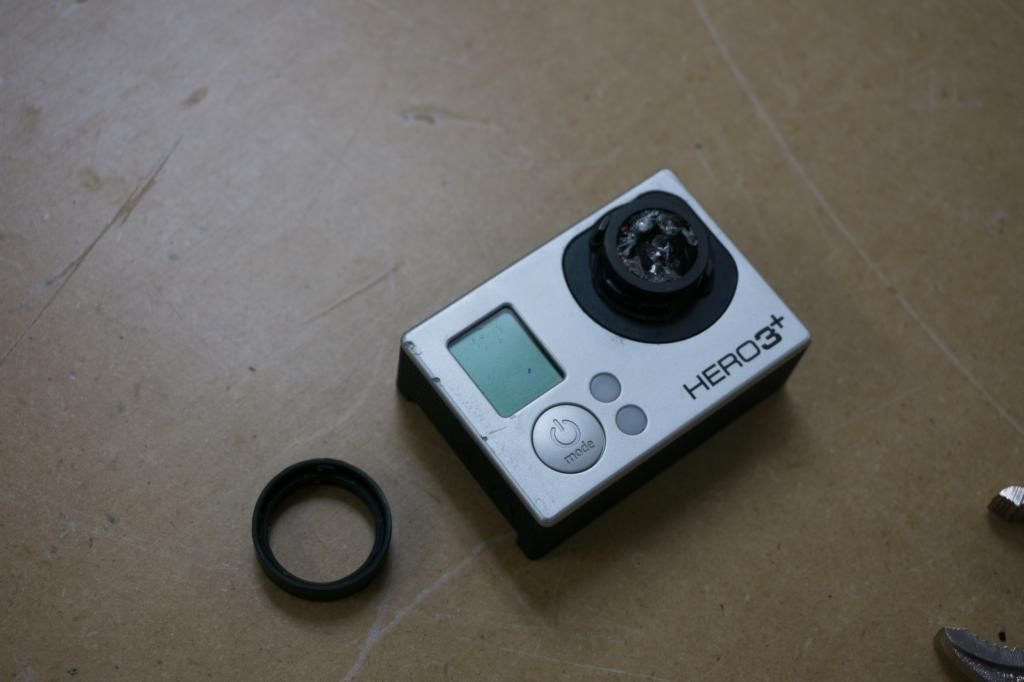
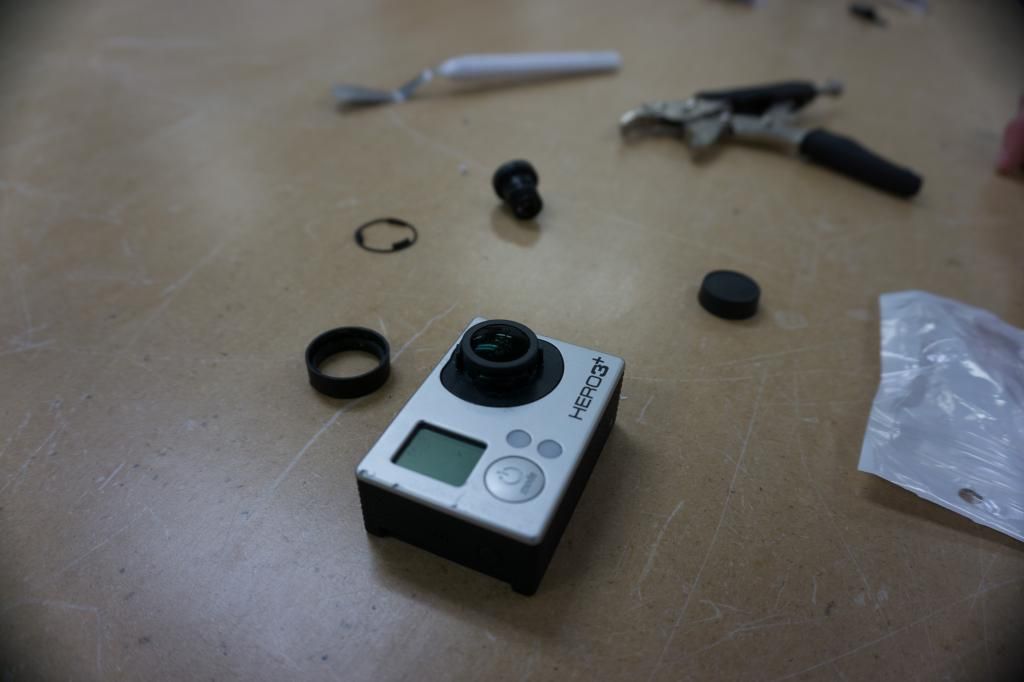
Remove rubber ring around lens
-This can be done using a flat object, such as a metal spatula etc
-There is a small amount of glue that holds the ring in place. This will need to be sliced with your flat object before the ring can be lifted off the lens
Step 3
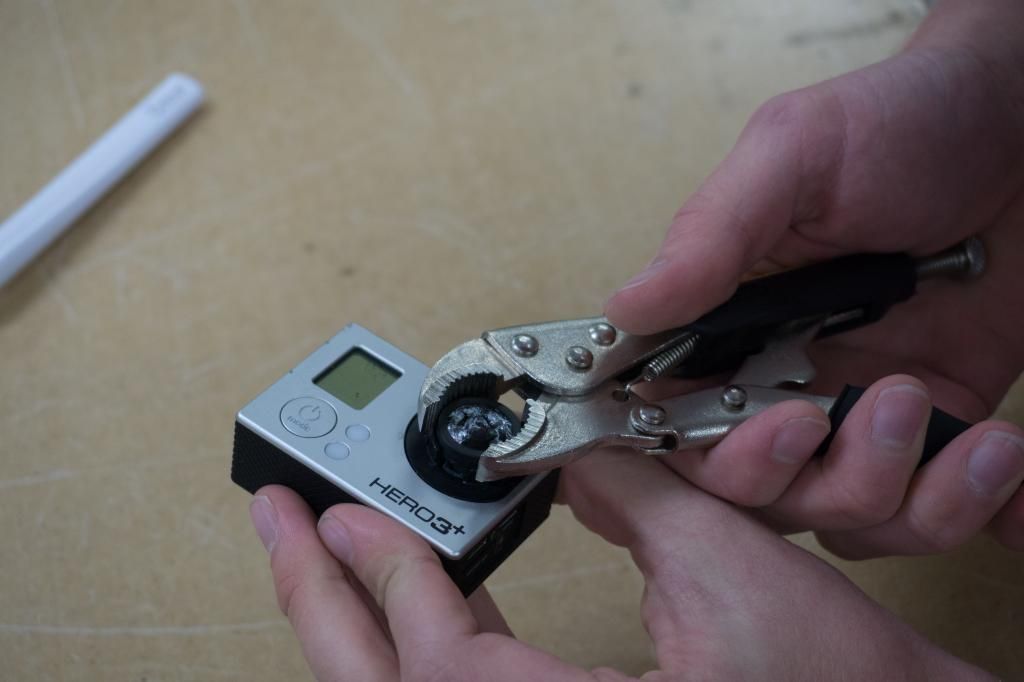
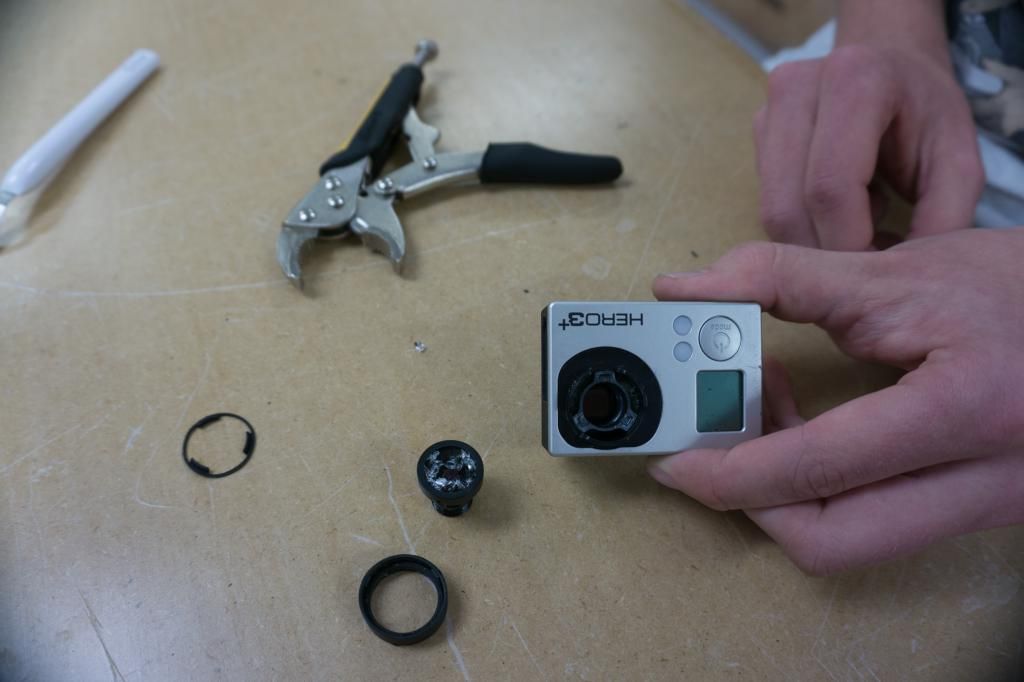
Carefully twist off the cracked lens
-There is a bit of glue that holds the lens on, so some force is required
-Use a pair of grippy-pliers to grab the sides of the lens (moderately gentle)
Step 4
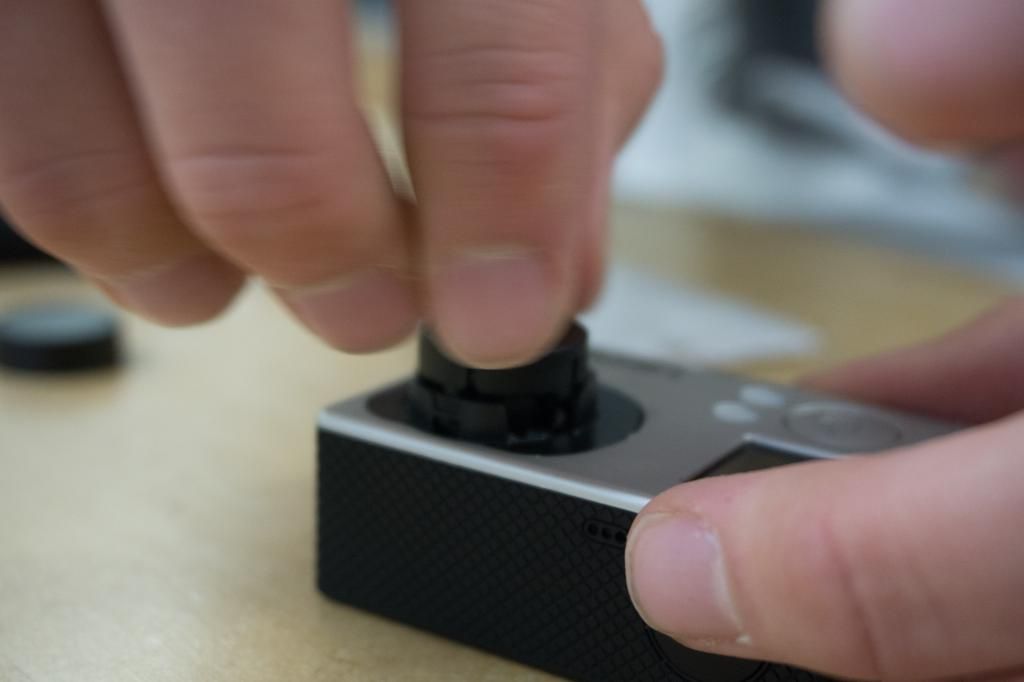
Install new Lens
-Carefully depackage your replacement lens
-Screw onto GoPro carefully
Step 5
Focus your new lens
-This part is important. You can't just screw on the new lens and start using your GoPro, unless you want out of focus images
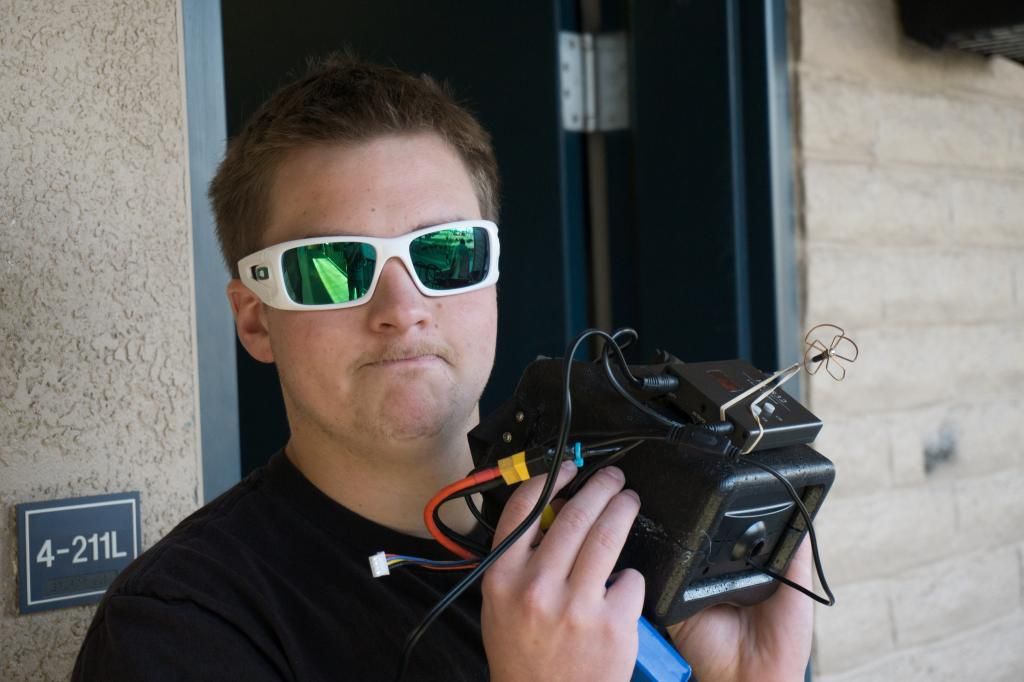
-It is best to hook up the GoPro to a TV screen of FPV goggles, as WiFi has too much lag to properly focus the lens
-Twist the lens back and forth in either direction (many turns in some cases) until someting in the distance (at least 20ft away) is in sharp focus
-You can more easily do this by putting your GoPro into 'Narrow' field of view mode so the image is more zoomed in
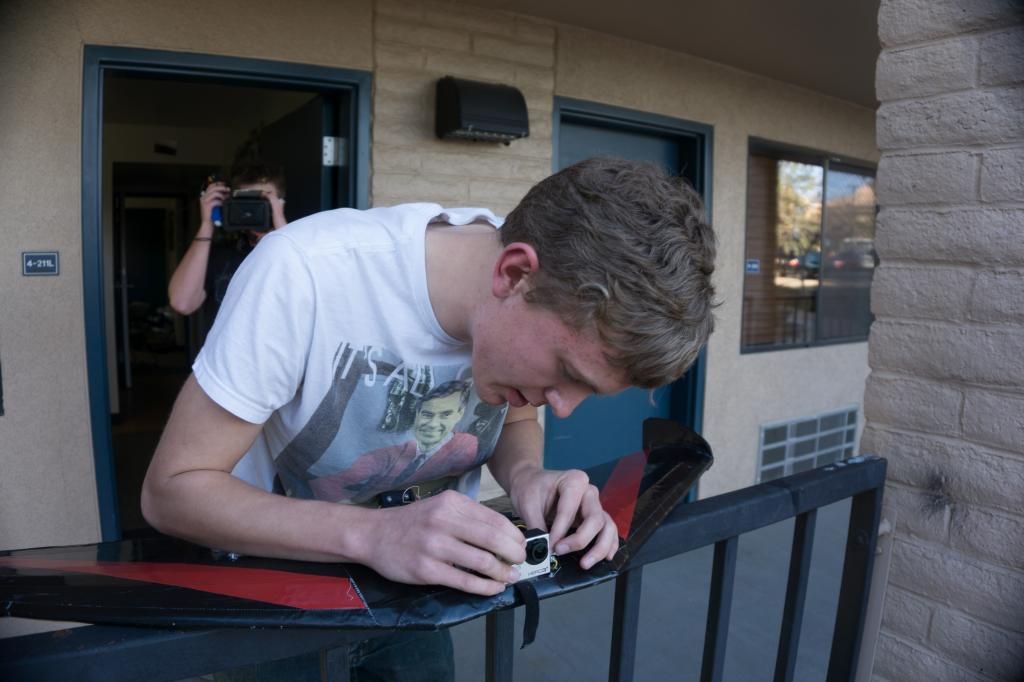
Trent views the FPV goggles as Lee focuses the lens
Step 6
Take sample images/video and review the files on a computer
-After the lens seems to be focused, take some sample images and view them on your computer
-zoom in to the image and make sure distant objects appear to be well focused
Step 7
Reinstall rubber o-rings
-Now that your lens is in focus, carefully reinstall the o-rings (rubber first then plastic outer) to your lens
-This will prevent your lens from rotating, loosing focus
-See video for better instruction on how this works
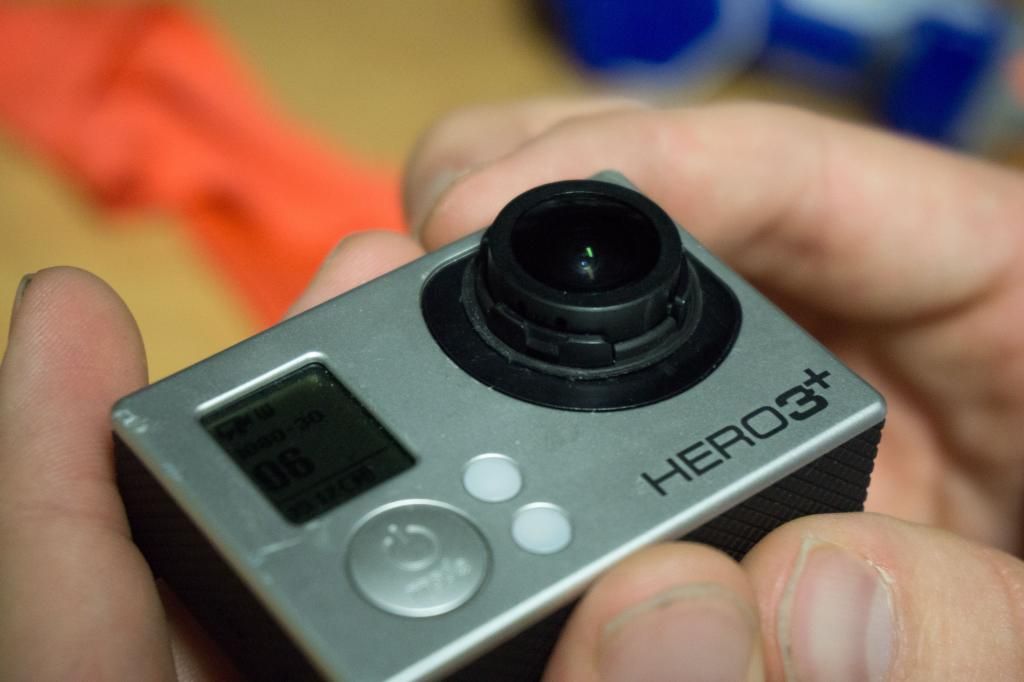
Step 8 (Most important Step!!!!!!!!!!!!!!!)
-INSTALL A LENS PROTECTOR
-Had you done this the first time, you wouldn't be reading this, now would you?
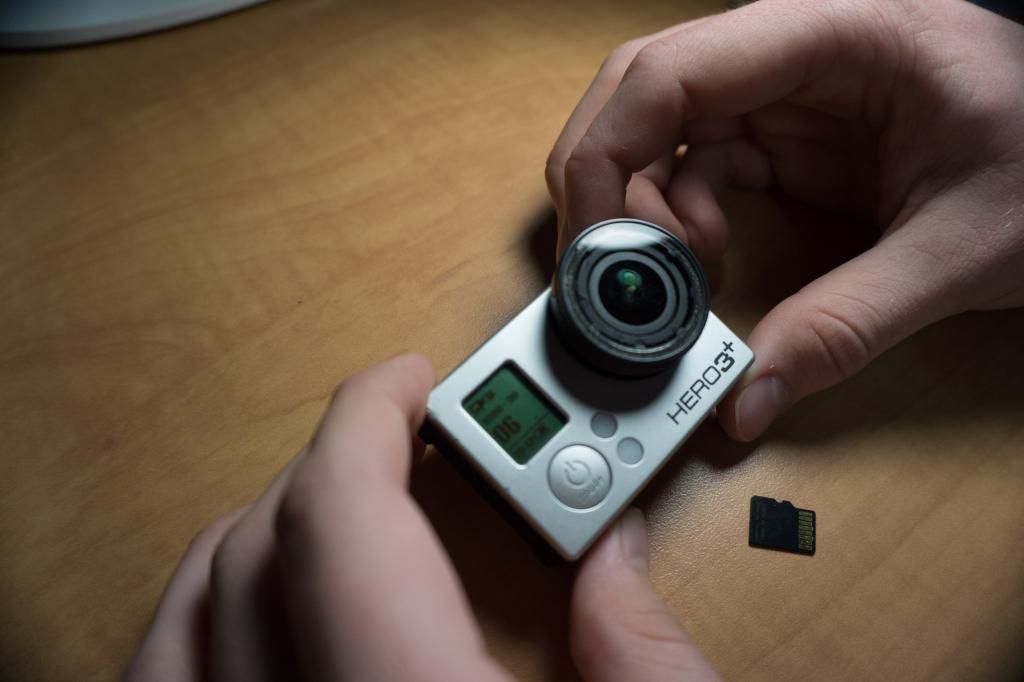
I used a lens protector, which shattered during the crash but saved my GoPro, while Lee's was 'naked' and got destroyed

BONUS
Check out this cool logo thing that Lee made! (Run DMC anyone?)
Download Here --> Fly FPV Logo
Would make a cool T-Shirt

Other AudaciousRC stuff


Log In to reply
The goggles are an awesome deal for $30! Nice wide field of view and clear screen. only downside is the bulk
Log In to reply
Log In to reply
Log In to reply
Log In to reply
Log In to reply
Log In to reply