Proximity wing flying is the next big thing. But if you want to get really tight you need something fast and tiny like the Bonsai EPP FPV flying wing…
Whilst working on the new KFm6 wing I also had another little project up my sleeve. The plan was to take readily available, and affordable, wings and convert them for FPV flight. This has been done many times before of course (hasn’t everything?) but what normally happens is little holes get cut everywhere and there’s a lot of messy tape, glue and zip ties. I wanted something more “modular”. Something that anyone could do with a little time and patience.
Enter the HobbyKing Bonsai and Tek-Sumo EPP wings…
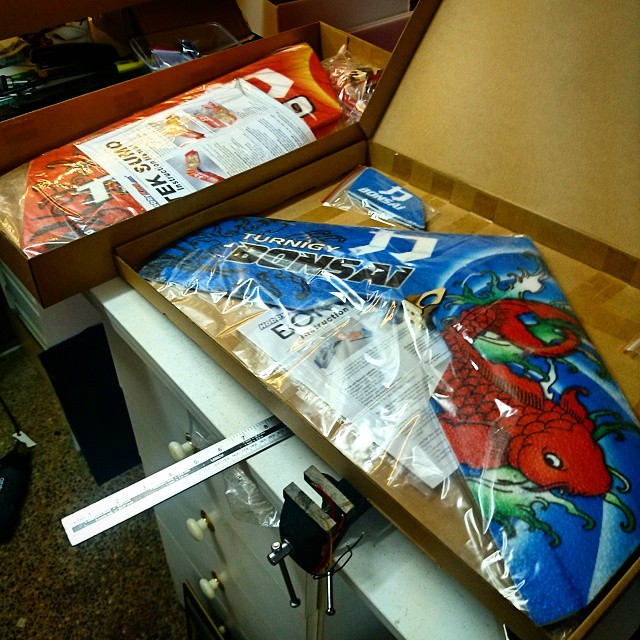 The choice of which wings to start with was almost too obvious. The Bonsai and Tek-Sumo wings from HobbyKing fit the bill perfectly. Small sized wings, made from almost indestructible EPP foam and very affordable. Moreover, there is a long history of both being used successfully for FPV flying.
A few days later I had a couple of smart boxes sat on my workbench along with a whole heap of other little boxes. The game was on…
This article focuses on my build of the Bonsai. At the time of writing the Tek-Sumo is still in its box!
Bonsai EPP Flying Wing
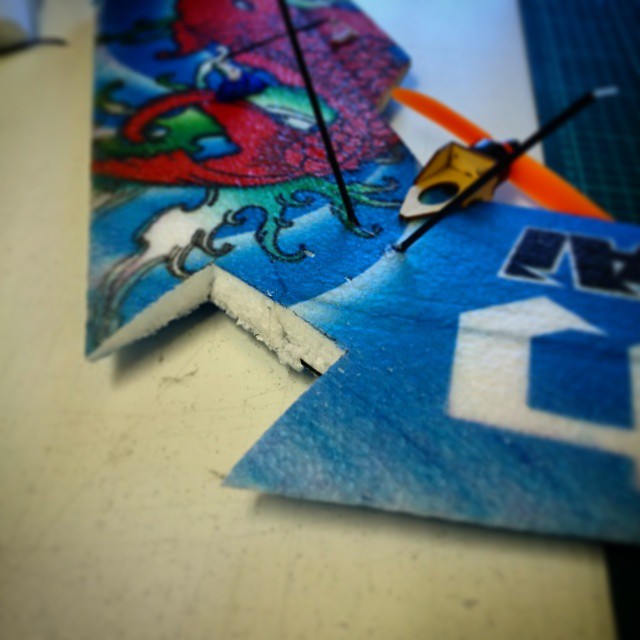
 The Bonsai EPP flying wing is a tiny 600mm span and ships in one piece with carbon spars already in place. Designed primarily for indoor or calm outdoor flying it has an intended AUW of 150g. Of course, none of this mattered to me as I needed something for high-speed outdoor flying with a lot of FPV gear strapped to it.
It was time to beef this wing up…
First thing I did was upgrade the motor to an 1806/2300kv miniquad motor and 12A ESC. This would turn a 5030 Gemfan prop, maybe even a 6030 or 5040. The recommended 2g servos got upgraded to 5g servos with the holes widened to suit. This increased power system needed a bigger battery. The original is designed for a 600mah 2S pack but I had to find a way to shoehorn a 1000mah 3S in.
An FrSky D4R-II receiver fits into the provided slot in the underside of the wing with the antenna fed up through the top surface.
Bring out the POD!
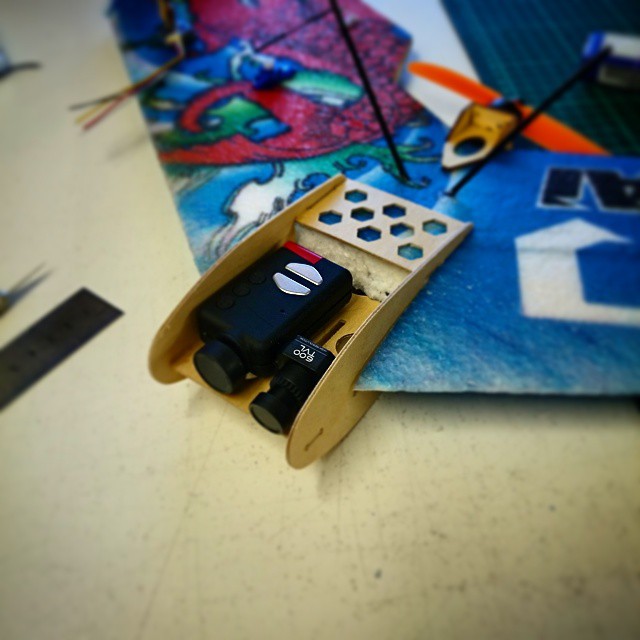
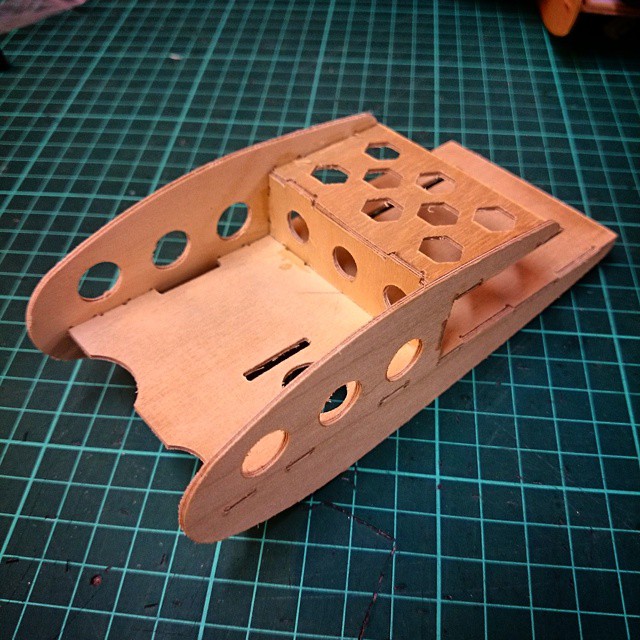 Once the basic wing was built I started to look at ways to mount the FPV gear. I wanted something that was enclosed and would offer some protection to both the wing and the cameras. In the past I have done this on larger wings using a CNC cut box. I took this idea and expanded on it.
The small wing FPV pod slots into a square hole cut in the front of the wing. It serves as both a mounting point for the cameras and a long tray for positioning the flight battery. Enlarged side plates protect the cameras and underside of the wing from impacts and landing.
By cutting from 1.5mm ply the pod is very lightweight. At first I had concerns that the material wouldn’t be strong enough but when used as intended on such a light wing it is more than fit for purpose.
The small tray at the rear of the pod could be used to mount a micro FPV transmitter but for best performance this is best placed out on the wing. I used the tiny HobbyKing 200mw 5.8 VTx and cut it into the wing. A small slit is then made in the top surface to run the wires neatly back to the pod. I didn’t bother to balance the wing laterally as I figured (and planned) that the increased torque roll would compensate for the weight. The FPV camera is a Fatshark 600TVL CMOS camera. This is just about the smallest camera I could find and about half the weight of similar sized micro CCD cameras.
With the pod in place, and the FPV gear loaded, the all up weight is 302g. This I was very happy with as the motor was putting out around 380g of thrust.
Off to the field then…
The Bonsai went to the field the same day as the KFm6 wing. The wind was light and the sun shining so I had high hopes. Anyway, watch the video first as it’s always more interesting that way…
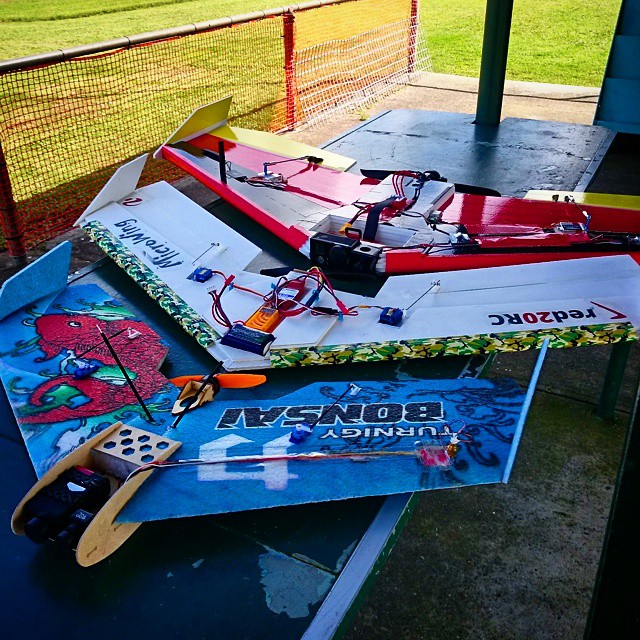 The first couple of launches were to be expected as I got the correct amount of reflex on the elevons. After that it really was smooth sailing. This wing is so much fun it must look very odd to see a man with a blindfold on, standing in a field, laughing out loud as a small plane buzzes around his head!
I was getting a lot of interference in the FPV feed during the flight. This I have narrowed down to a bit too much weight saving during the build. I had removed the shielded cable from the VTx and I think this was a mistake. I have since put a LC filter into the power cables and this has improved things a bit. The CMOS camera, whilst not as crisp as a CCD is more than adequate.
The 1000mah LiPo was perfect for this wing and 10 minutes of flying was using only around 500mah. This is an awesome result as it makes 15-20 minutes of fast proximity flight a reality – not something your average miniquad can claim!
My biggest problem was the strap on the Mobius kept switching it off mid-flight without me realising. Not only did I lose several fast tree runs but I also didn’t catch the moment I finally nailed the line over the fence, through the shelter and over the fence on the other side – you’ll have to trust me when I tell you it was awesome!
Conclusion
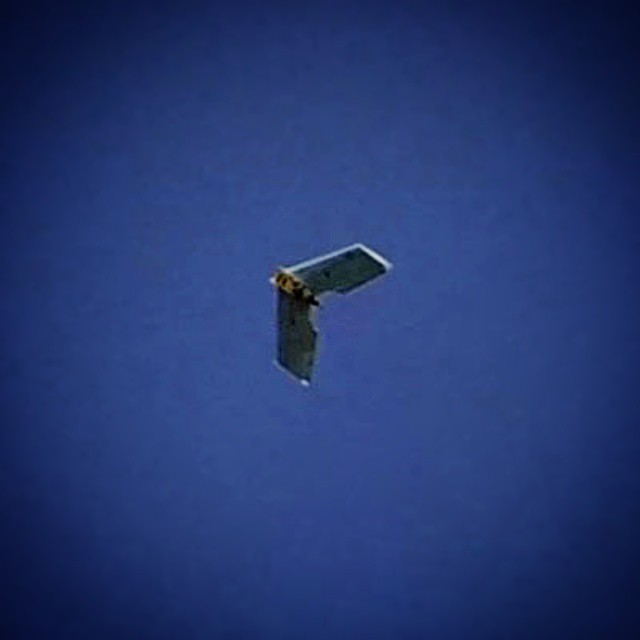 I’ve now got another two Bonsai kits sat on the shelf along with a paired Aomway camera and VTx. I’m going to try an even cleaner build this time, maybe even putting the Rx out on the other wing to balance things out.
Do I like this wing? Yes I do! It’s exactly what I wanted – fast, light and responsive.
Proximity wing flying is awesome. I find it an even bigger rush than miniquad flying as you just can’t pull up and hover when things get hairy. Once you are flying and the goggles are on you are committed.
Go on, give it a go. You know you want to!
If you like this, you’ll love these…
- Flight Club – just watch the FPV Racing video
- BKMorpheus – Prox flying from the DarkSide Crew
- Adam Dube – Creator of the Sawn-off Versa Wing
- WingnutsRC – new wing community. Website and more coming soon
- Happy Flyers – creators of the Wipeout Wing
There’s more but I’m getting tired. Look out as well for Team Legit, SweepwingsRC, Snipe Air Industries and more!




Log In to reply
Log In to reply
Log In to reply
Log In to reply
Log In to reply
The pod extends back to the firewall at the bottom and the pack is strapped in there. With the mobius and fpv cam up front the pack sits just in front of the motor to achieve the cg in the instructions.
Log In to reply
Log In to reply
Log In to reply
Log In to reply
If you, your family or your car was anywhere near that flying field then I wouldn't be!
Yes, flying over the pits or near to the shelter is taboo but the field behind the pits is part of our flying area and regularly used. However, if you choose to attend a flying site then you accept a certain amount of risk. In my time I have seen for occasion when much larger 2-3kg nitro models have gone out of control and hit cars.
Anyway, proximity flying is here to stay and if I have to set an example it will be to fly in an isolated area away from other people and not in a populated public park.
Log In to reply
Also, if you are using language like "attorney", you're going to have to come quite a way to get the keys (and you'll want to fix the roof whilst you're at it).
Log In to reply
It was not intended to be a threat but an eye opener.
In this day with all the "drone" and UAV stuff under the microscope we all have be as responsible as possible to keep Johnny Law at bay.
Log In to reply