I got into RC hobby and wanted a plane which will be very easy to fly. I made a lot of foamies and crashed them ending up spending most of the time making planes rather than flying them. Although making them is a very knowlegable experience altogether. You get to learn a big deal of things, flight dynamics and whole lot of things and the most important thing is that I had a lot of fun.
So finally I decided to make a slow stick. I also wanted it not to be too slow and also not too fast. And a slow stick is easy to build and difficult to break. I also wanted it to be small enough to carry around easily.
This is its maiden flight video. I was flying very graciously. Loved it a lot and enjoyed.
Power System
1) 2826 1900 KV brushless motor
2) 8 x 3.8 Slow flyer prop
3) 20 amps ESC
4) 9 gram servos x 3
5) 2S 1000 Mah Lipo
This power setup works absolutely fine doesnt gets hot at all and has ample of power. I havent tried doing loops yet but I guess this definitely wont be a problem with basic aerobatics. I prefered using high KV motor with 2S lipo and keep the weight minimim rather than using a low KV motor with 3S or 4S lipo.
These are the measurements for the slow stick.

Slow stick tail assembly. I have used 2mm plywood to cut the mount for tail servos. One for rudder and one for elevator. I have used the linkage stoppers to make the adjustments easy. I like to adjust control surfaces mechanically rahter than trimming them so that I can use the trimming for fine tuning.
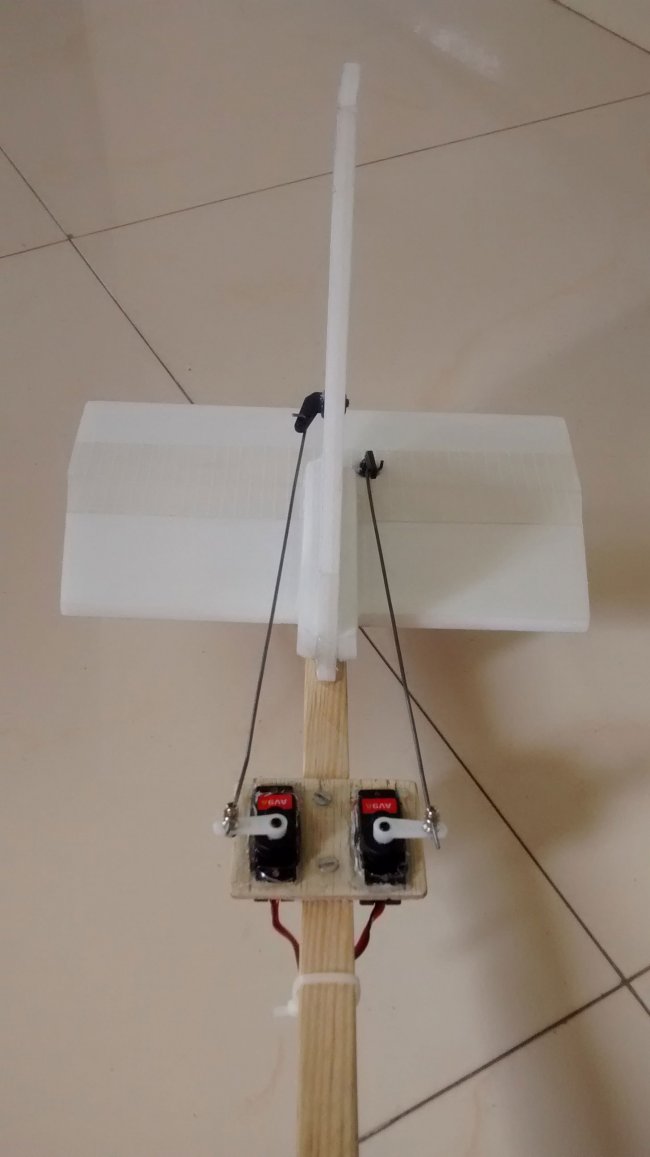
This is how I have attached the horizontal stabilizer to the wooden boom. I used small screws to attach a 2 mm plywood support for horizontal stabilizer rather than just a gluing it to the stick.
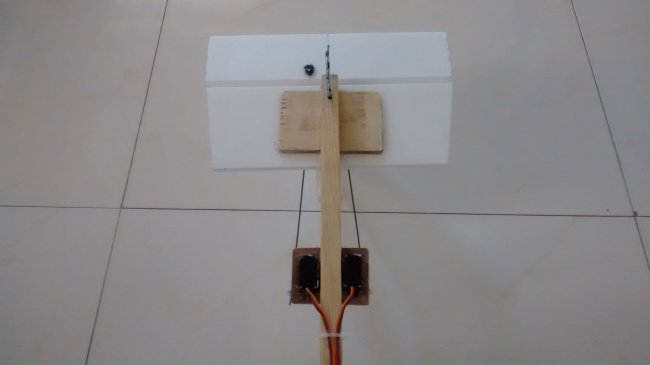
This is how tail looks after complete assembly
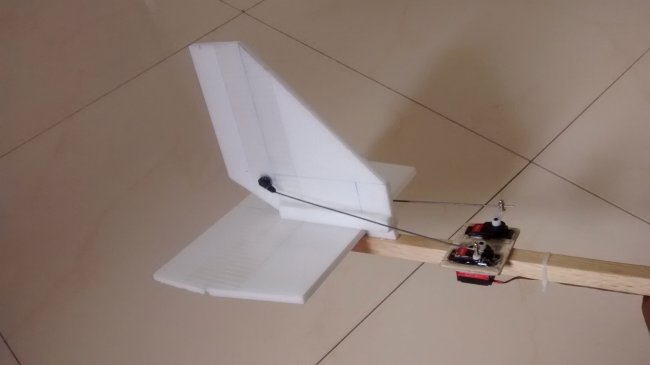
Wing attachment. Here too I screwed a 2mm plywood and glued the wing to this surface. To make the wing attachment more solid i taped it with the extreme packaging tape.
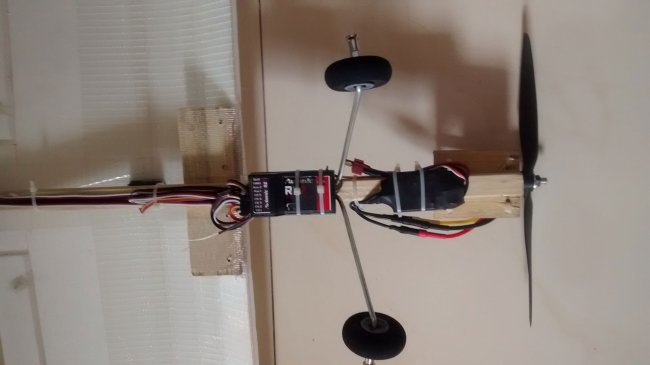
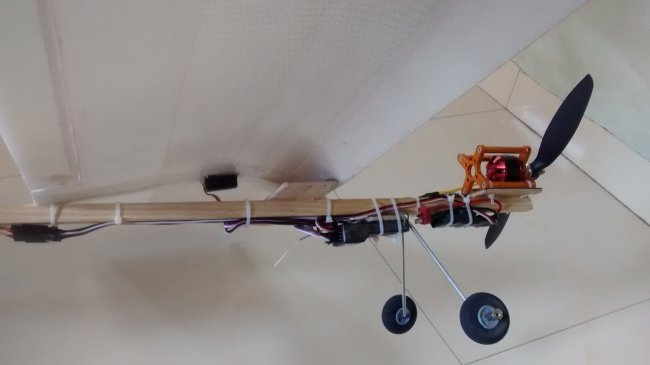
And finally the motor mount. I used a motor mount which you will find easily in you local hobby store and zip tied it to the support which I screwed at the tip of the wooden boom.

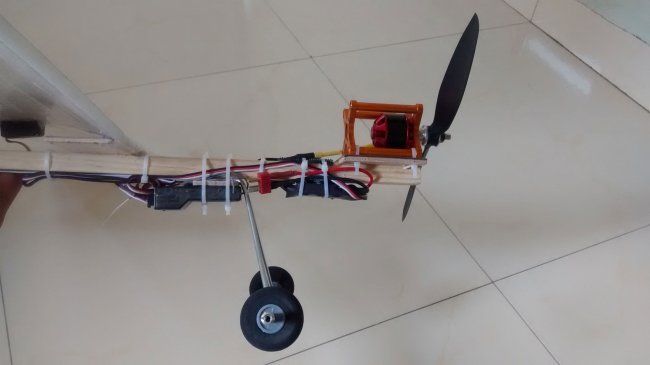
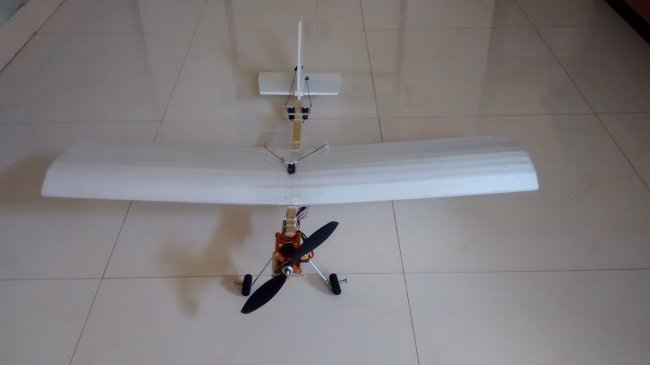
And this is how it looked when I finished building it.
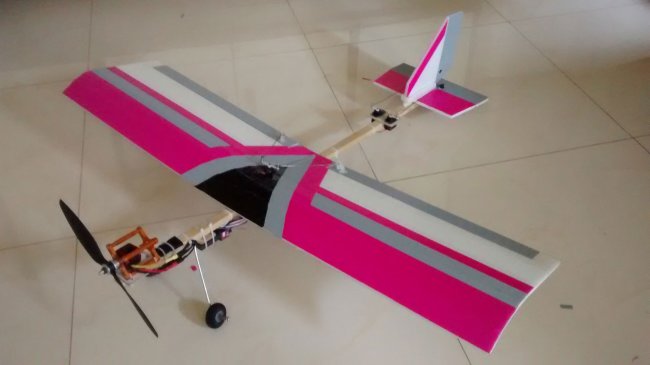
Then I bought some venyle sheets to make the decals. I found them very cheap at a shop close to my place. After the graphics I looked just awesome and cool. I wanted bright colors so that I could spot it easily. I put the decals after its first maiden flight. Just wanted to make sure that this thing flies before putting in efforts for graphics. :-P
So gyus build and fly....
This is just a lot of fun flying it.
Happy Flying !!!


Log In to reply
Log In to reply
No I am not in NCC. The place where I fly is training ground for cops. They allow me to fly there and come over to watch out of curiosity once in a while.
Log In to reply
Log In to reply
Log In to reply
Log In to reply
Log In to reply
Great job, i m too in rc hobby, i just need to now which material u hv used for wings is it thermocol or depron and if you can share the place you have bought them.
Regards
Anis Khan
Log In to reply
I use high density foam in all my builds. I have never used depron, though I will definitely give it a try in future.
Log In to reply
Log In to reply
Log In to reply
Log In to reply
Log In to reply
www.rcbazaar.com/products/2297-mount-kit-set-for-c2826-motor-series.aspx
See if they ship at your place.
Or
You can get it custom made at your local engineering workshop.
Or
You can bend a aluminium strap at right angle and drill holes in it to attach your motor.
Or you can do your own mount, improvise mate... :-)
Log In to reply
Log In to reply
Is there any down and/or right thrust in the motor?
Ron
Log In to reply