 |
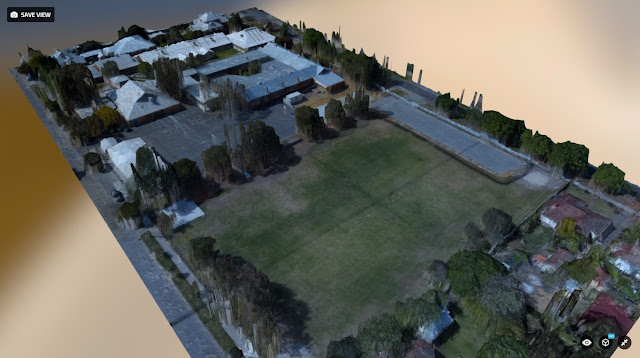
| 3D model of a small primary school created with drone imagery |
Mission Summary
- Goal: Test 3D mapping for a site with more complex geometry (structures and trees)
- Tech: QR X350 Pro quadcopter drone, SJ 4000 actioncam, Mission Planner, Recap 360
- Conditions: Midday, sunny, nil wind, magpies swooping
- Outcome: A single grid pattern for collecting images does not seem sufficient for such a complex site.
With my new G-2D gimbal attached to the Walkera QR X350 Pro drone, I headed to the local primary school (on a non-school day of course) to test my methodology against a more technical model: one with open flat areas, trees and buildings. I'm expecting to get much better results with the gimbal installed as it keeps the camera facing directly towards the ground. This helps in eliminating poor quality pictures that are taken during a bank or oscillation, which could degrade the quality of the photo alignment.
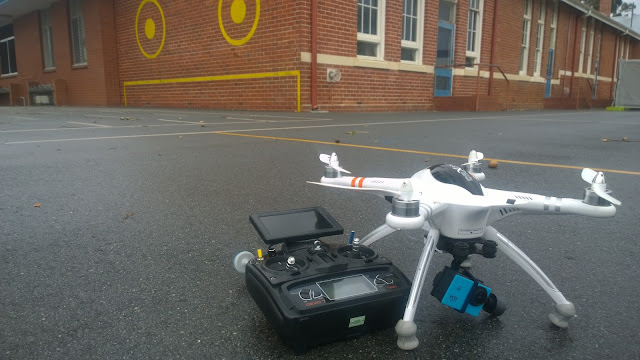 |
| QR X350 Pro drone plus modified handset and camera ready for 3D mapping mission |
As usual I did my flight planning in Mission Planner. The flight is not covering a large area (just under 5 acres). However, because the smallest time lapse on the SJ 4000 camera is 5 seconds, I need to fly the QR X350 Pro at a slower ground speed to get the correct lapping in the photos. This means I'm using most of my flight time (taking into account adequate safety and landing time) with this small area.
Using the 'grid' function in Mission Planner enables the drone pilot to more accurately prepare a flight plan so that there is optimal photo overlap. You can see from the image below, Mission Planner has predicted how often the photos should be taken and how much overlap that should result in. For this project, I think the vertical overlap was fine. However after seeing the results, I think the horizontal overlap could have been better.
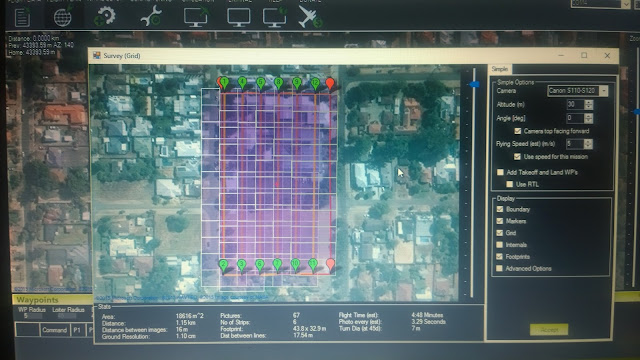 |
| Flight plan showing predicted image overlaps |
The model below is produced using only 'medium' settings in Agisoft Photoscan as that's all my 4-year-old laptop could handle. Also I'd consider the imagery to only be of a medium quality from the SJ 4000 with its 12Mp sensor, quality is degraded more as the 12Mp are spread over the extremely wide 170 degree lens.
Nevertheless I felt the results were quite good when kept at a reasonably low zoom. If you get in closer you'll find many problems with the shape and accuracy of the model. Apparently, trying to get accurate photogrammetry for surfaces such as water and building roofs is very tough. Also, the quality of the model has been decreased during the upload process to Sketchfab.
See the model uploaded to Sketchfab below.
Primary School by The Aero Scout on Sketchfab
I'm hoping to improve the quality of the final model in future with a tighter grid pattern as well as a cross pattern (grid in both directions) to get more overlap on the images, a higher setting during processing, and an optimised model for uploading.
Microsoft ICE had troubles stitching the images together for this project. As yet I'm not sure why this has happened, perhaps too many trees or too many lines on the netball court which confused the algorithms.
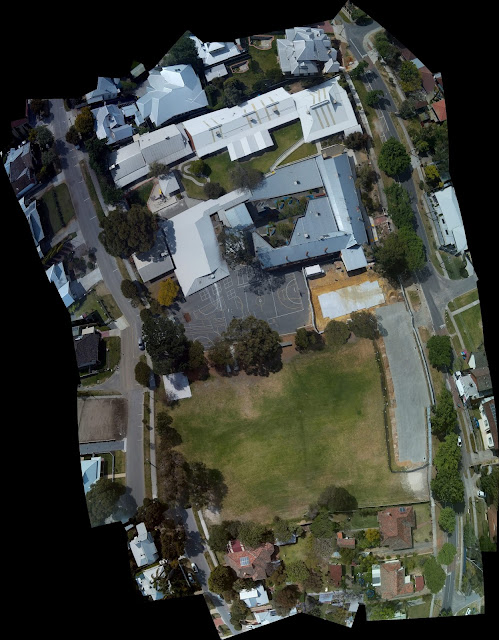 |
| Photo stitch produced in Microsoft ICE - didn't seem to work too well, especially around the netball courts |
Autodesk Recap 360 really struggled with this project. I tried using the original 'distorted' images from the SJ 4000 camera with it's 170 degree lens AND I also 'de-fished' the images to flatten them out. Neither model was acceptable, extremely low quality and very poor accuracy, see screenshot below.
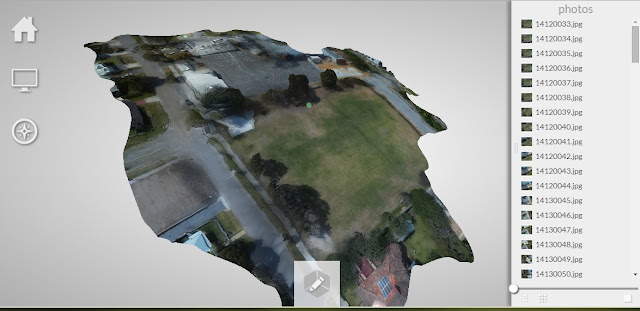 |
| Autodesk Recap 360 had alot of troubles dealing with this project and the results were very poor. |
If you're interested in more articles by the Aero Scout on "drone adventures" in aerial surveying, inspection and mapping, visit www.theaeroscout.com.au


Paul
Log In to reply
Log In to reply
The real benefit is different software limitations and ability to do manual changes it it does not just work with the above software.
Log In to reply