
Back in August my son and I got inspired to build our own rc plane.
Only we wanted something that could handle a few things.
- FPV
- Bomb bays
- Dual remotes
The YC-14 project by Mikey's RC seemed to fit the bill.
But we added the 2nd remote and a cargo pod to the rear.
Over the weekend a month after we started the builld process the YC flew.
Maiden flight (ground view). Yes a lot of excited people watched the plane fly.
She really is a big plane.
60" wing span 45" body.
2nd flight onboard GoPro footage
http://andrerousseau.wordpress.com/category/rc-flight/yc-14/
We actually had to add a wrench to the nose to counter the tail heavy nature of the plane but once my silicon wire shows up from HobbyKing I will move the batteries forward which should help.
Other wise it flew like a dream. I could go quick with hard backing or so slow the chase Tiger Moth was experiencing stall issues.
Right now operating with a basic 6 channel radio but when my 9 channel comes in I will setup a flap/allerion mix or cut the allerions and add flaps. Then I can fly her even slower.
Lots of revisions coming over time as this truly is a test bed.
Nose is going to get a dome and we will be adding FPV over the winter.
I had expected I'd want to fly this occationaly and build something with a single engine but I suspect this plane will keep me busy for a while.
Flitetest has been a great educational source so the next build will be taken up a notch!
Thanks for watching.
Andre.
Oct 7th 2013 Update.
Errr wing failure.
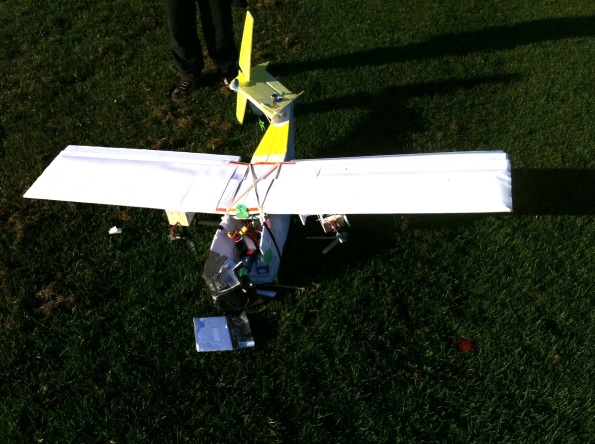
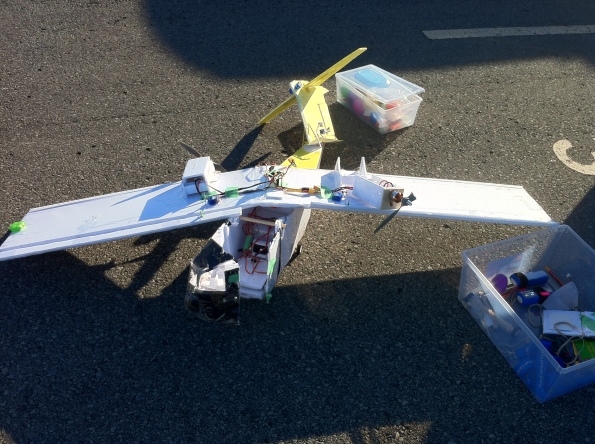
On board video. Snap occures at the 1:30 mark.
Ground camera.
No big deal.
Cut in a channel and added a wooden dowel.
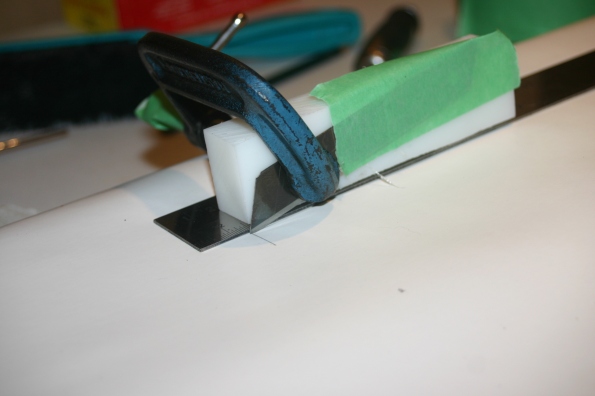
1/4″ x 36″ wooden dowel was used. I know I could have opted for carbo or something. I had the dowl on hand.

Also introduced some wing dihedral.

Then did a wrap around after gluing and taping all the seems. Again tricks I've picked up reading the FT posts.

For the tail section I put some tabs in to help secure/locate it better then it was.

On the airframe I used some piece of foam to reform the shape and strength. If that does not hold up I will start building a new design using FT channels and so on. We have plans. Always have plans!
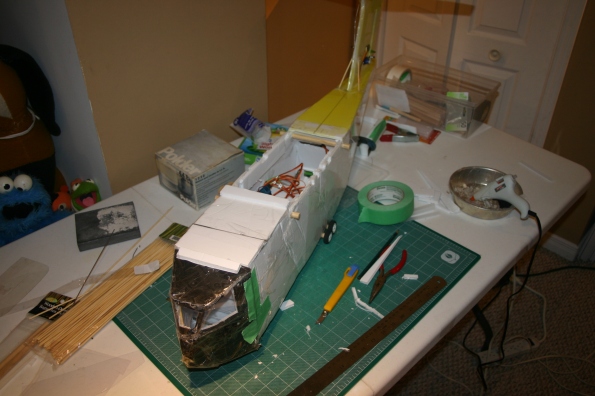
The left side motor shaft has a slight bend so I will correct that and order a replacement shaft.
Sunday was to cold to do a test flight but I'll report back when she takes to the skies again.
Oct 10th 2013 Update.
Almost Flight Ready.
Fitted some new adapters since the old ones were done.
I guess the nice thing about $10 motors is it is almost cheaper to replace them then repair but I'll still try and recover the right side motor. The shaft is bent. Confirmed that last night so before I fly again I want to try and realign/dial out some of the viration.
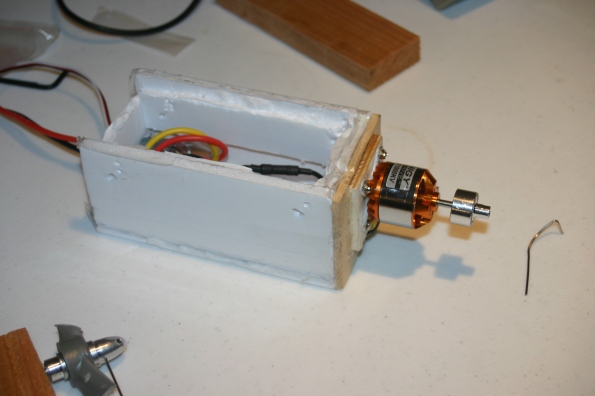
Also looking forward to trying these Master Airscrew 10x7 props. Right side motor is counter rotating.
- At first I had them swapped so the plane taxied backwards. Easy switch with the new shaft adapters.

Oct 12th 2013 Update.
Check Those Control.
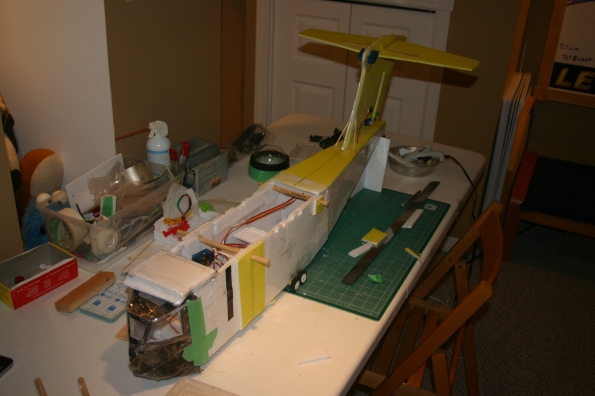
After patching the YC-14 back together I made a rookie error and failed to verify the control directors.
I'm still a rookie... ;) Enjoy the results
The YC is proving to be a tough plane.

And after using all the scrap bits of foam I had laying about she was all patched up again.
Oct 13th 2013 Update.
YC-14 Flies Again.
Sunday morning I took the plane out to the field and we went skywards. In a big way.
First flight with the new 10x7 props and I'll have to shim the motor mounts and aim them down a touch.
As you'll see from the video she goes straight up. Yikes ;)
Oct 18th 2013 Update.
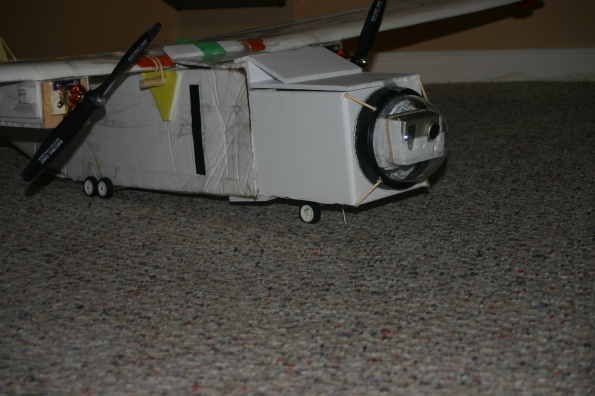
YC-14 Dome Camera View.
The old nose came off and the new one graphed on.
Ugly as sin but works well.


3:40 mark got a little close to the trees ;)
Oct 19th 2013 Update.
Runway Attempts.
Still have some work todo in this department. Hand launching the YC-14 is not an easy task when I'm alone. So we with the freshly installed steerable front gear (servo slaved to rudder control) I tried 2 take off attempt.
The plane is to low. Wheels not big enough. Larger wheels have been ordered. Enjoy the flight.

Oct 24th 2013 Update.
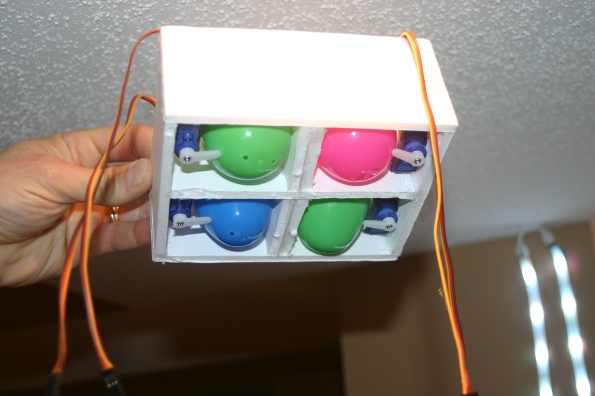
New Four Egg Hopper.
We are using the YC-14 as a test bed for new ideas.
Here is how we are replacing the single egg basket with a four egg hopper.
Tonights mission will be to install bomb bay doors. Then the whole setup will get loaded into the YC-14 cutting out the old setup completely.


Oct 30th 2013 Update.
Nose Job.
As much as I liked that dome piece it completely messed up the GC of the plane.
So off it came.

Infavour of a new look.

Followed by moving the batteries back to under the wing.


I did manage to use a pool noodle to make some nice 2.5" wheels but I need to figure out how to make better rear landing gear...


Log In to reply
So much more relaxing over my gas powered experience many years ago.
Hell I was laughing after the crash.
Log In to reply
Read up and will build a rig tonight to test that theory out.
The internet suggested a block of wood, broken prop (have that) and a metal shaft which will allow the adapter to be fitted to. When use a piece of fixed white to verify how true the adapter is.
I'll report back once I know. Goal is to fly again this weekend.
Log In to reply
The way I see it by time I order a shaft, bearings and new adapter I it is almost the same price as a whole new motor. I hate to waste but yeah might as well run it till it dies.
Log In to reply
Log In to reply
Log In to reply
Log In to reply