Hybrid Drone Prototype: Low-Cost Build
Introduction
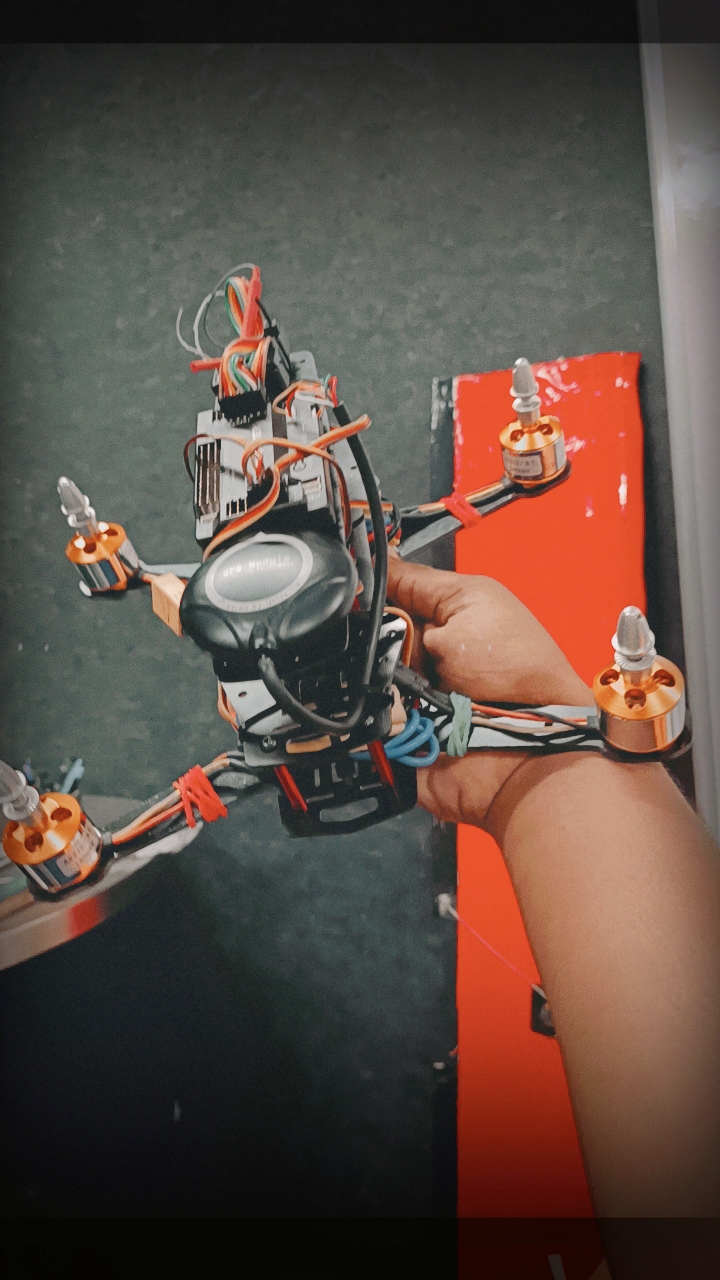
Drones are becoming essential tools in a wide range of industries, from aerial photography to wildlife monitoring. I have designed a low-cost hybrid drone prototype featuring a durable carbon fiber frame to assess critical factors such as strength, durability, flight duration, stability, speed, weight, battery capacity, altitude, range, and overall operation. With guidance from experts, I have succeeded in developing an effective hybrid prototype and am now working hard to further enhance its functionality with more industry experience. This drone could eventually be used in various applications, but as of now, it remains a prototype that is not certified by any organization.
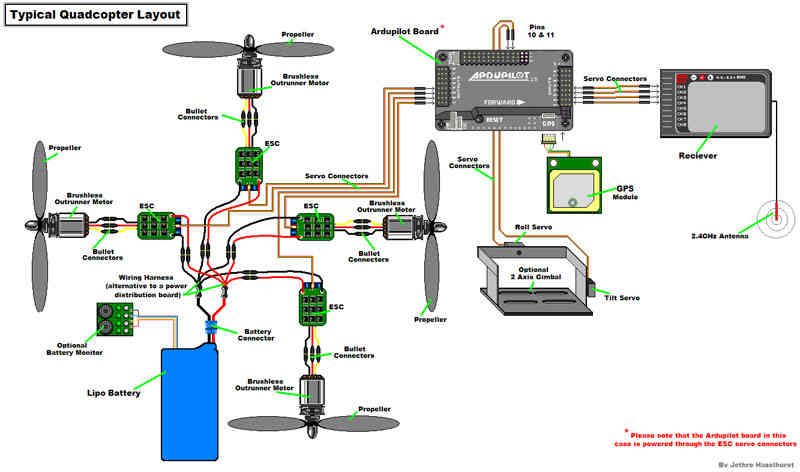
Wiring Diagram
The wiring diagram of the hybrid drone prototype visually represents how all components are interconnected to ensure smooth operation. Key elements include the power distribution system, control signals, and data communication paths:
Dimensions
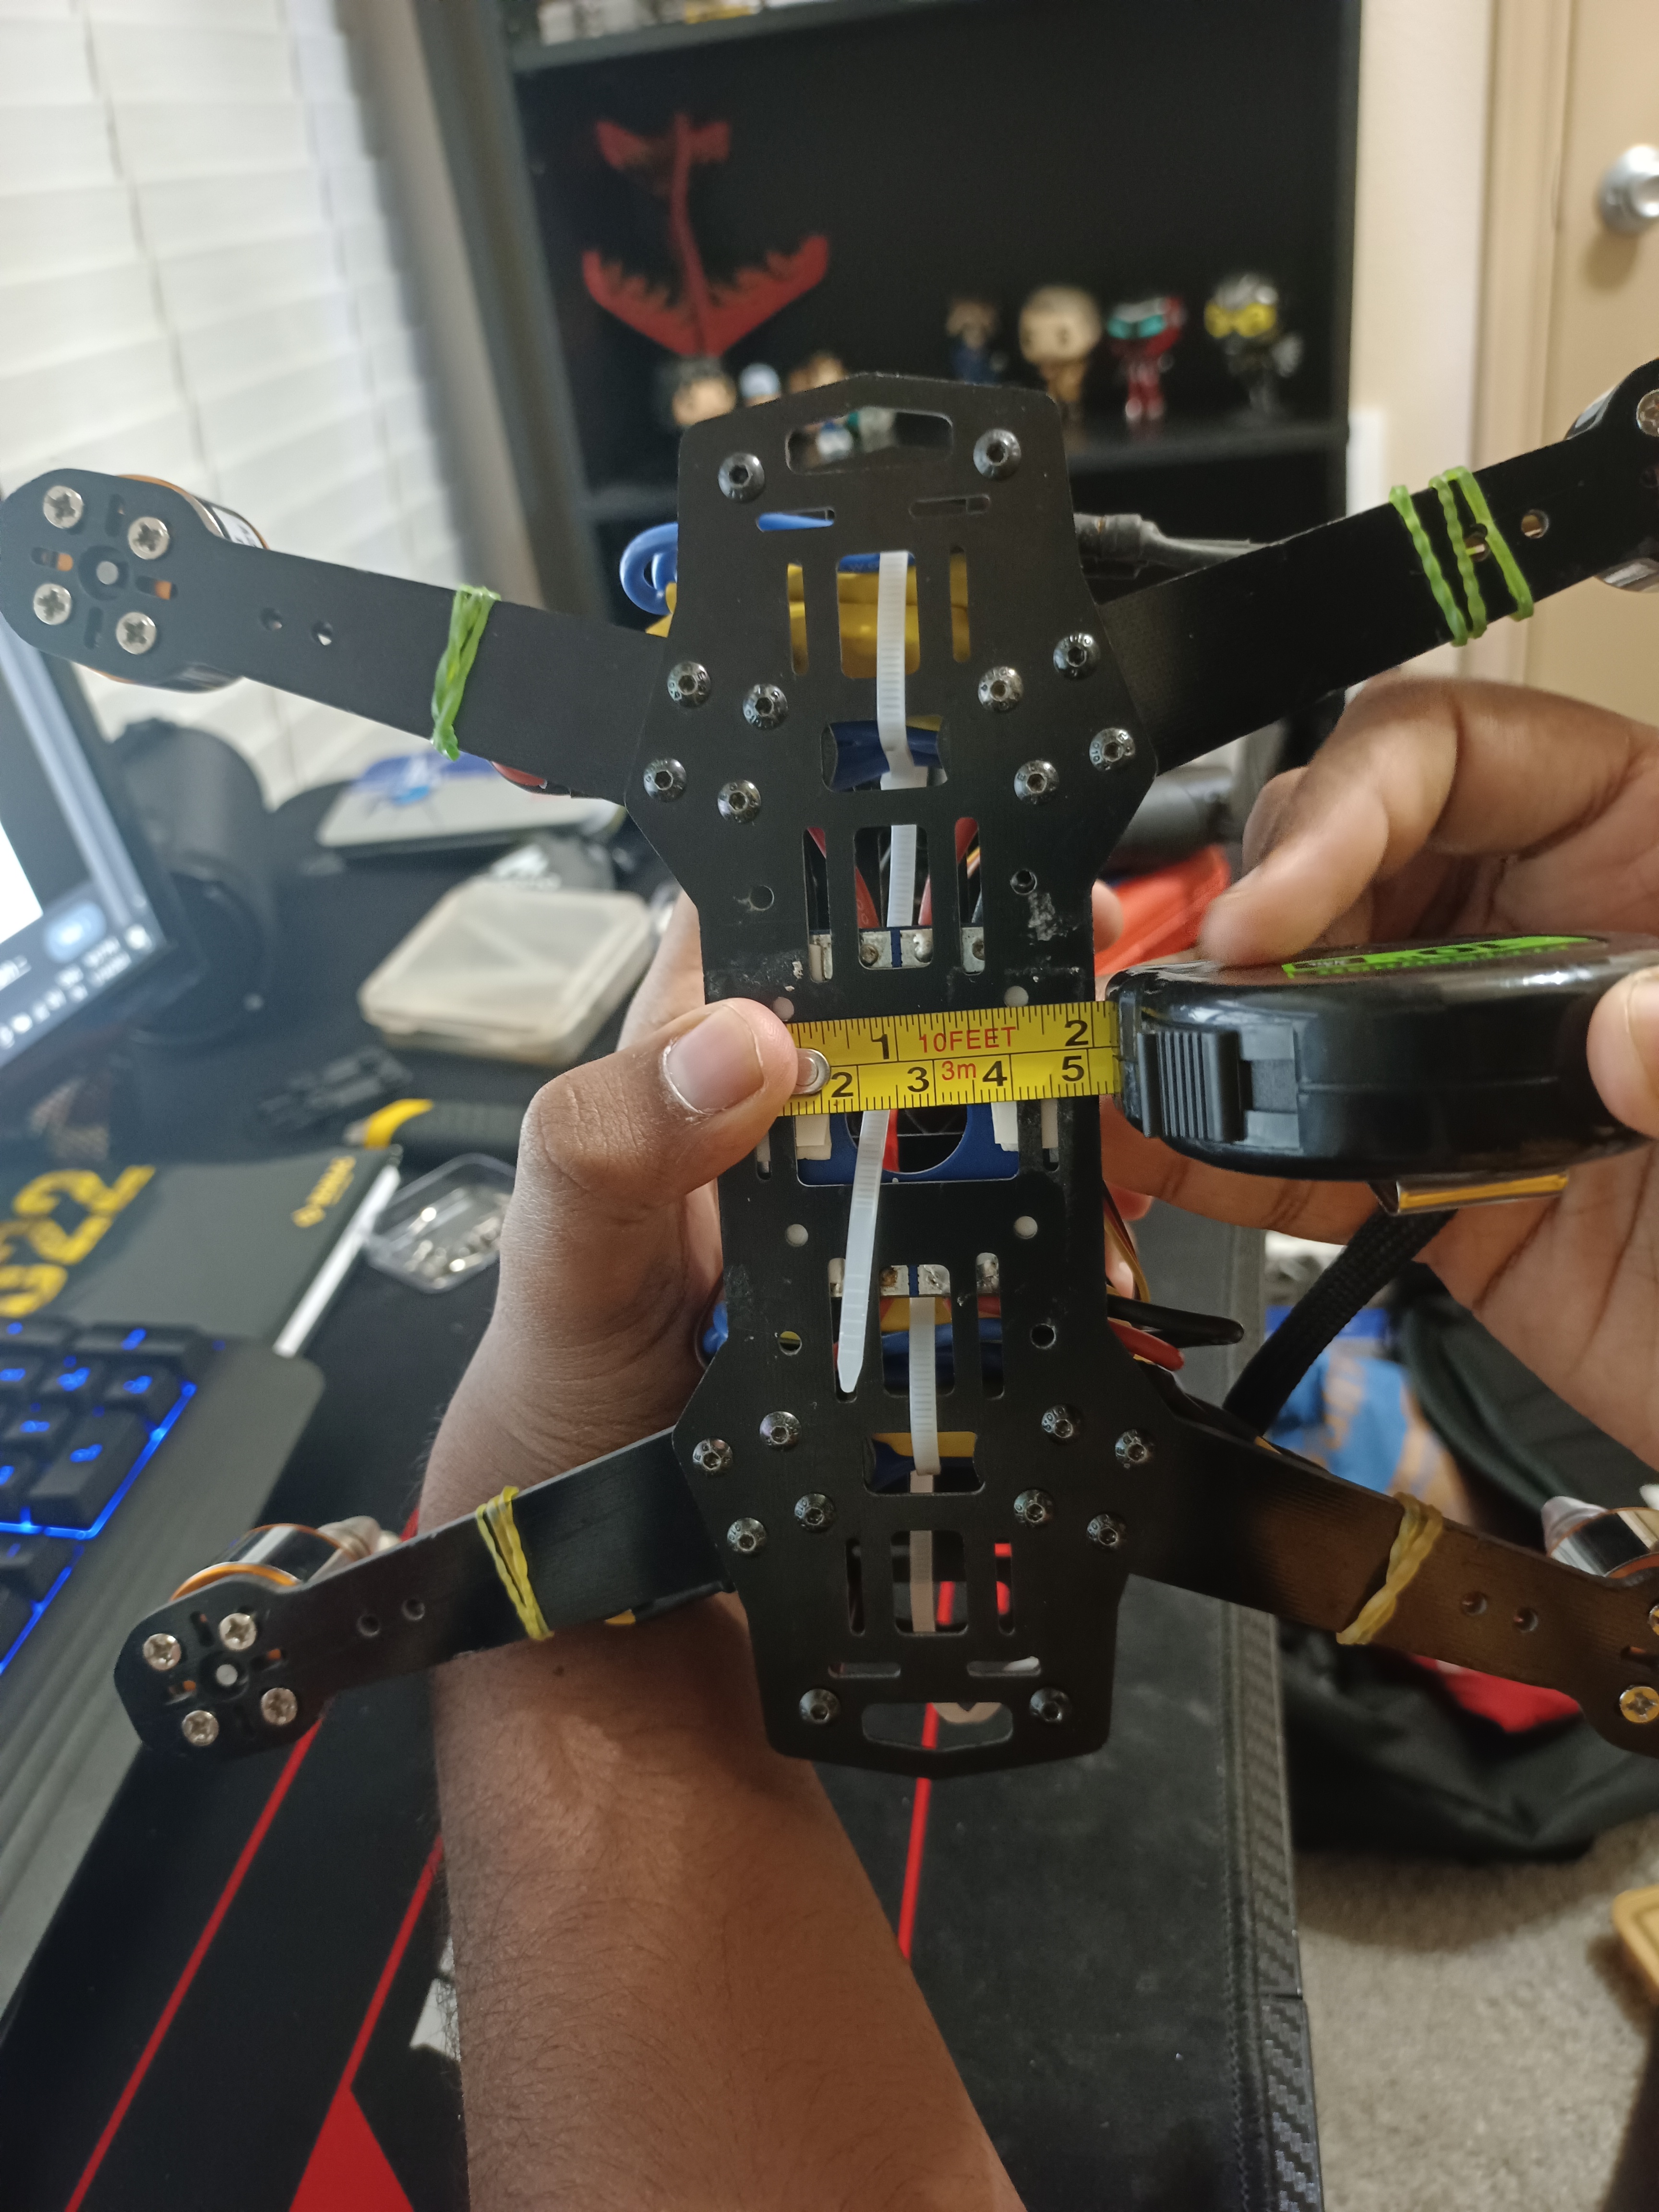
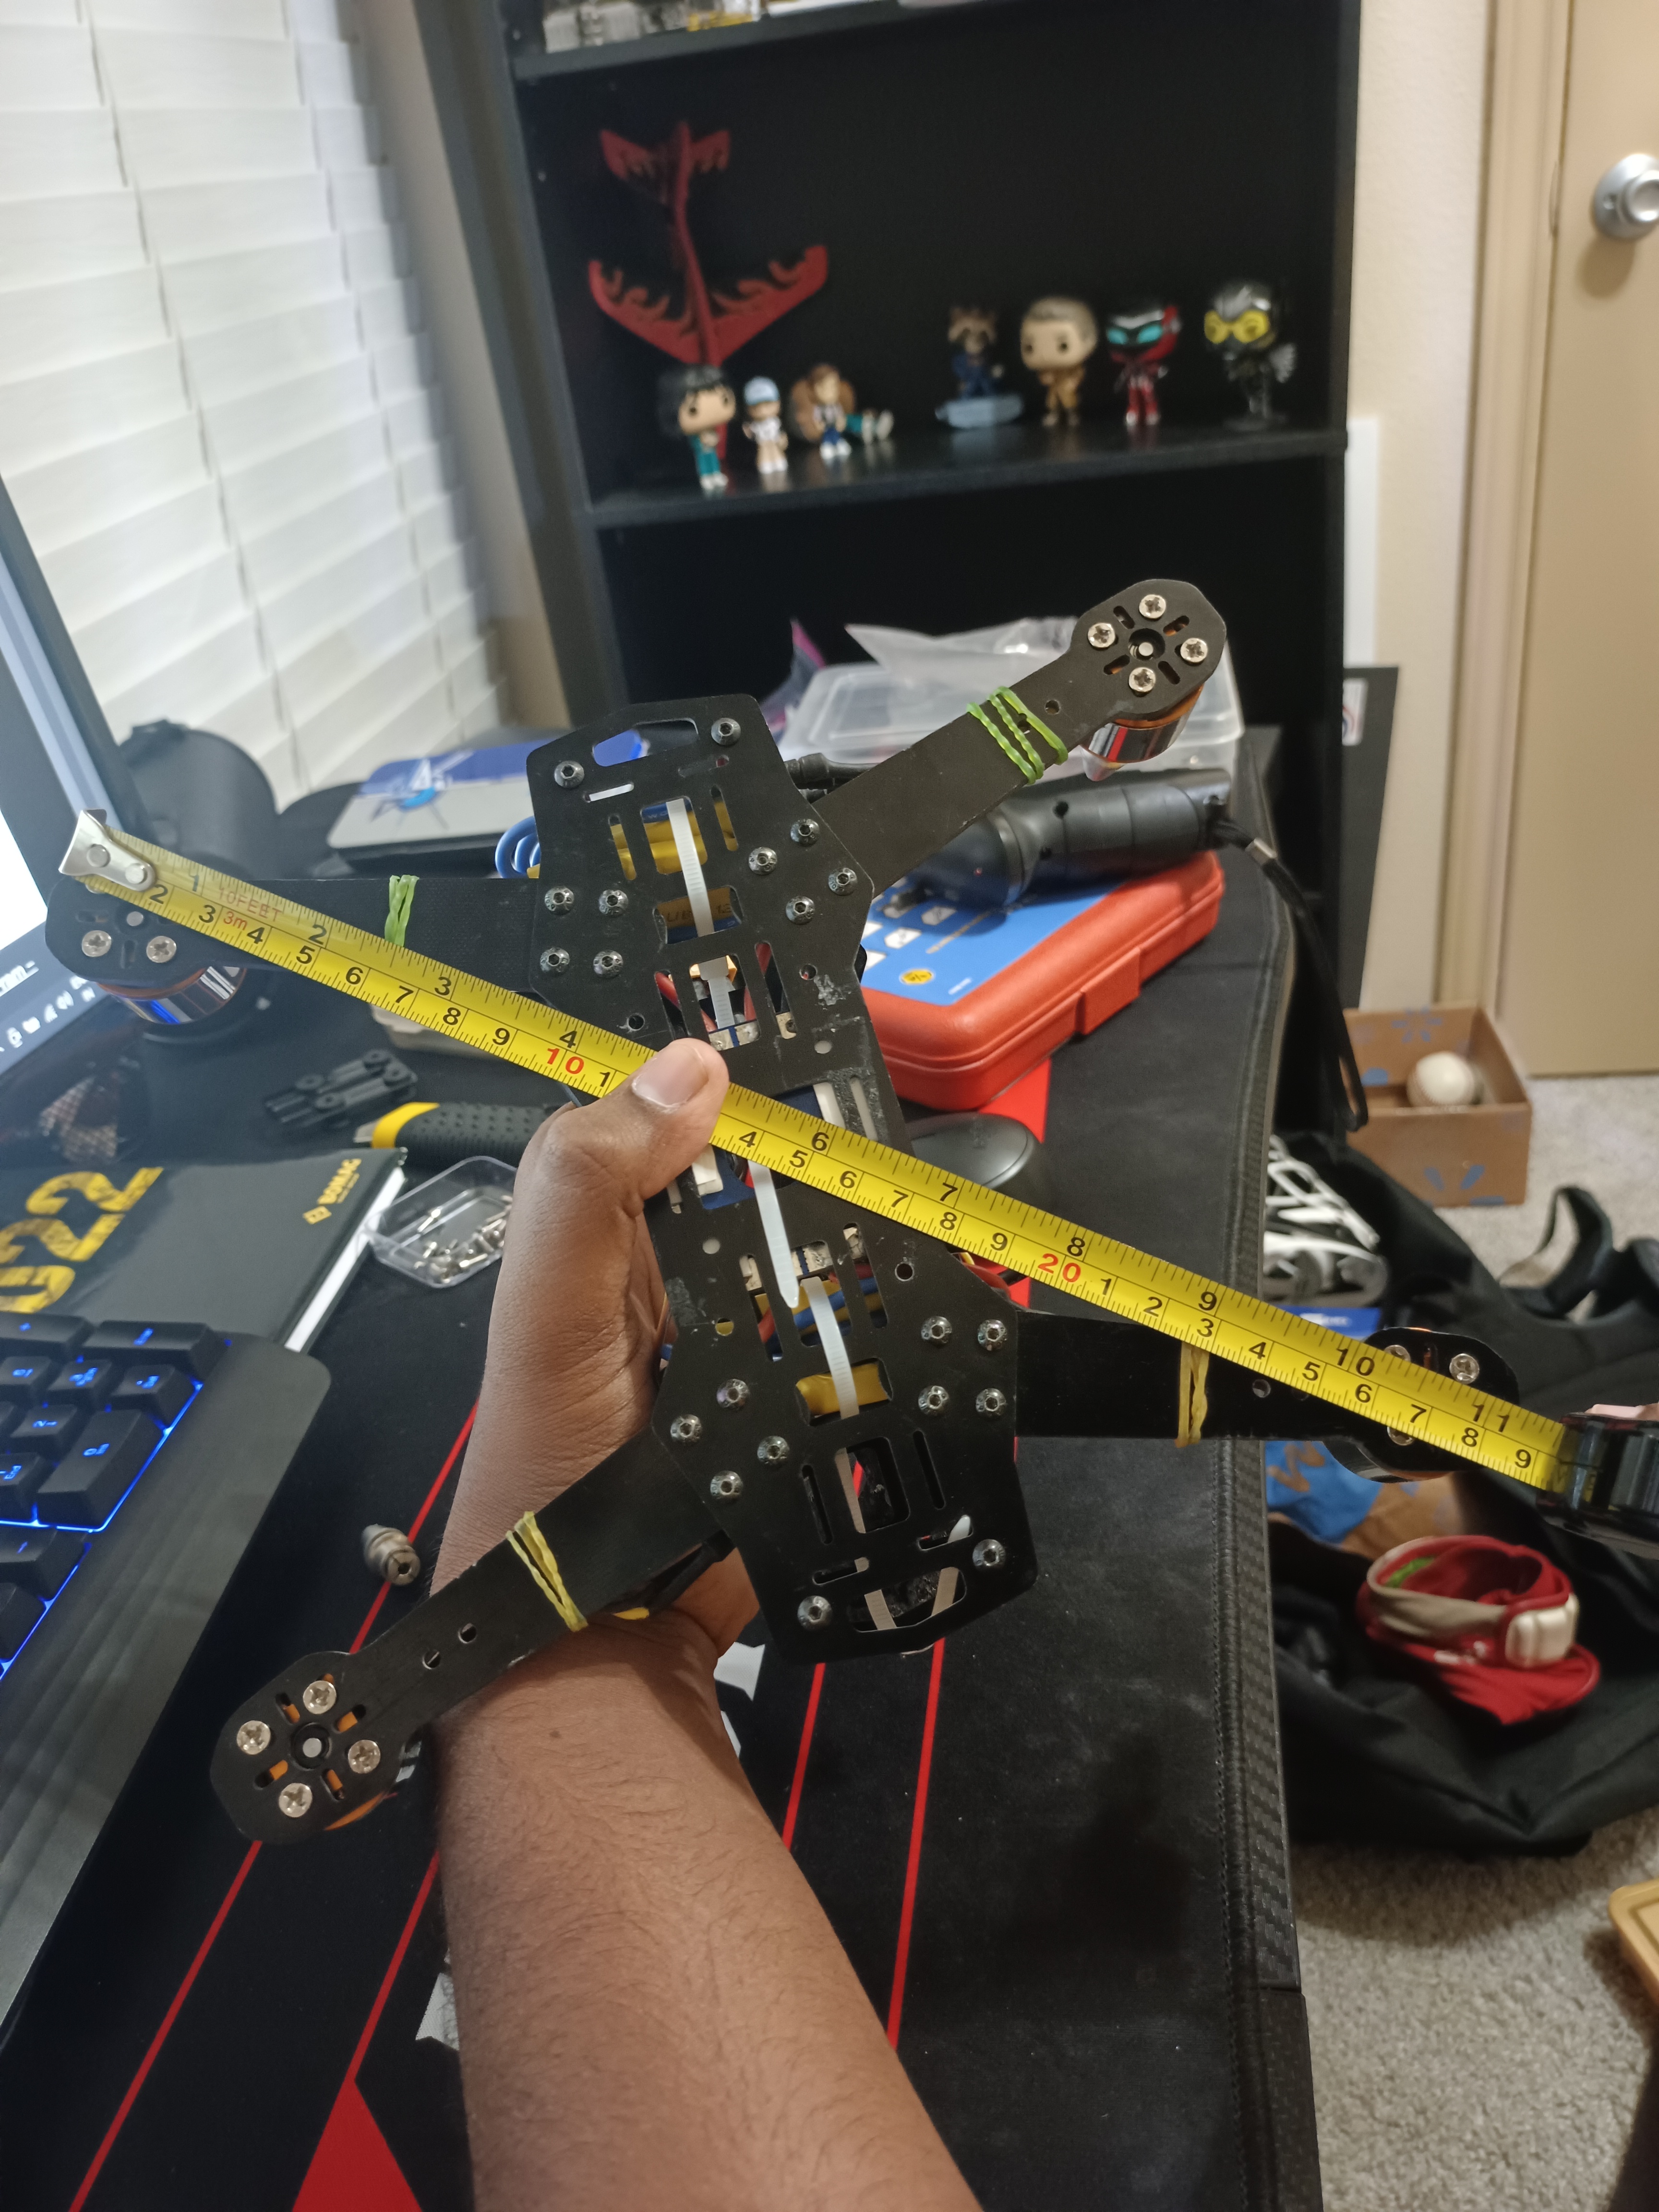
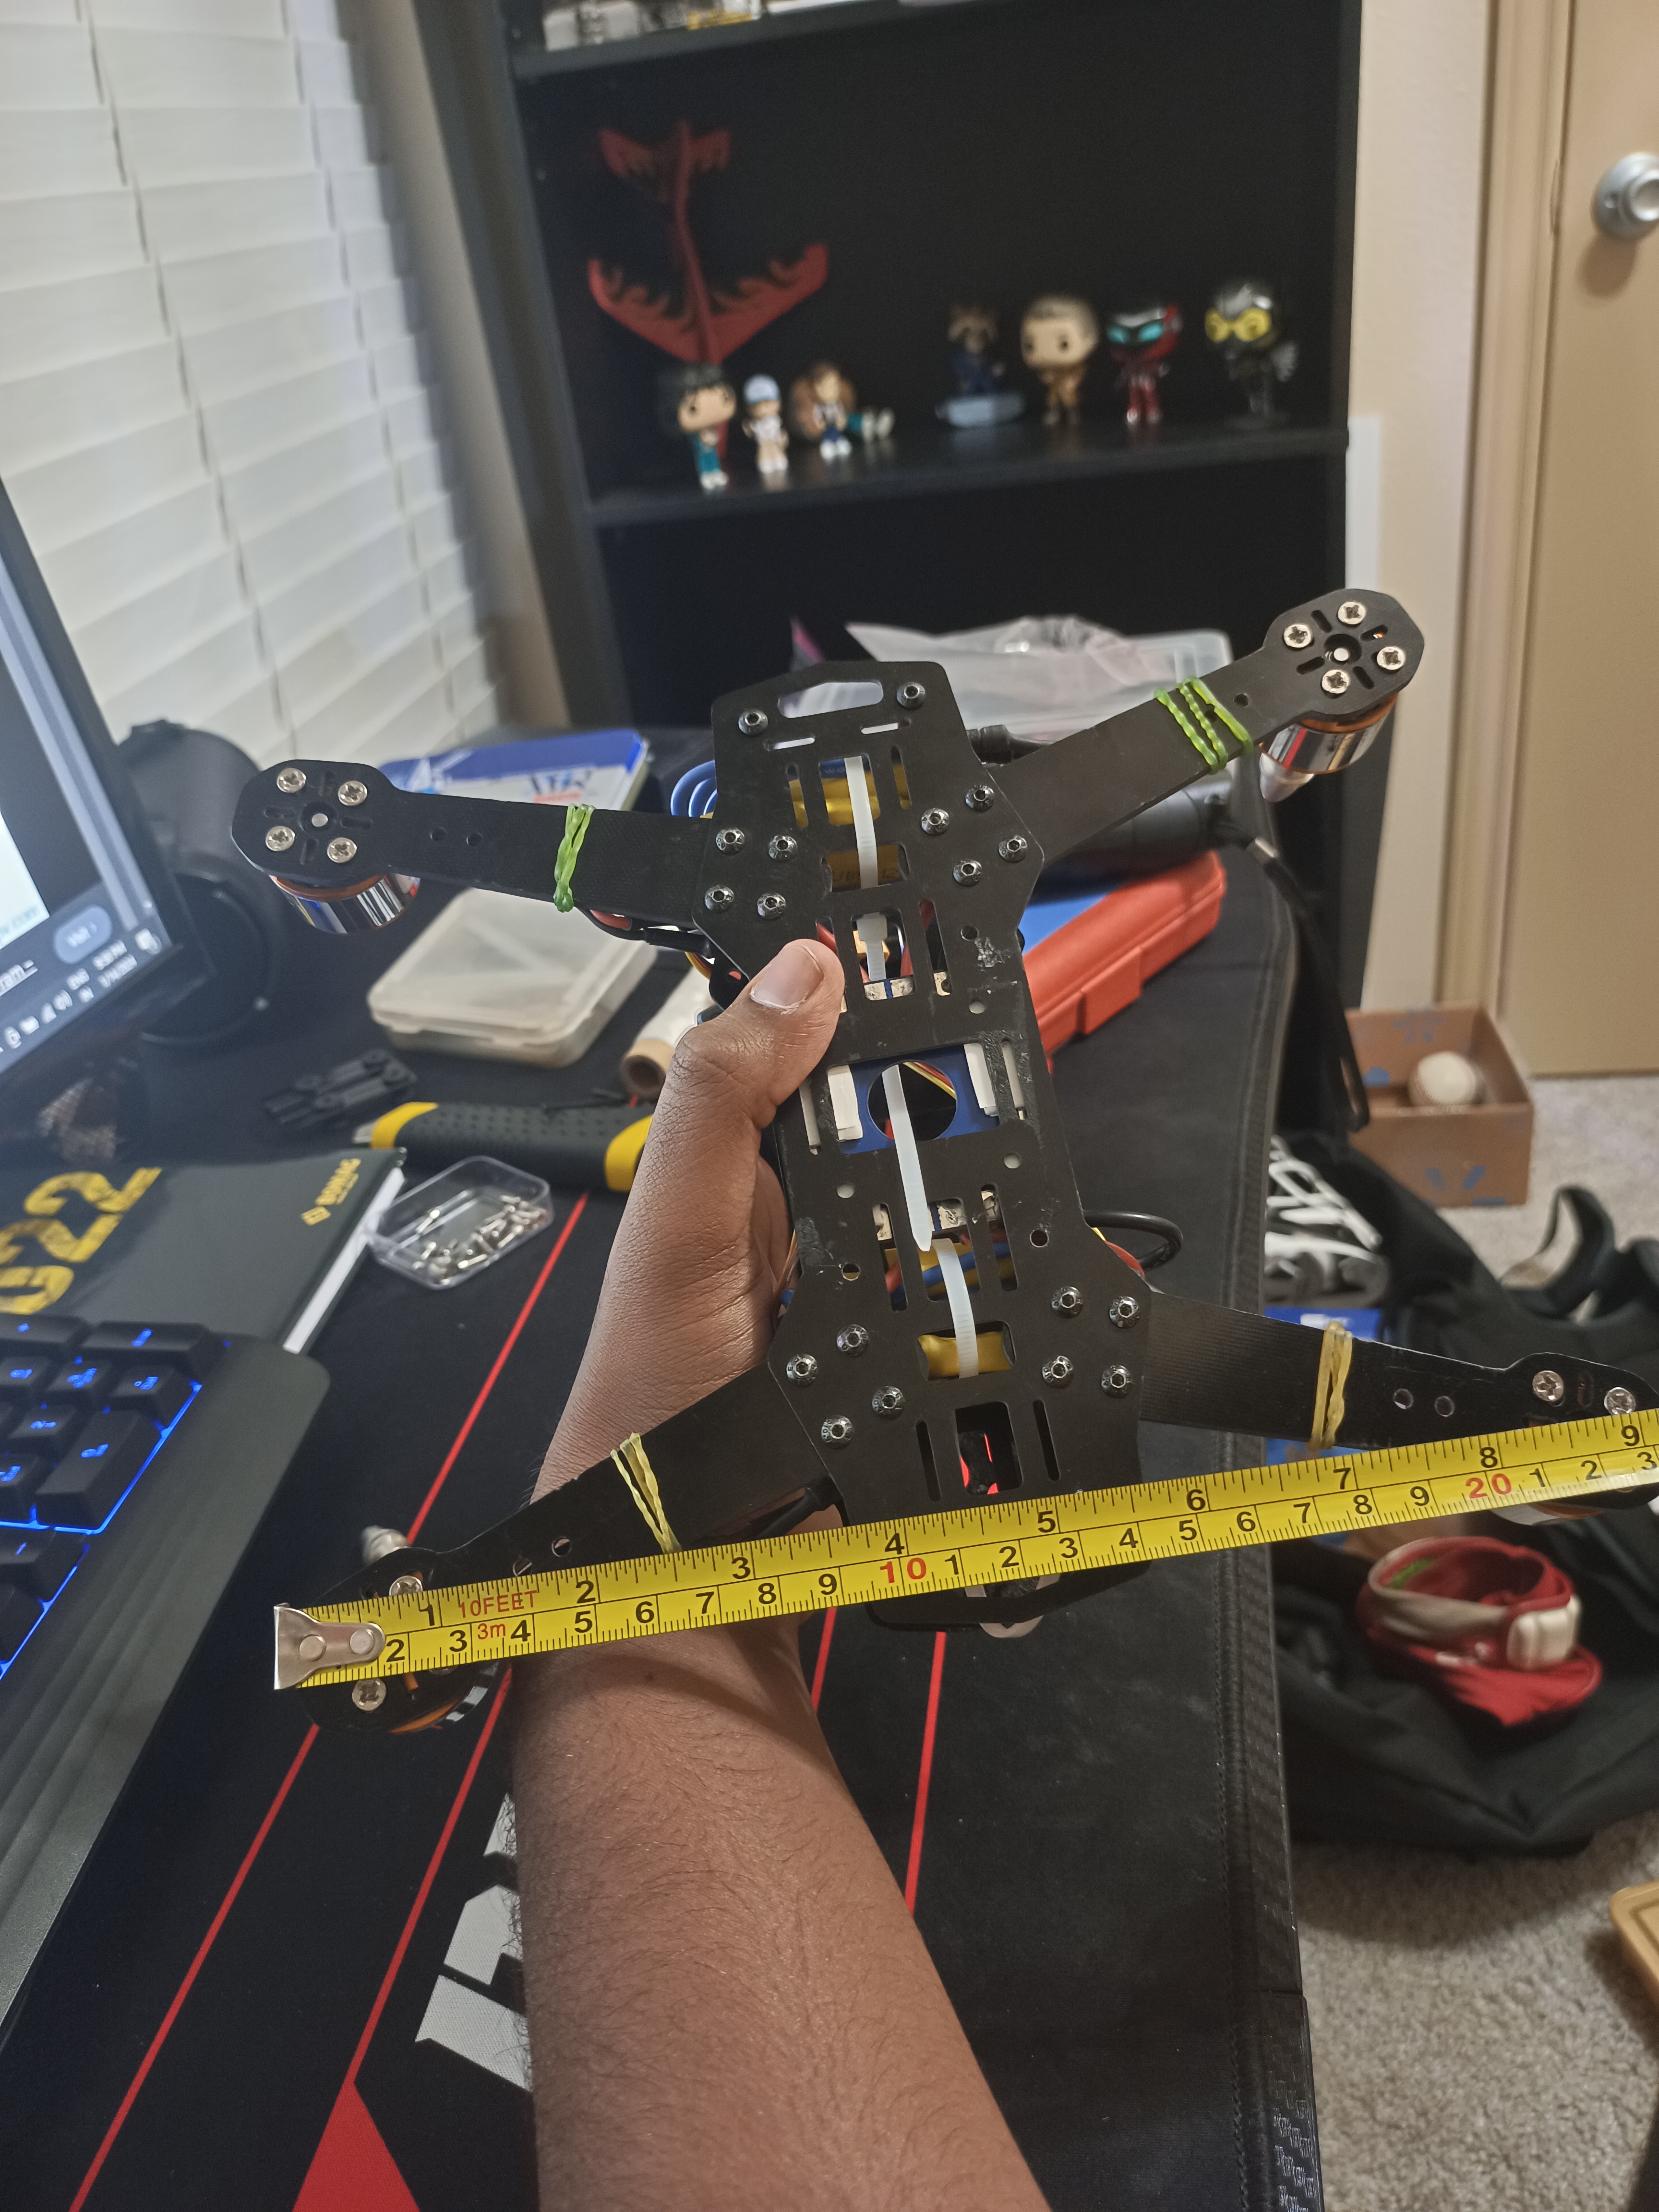
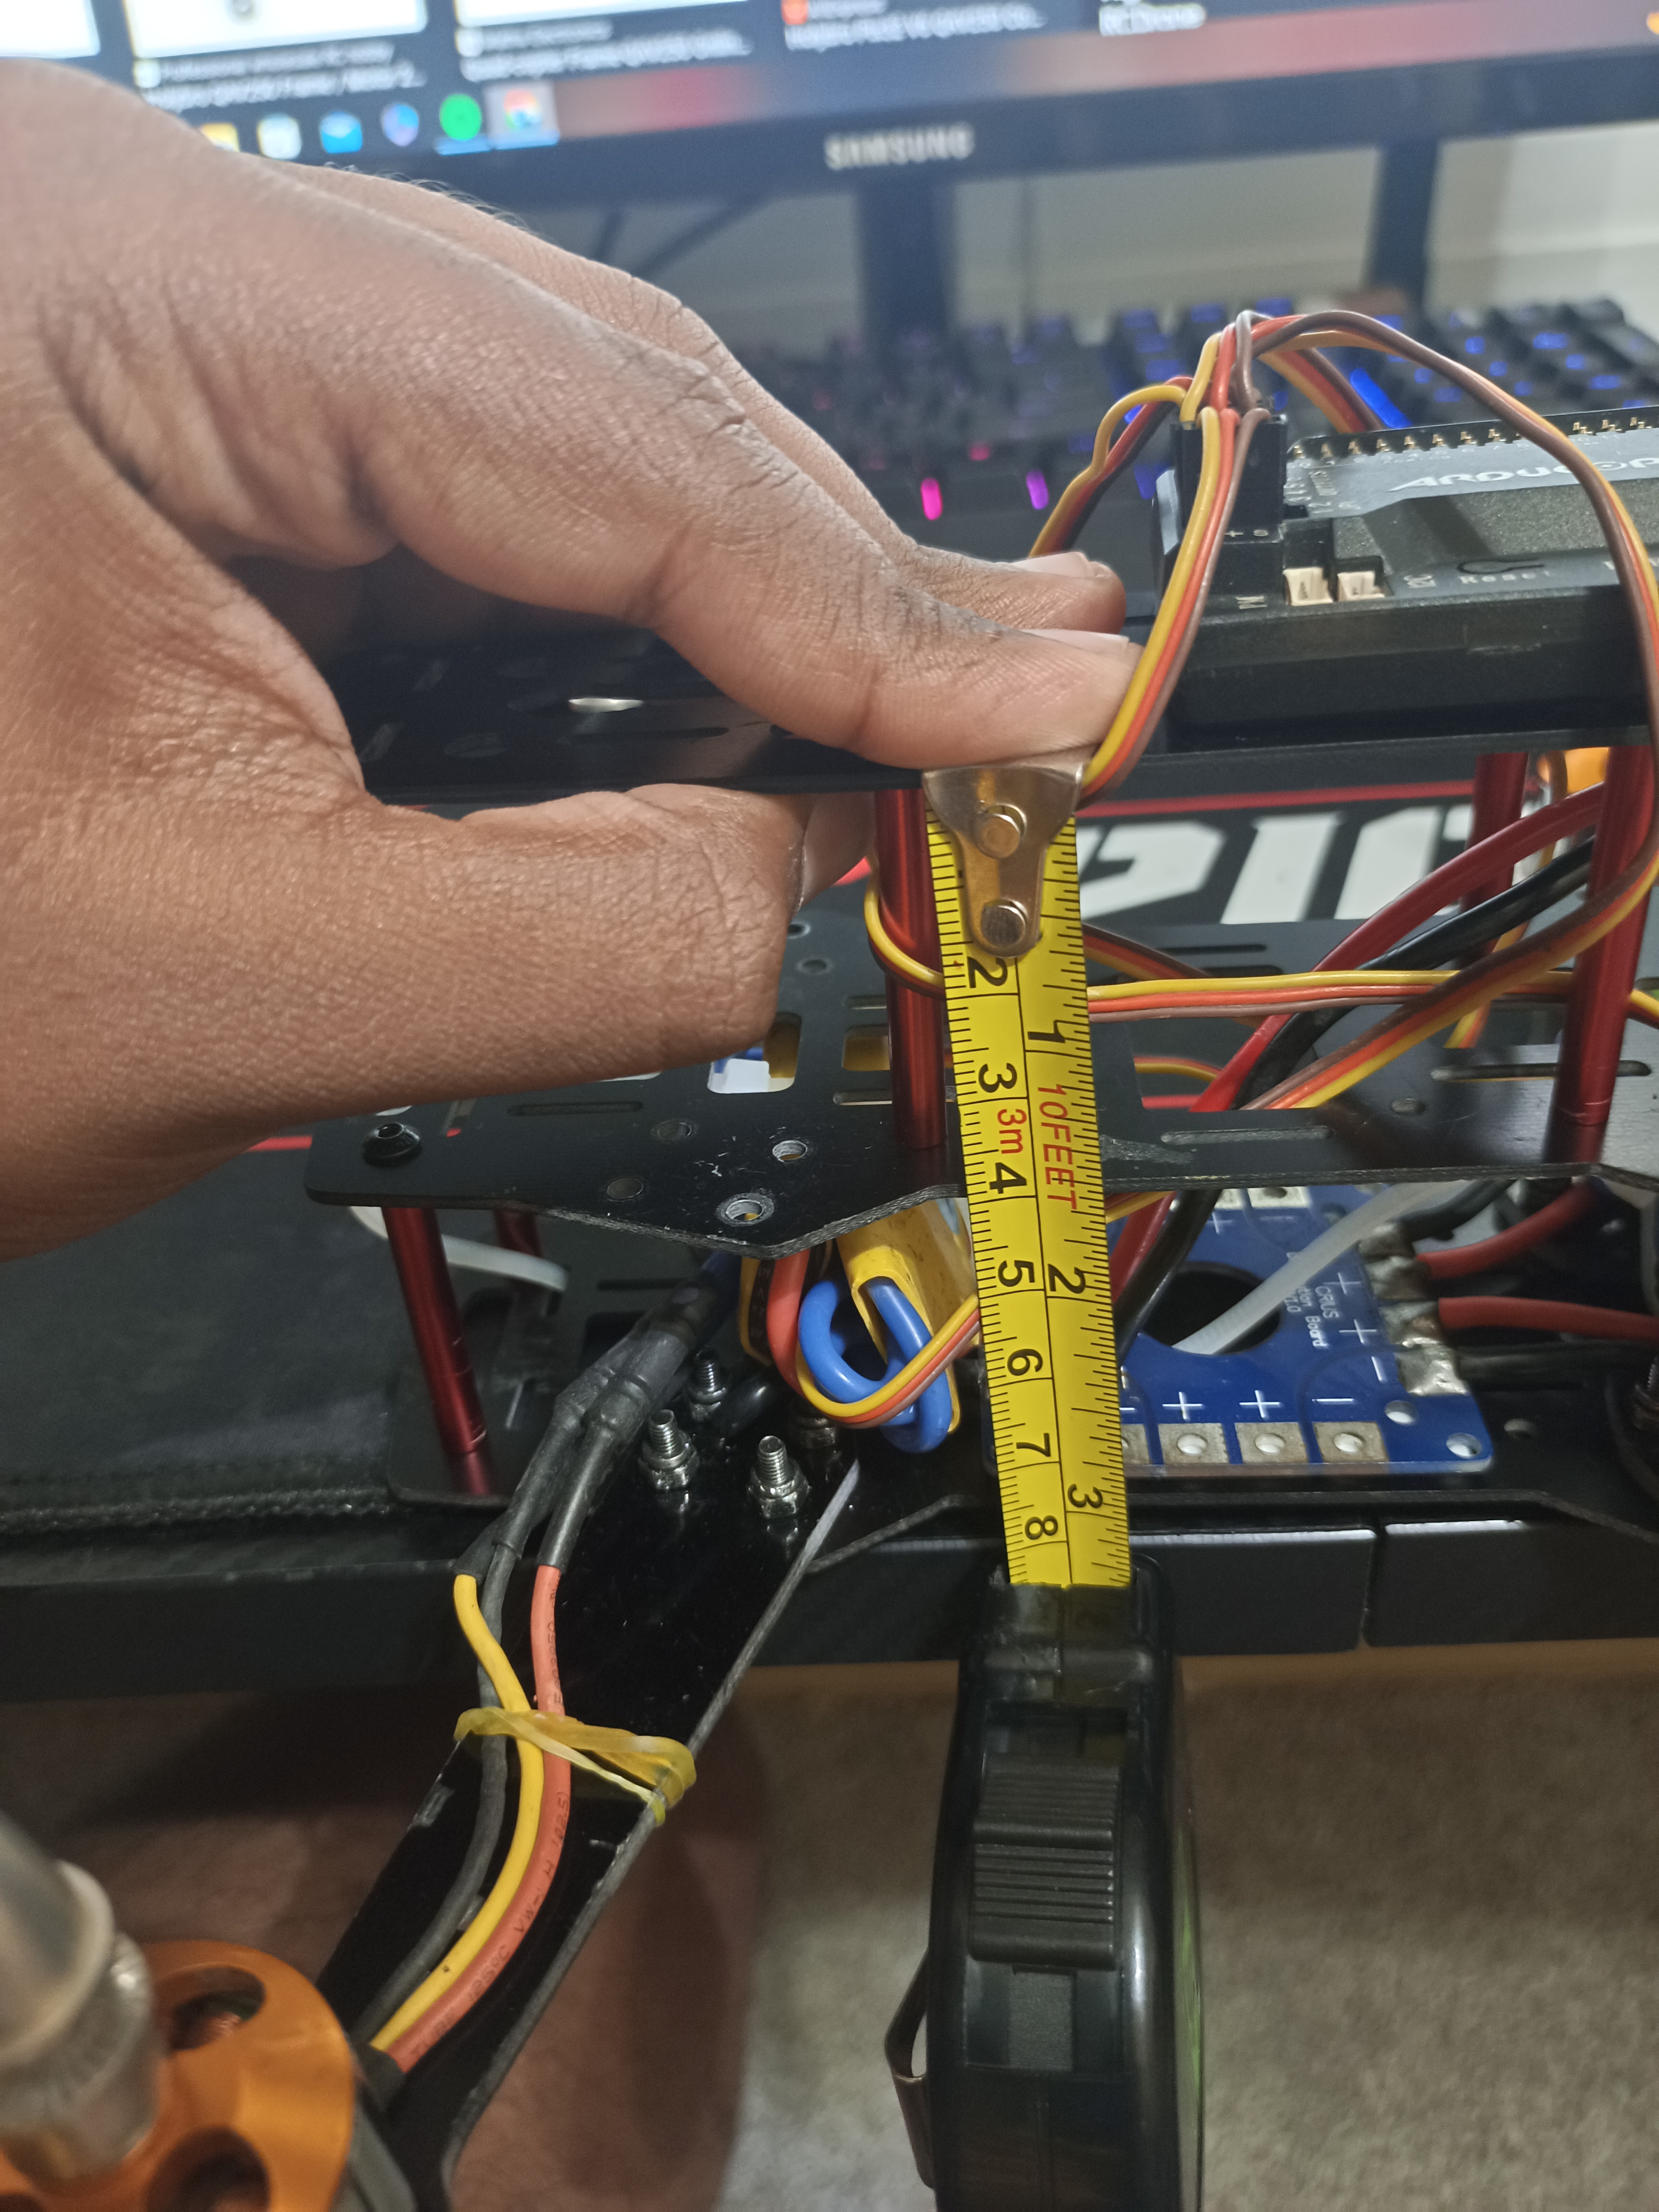
The hybrid drone prototype has a compact 250 mm (9.8-inch) frame, with an overall height of 70 to 100 mm (2.8 to 4 inches). However, due to customization options—such as different motors, propellers, or attachments—the exact measurements can vary. This flexibility allows the drone to be tailored for specific applications.
Components
QAC 250 mm Carbon Fiber Frame
The carbon fiber frame provides a lightweight yet strong structure, ensuring durability during flight. The 250 mm size refers to the diagonal distance between the motors, making it compact and suitable for many drone applications.
1800KV BLDC Motor
The 1800KV BLDC motors are efficient and provide high power, allowing the drone to maintain stability and speed. These motors are ideal for delivering the necessary thrust for various flight conditions.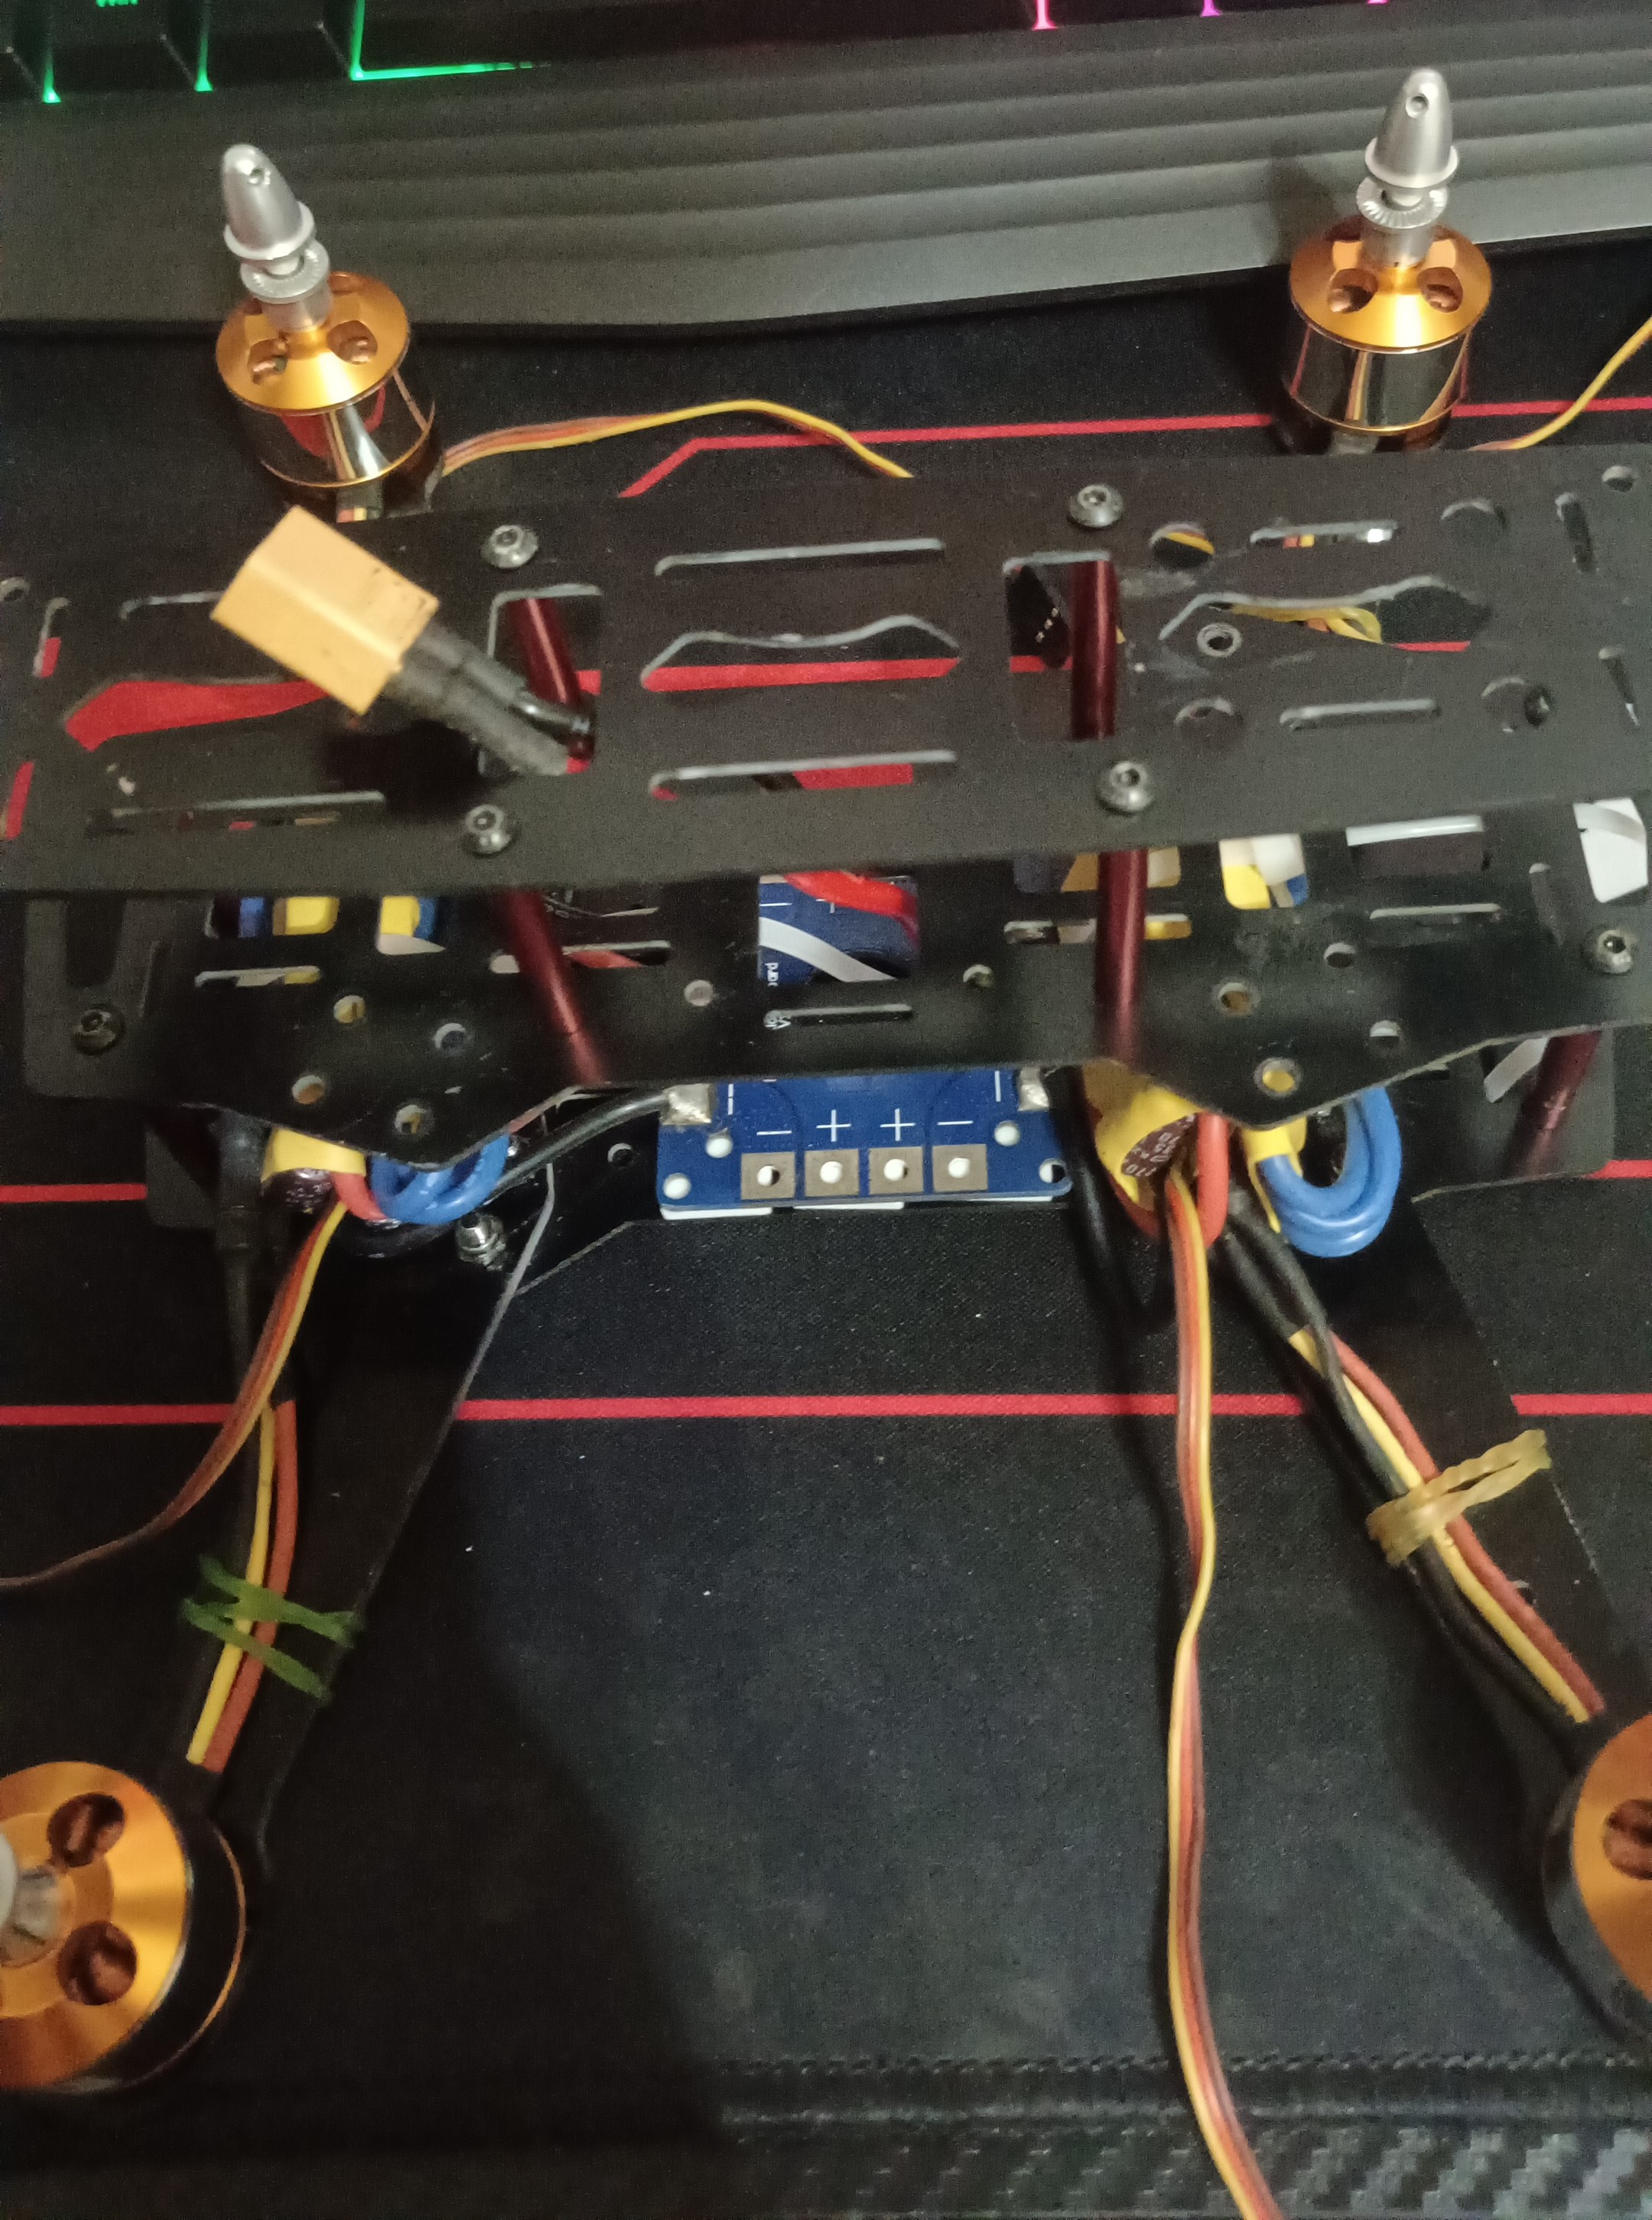
Power Distribution Board & 30 Amp Electronic Speed Controller (ESC)
The power distribution board connects the battery to the motors and ESCs, efficiently distributing power and maintaining stable electrical connections. The 30 Amp ESC ensures the smooth regulation of power to the motors, allowing them to operate efficiently and safely. ESCs are also crucial for controlling motor speed during flight. 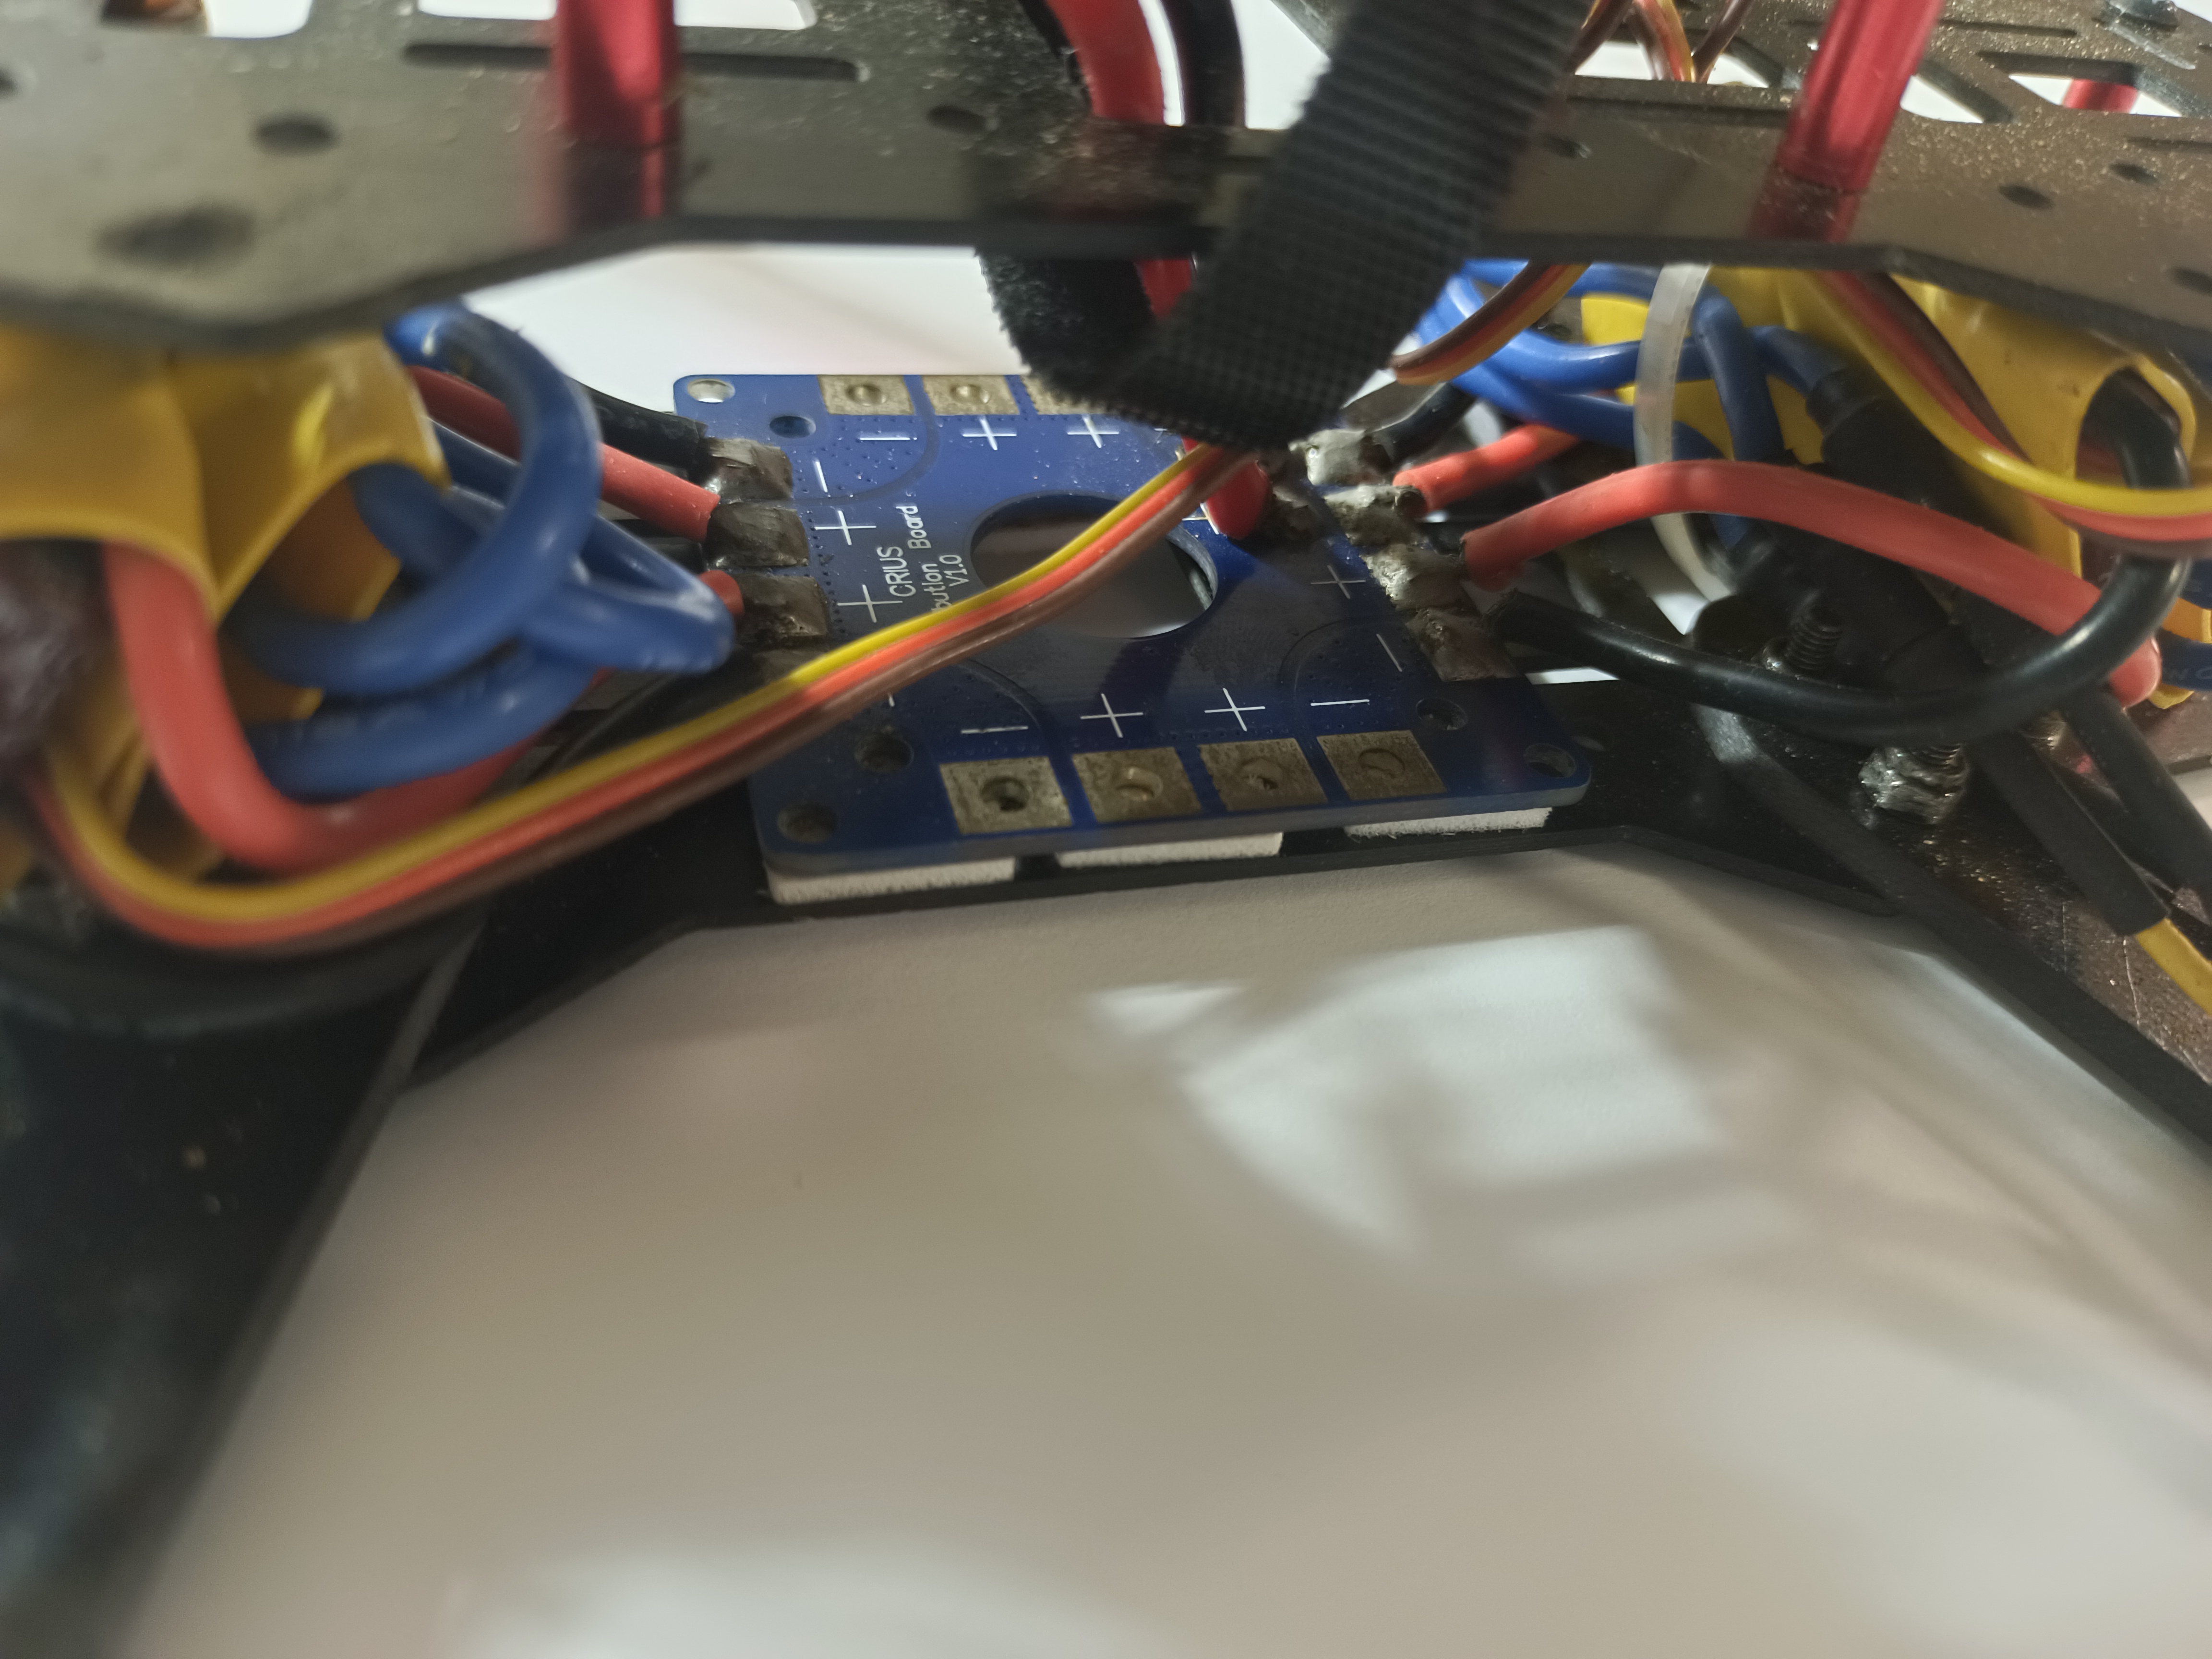
APM 2.8 Flight Controller
This open-source autopilot system offers advanced flight features like stabilization and autonomous flight modes. It supports various sensors and can be customized for different use cases.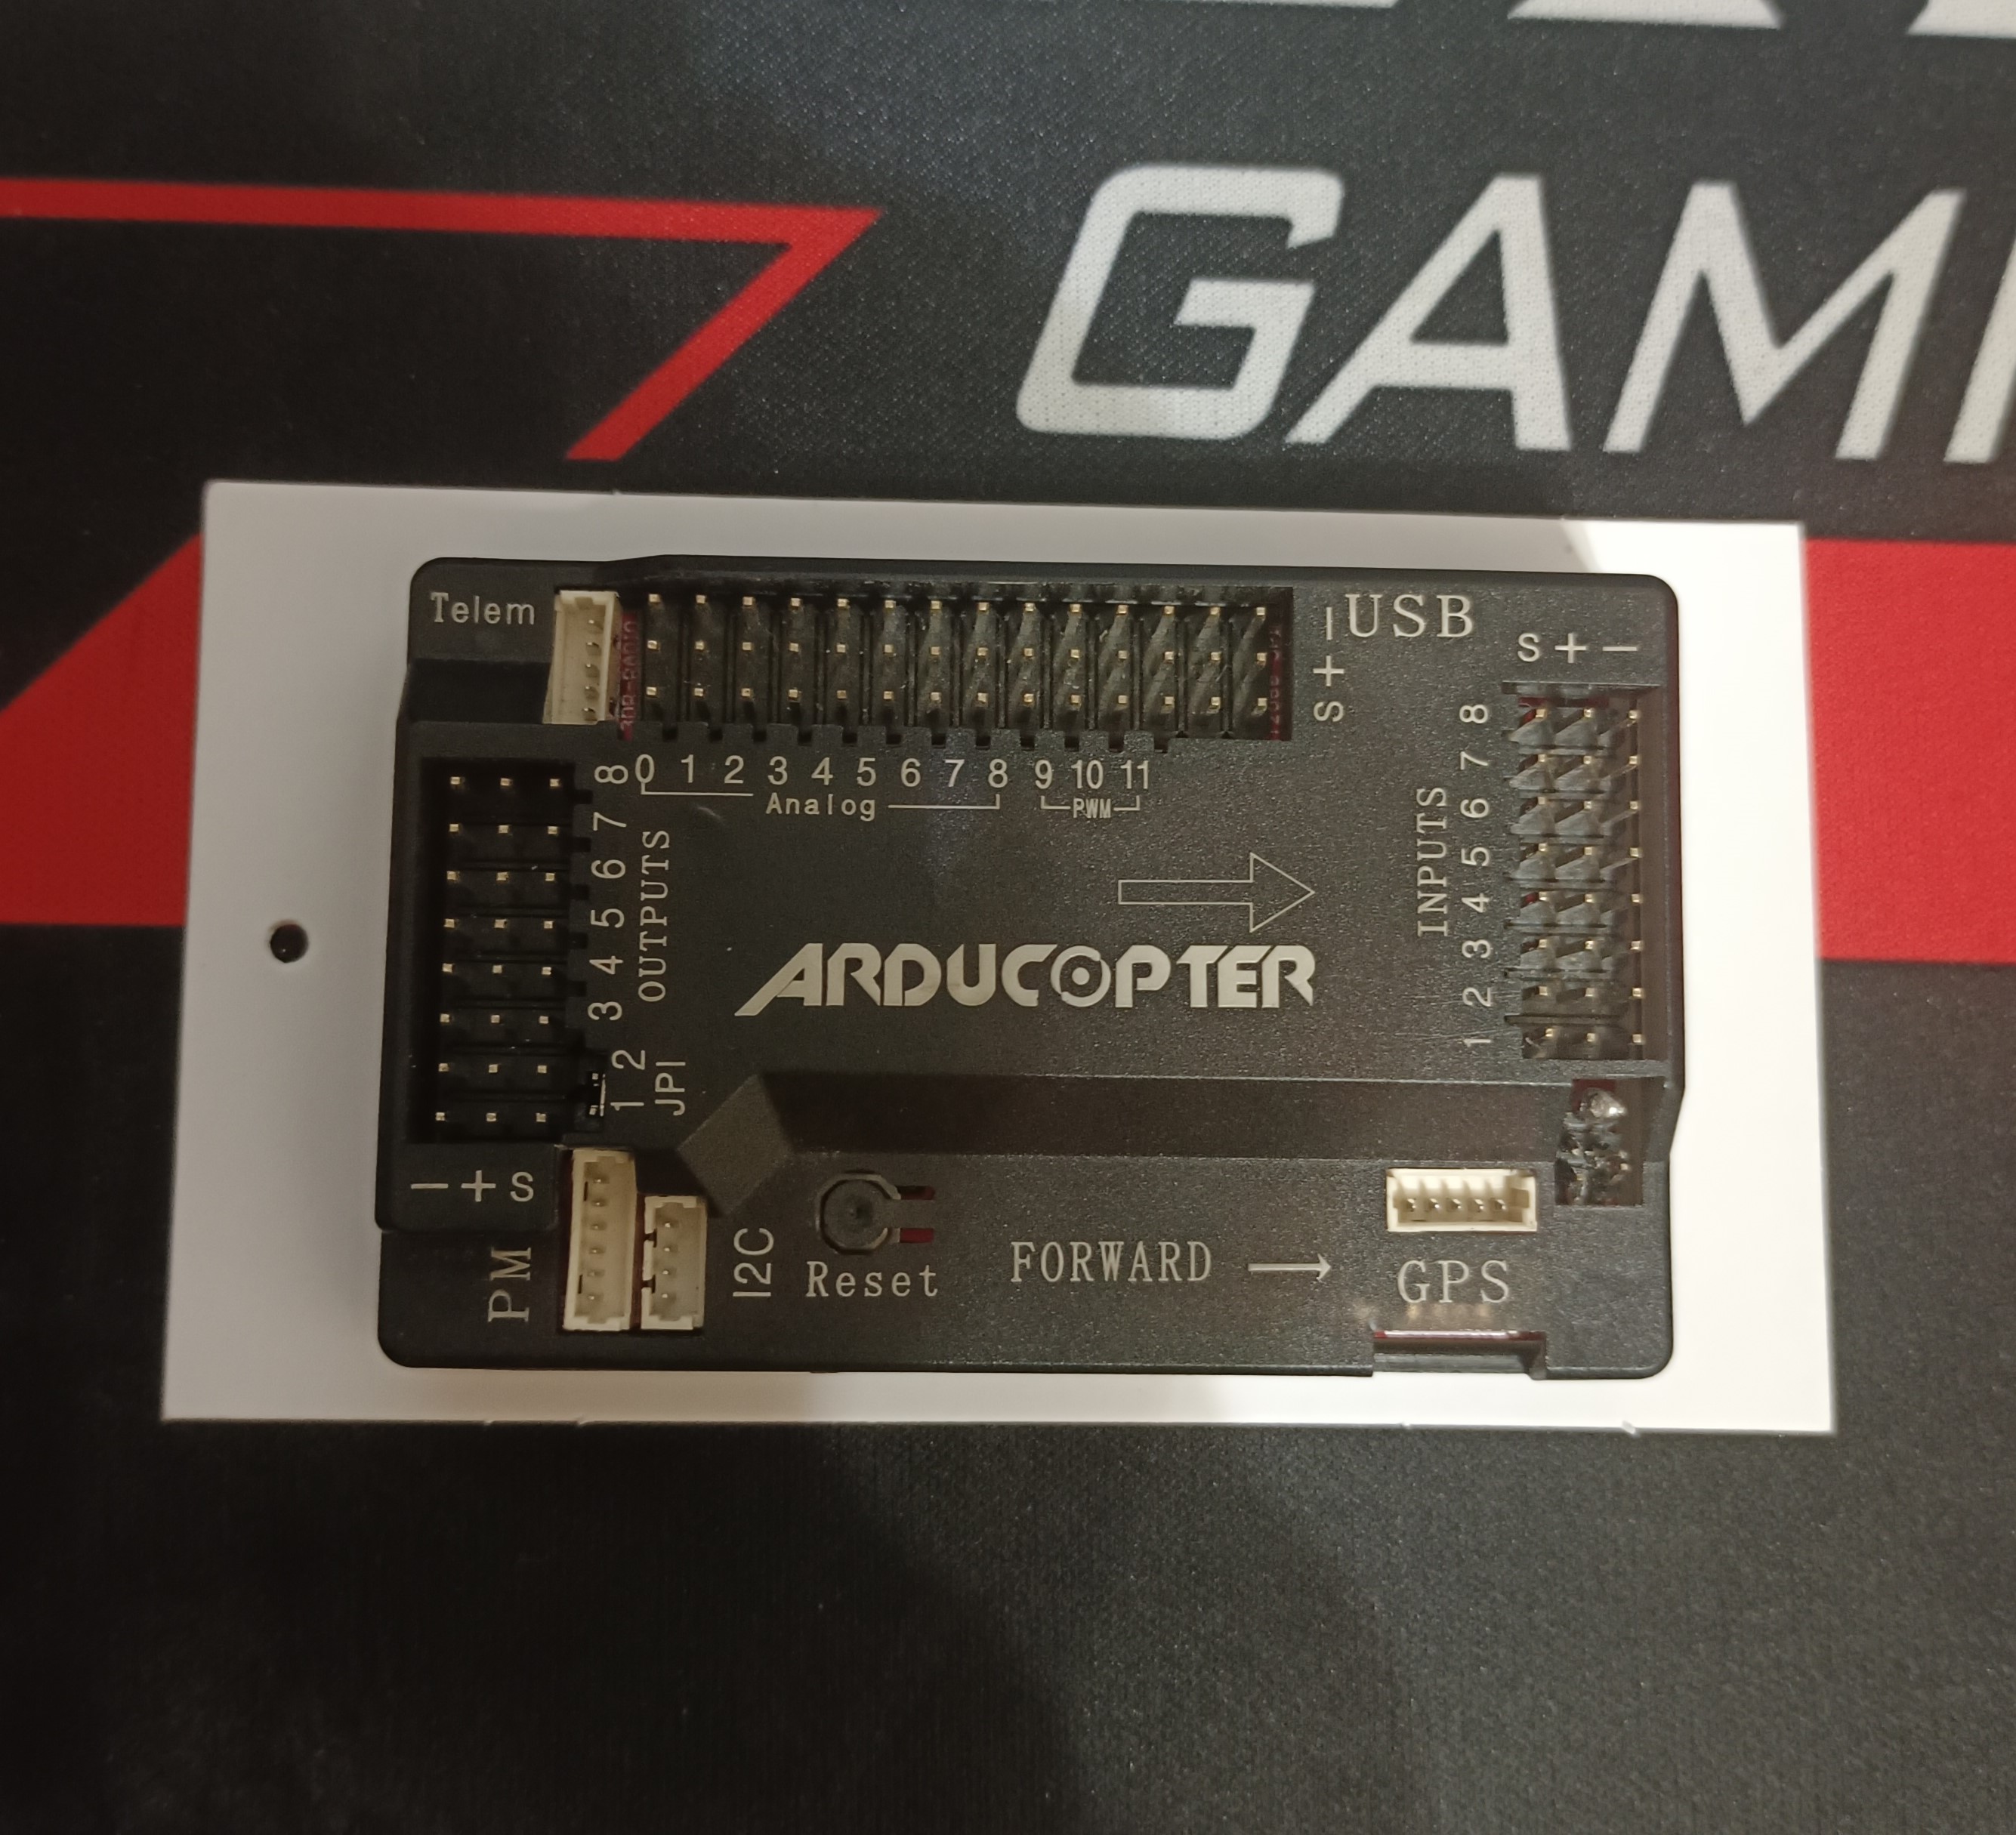
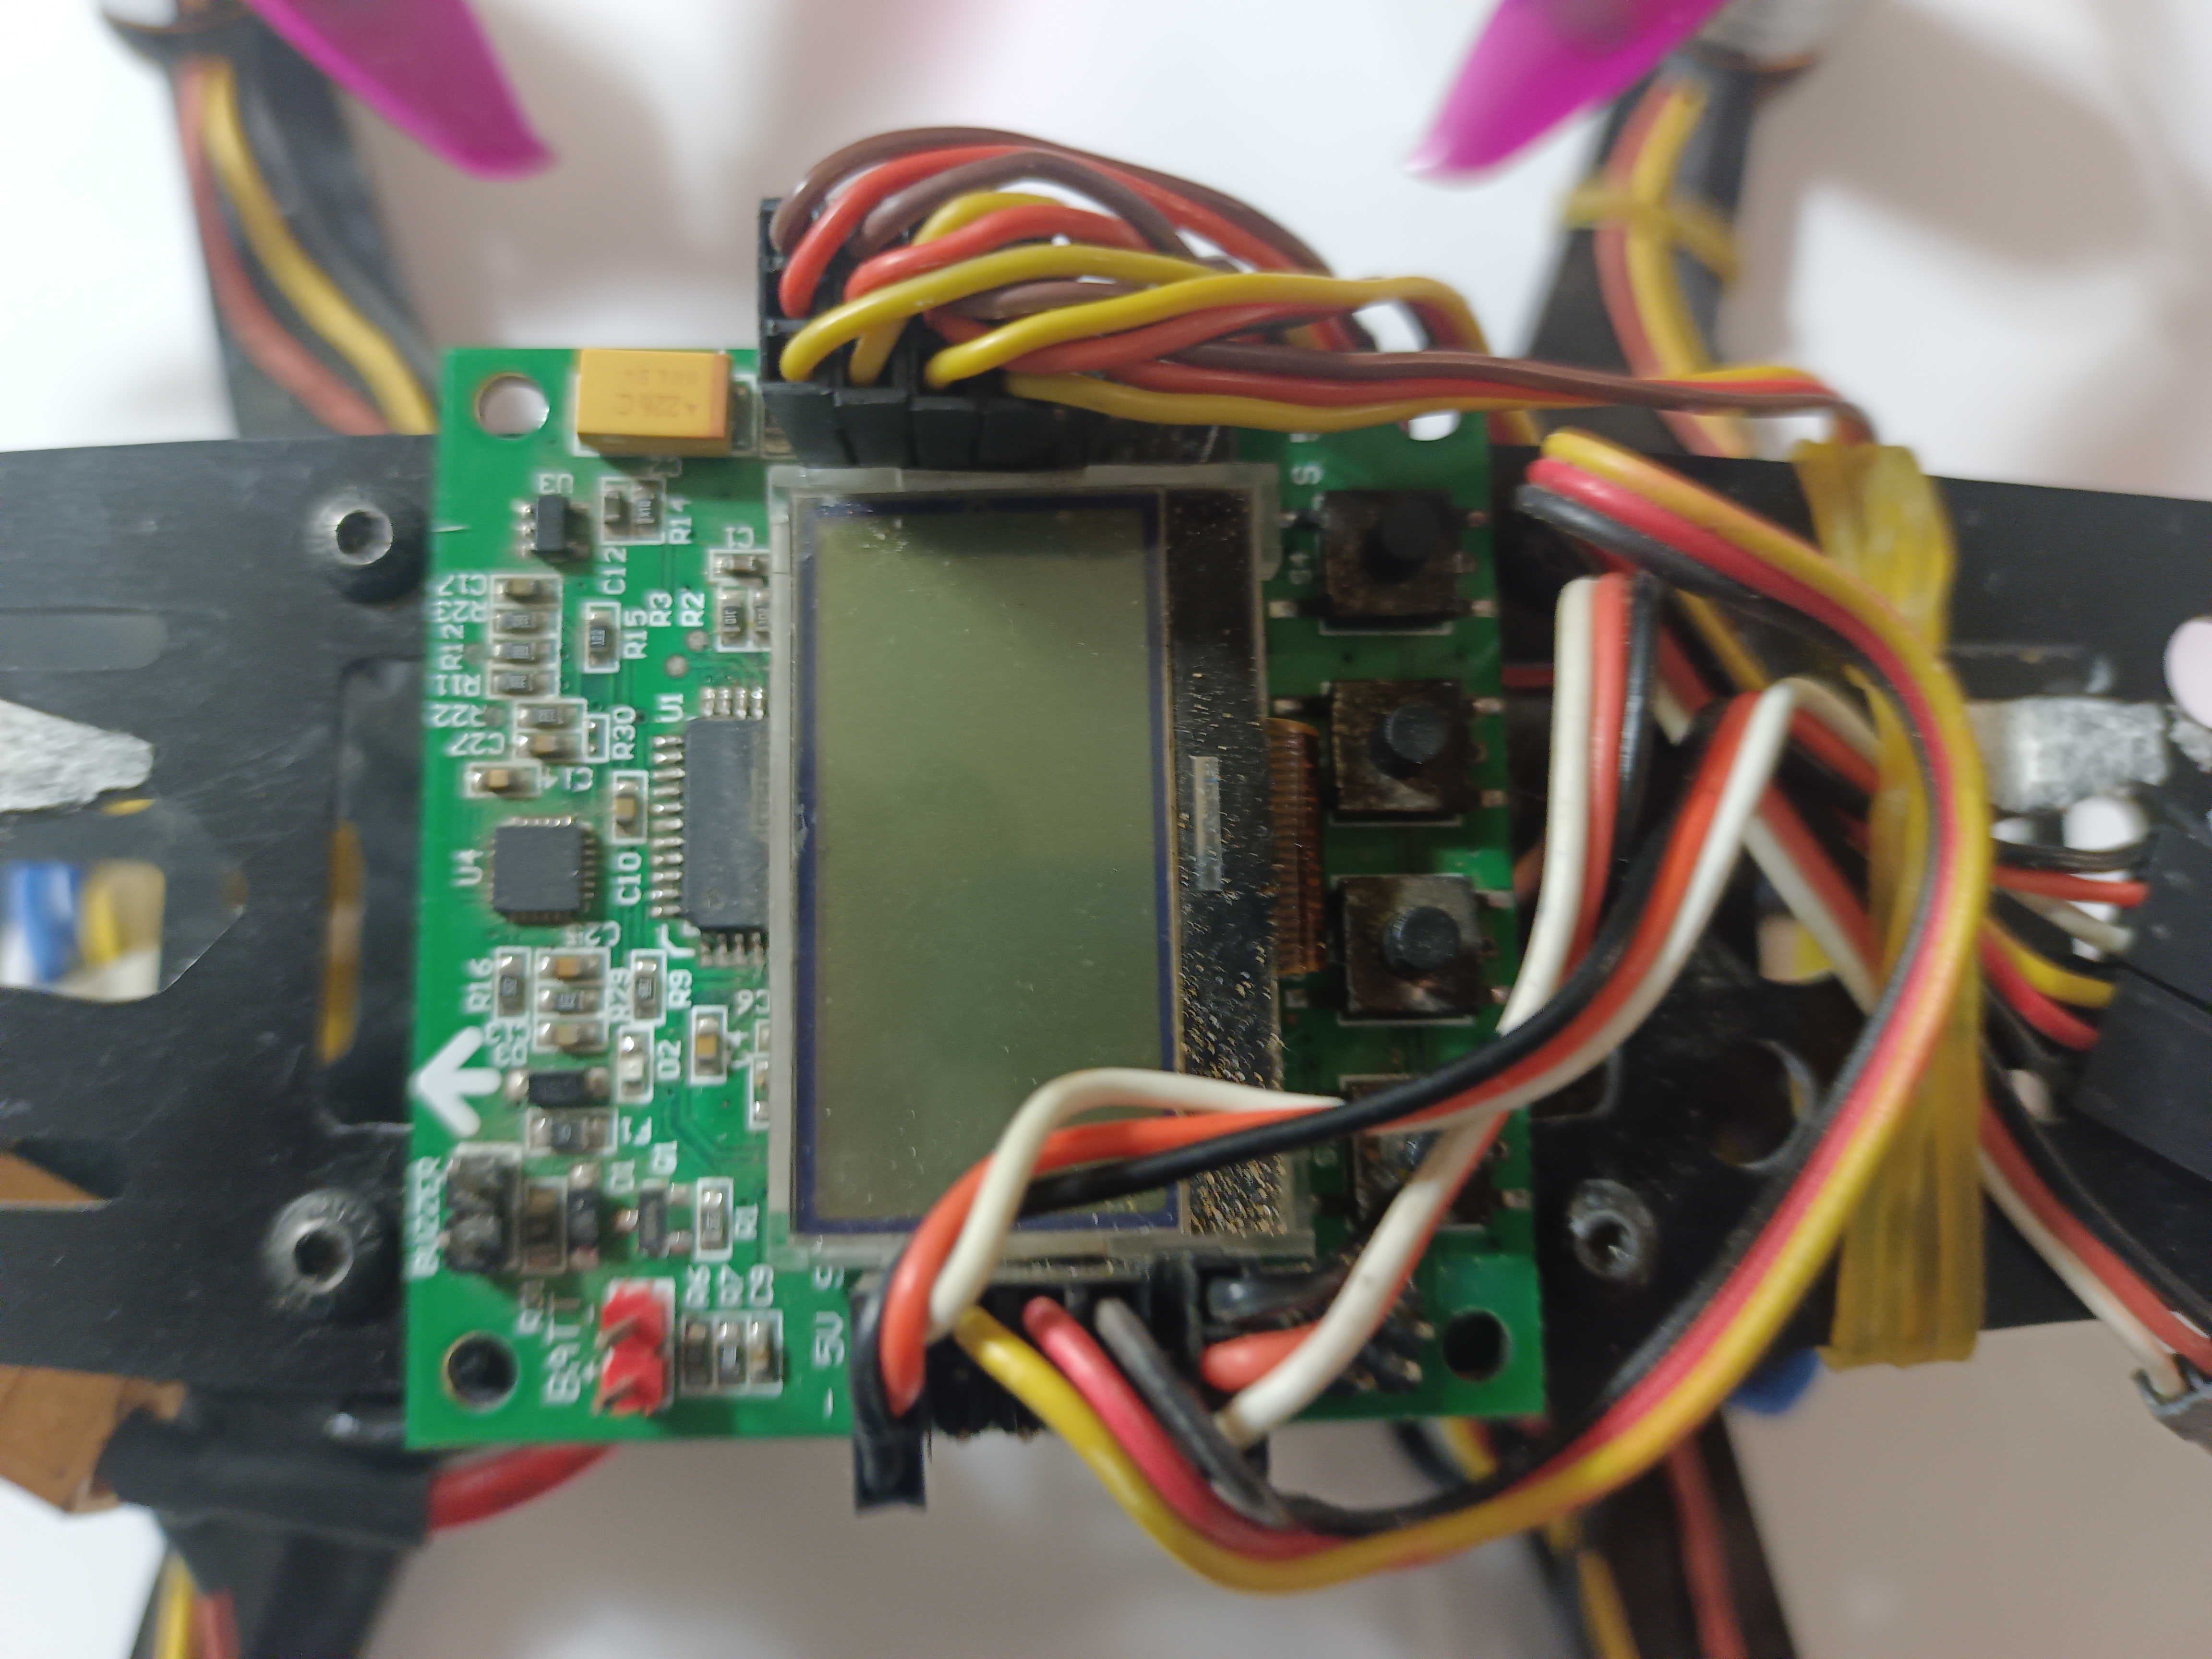
KK 2.1.5 Flight Controller (Backup)
The KK 2.1.5 flight controller serves as a backup system, offering a simple, stable, and reliable option for controlling the drone. It comes with an onboard LCD for easy setup and manual configuration, ensuring that in case of issues with the APM controller, the drone remains operational.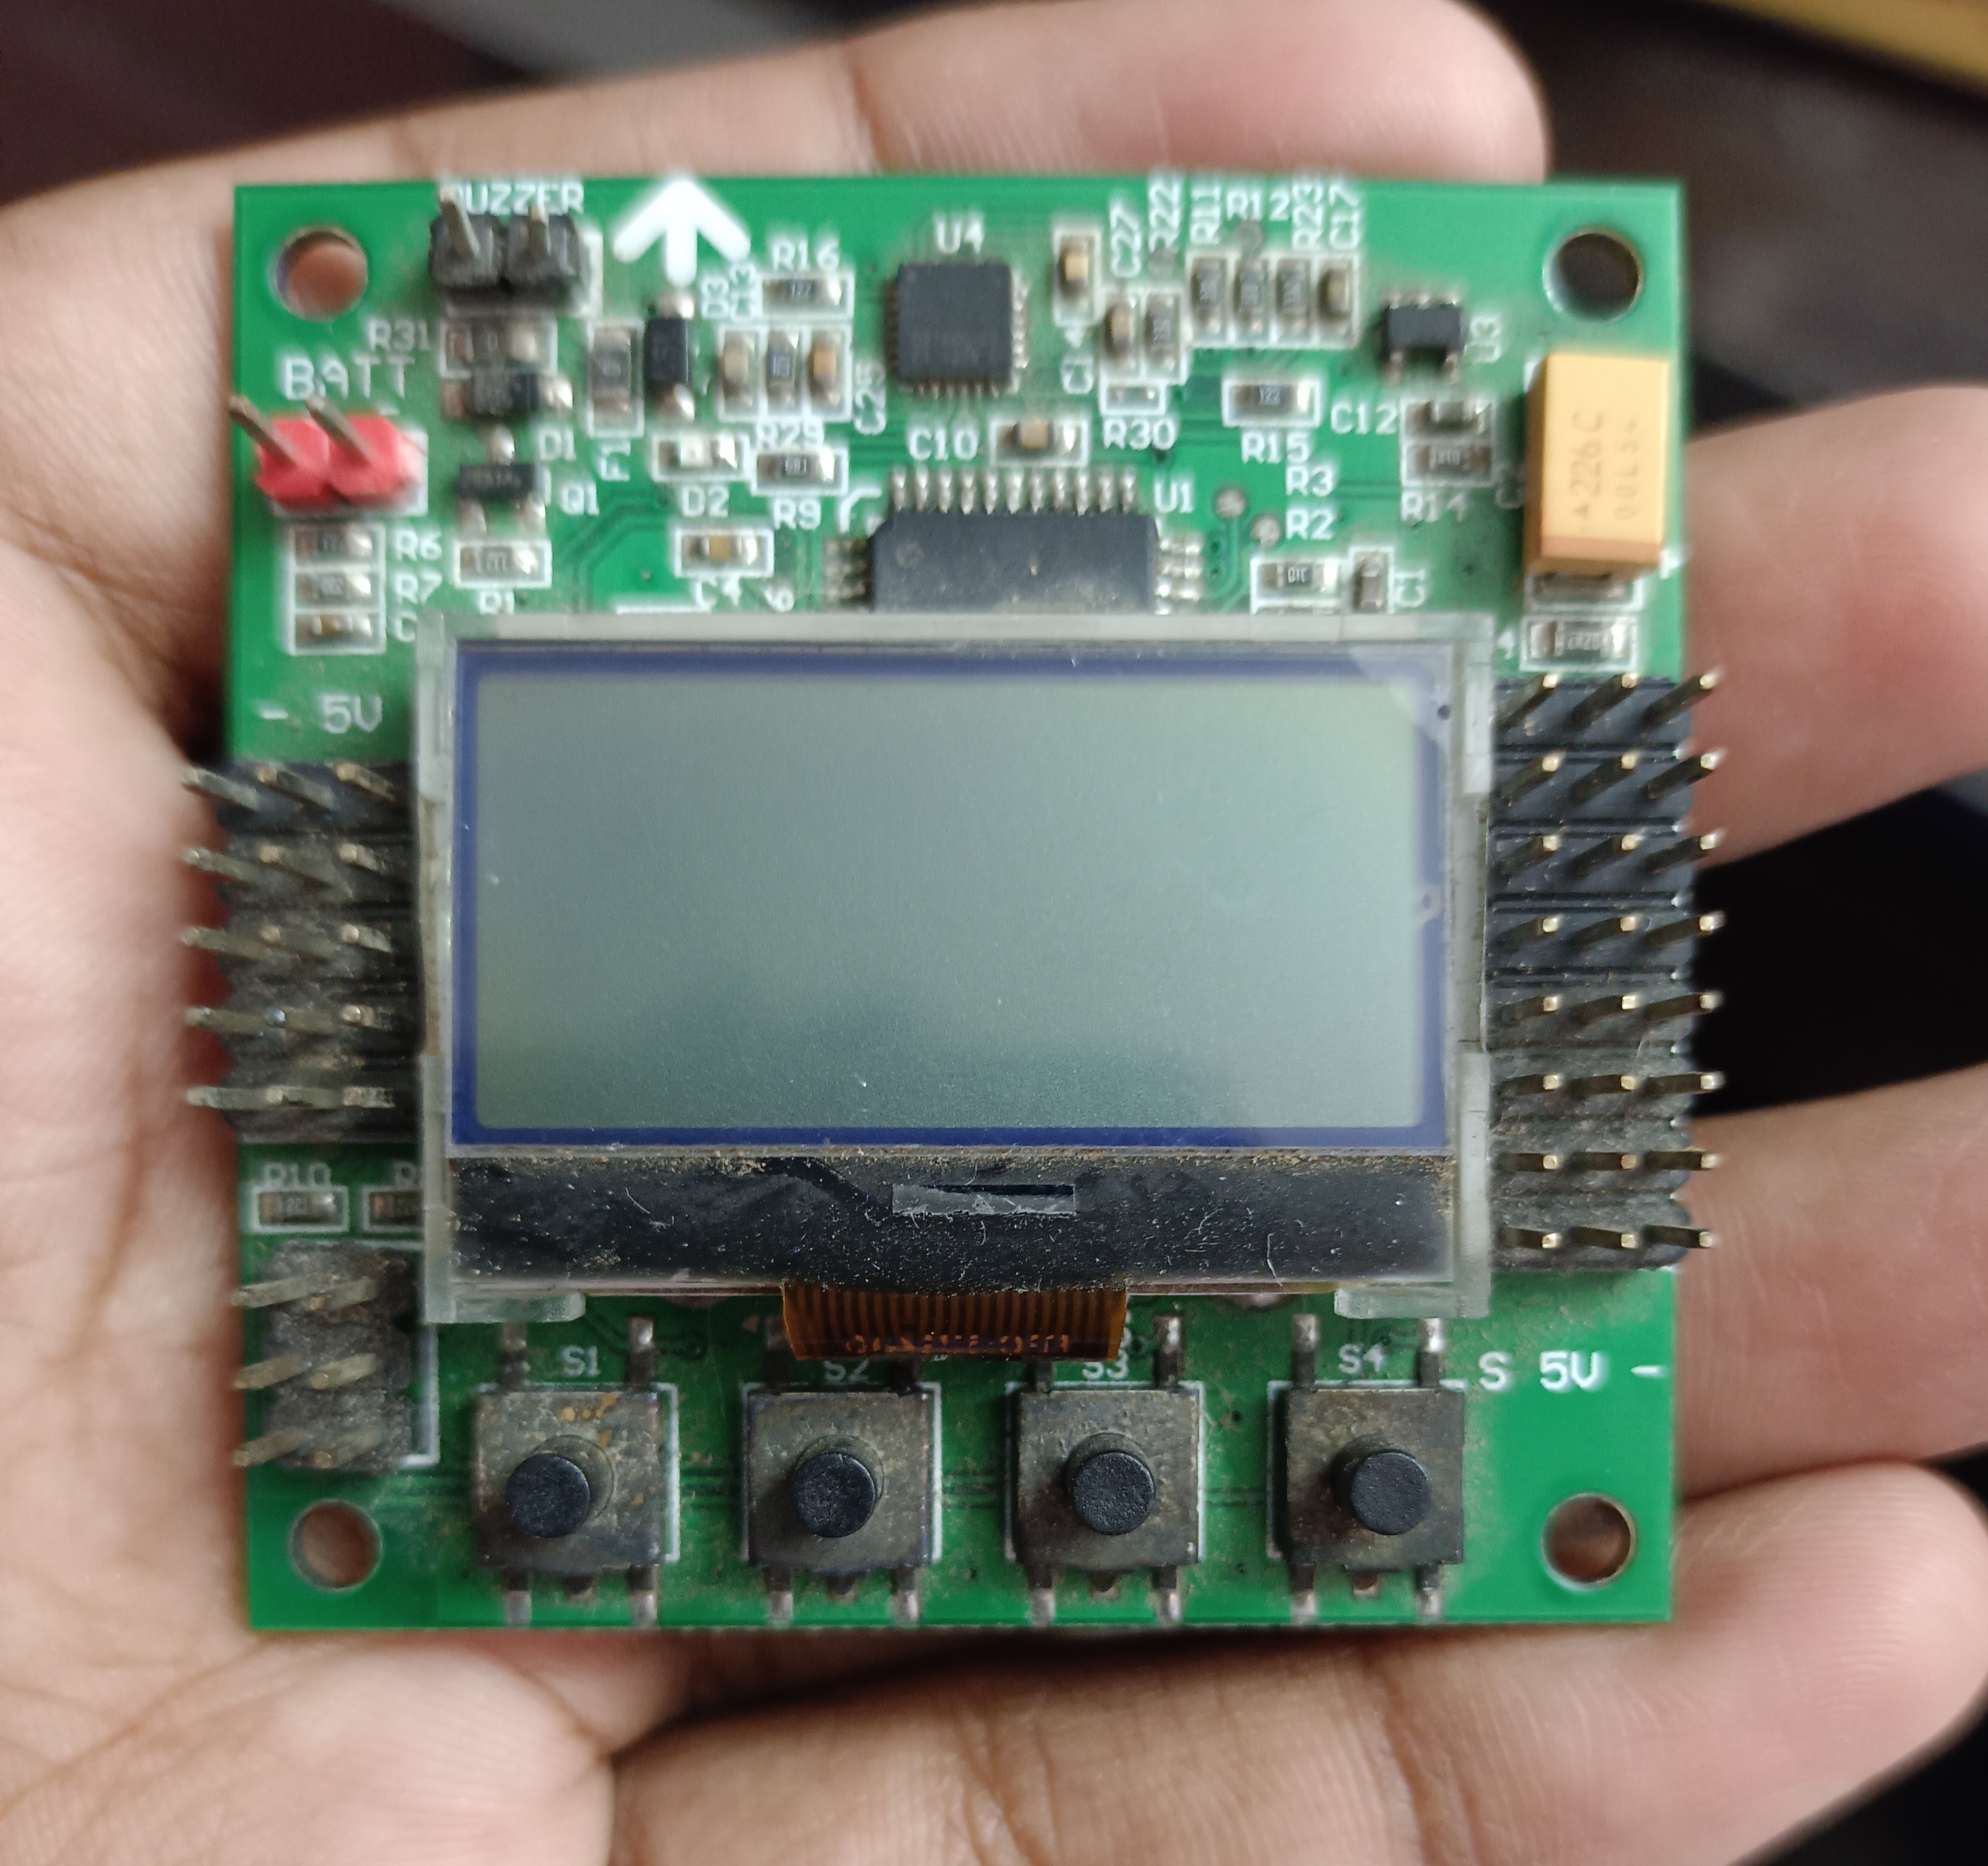
5 Inch 5 Pitch Propeller
The 5-inch propellers generate the thrust needed for stable flight. Their pitch provides an optimal balance of lift and efficiency, suitable for this prototype.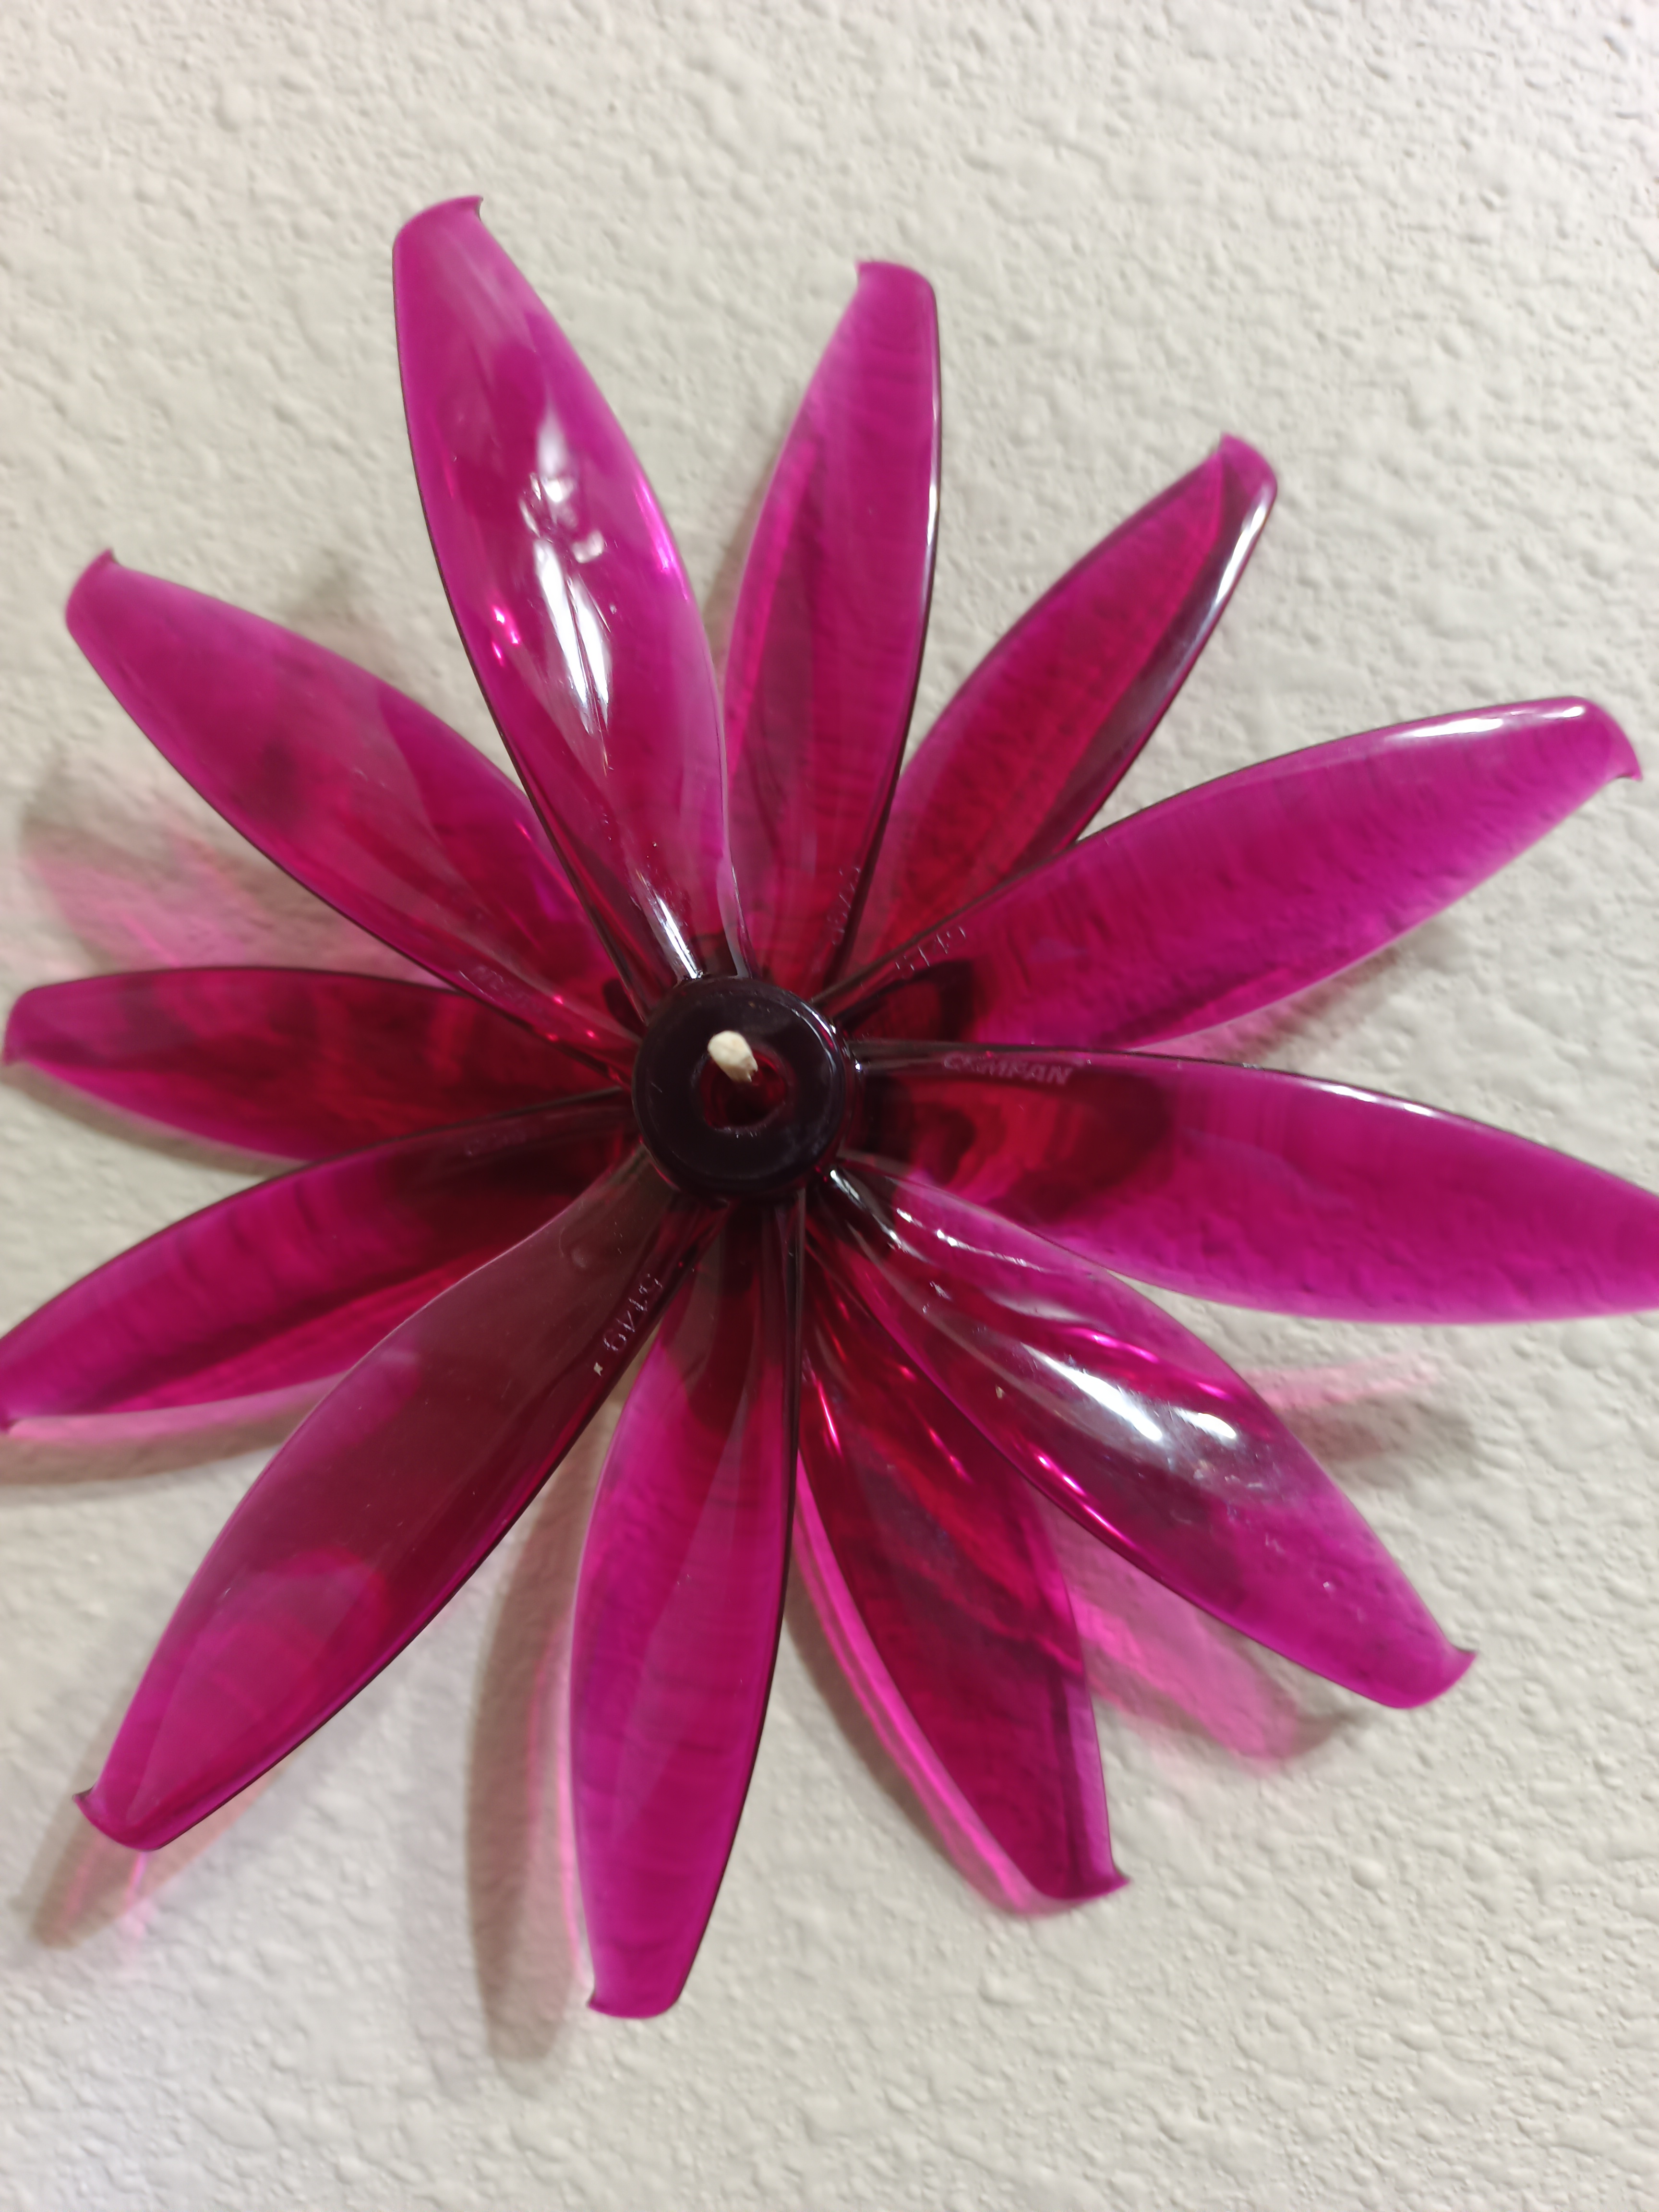
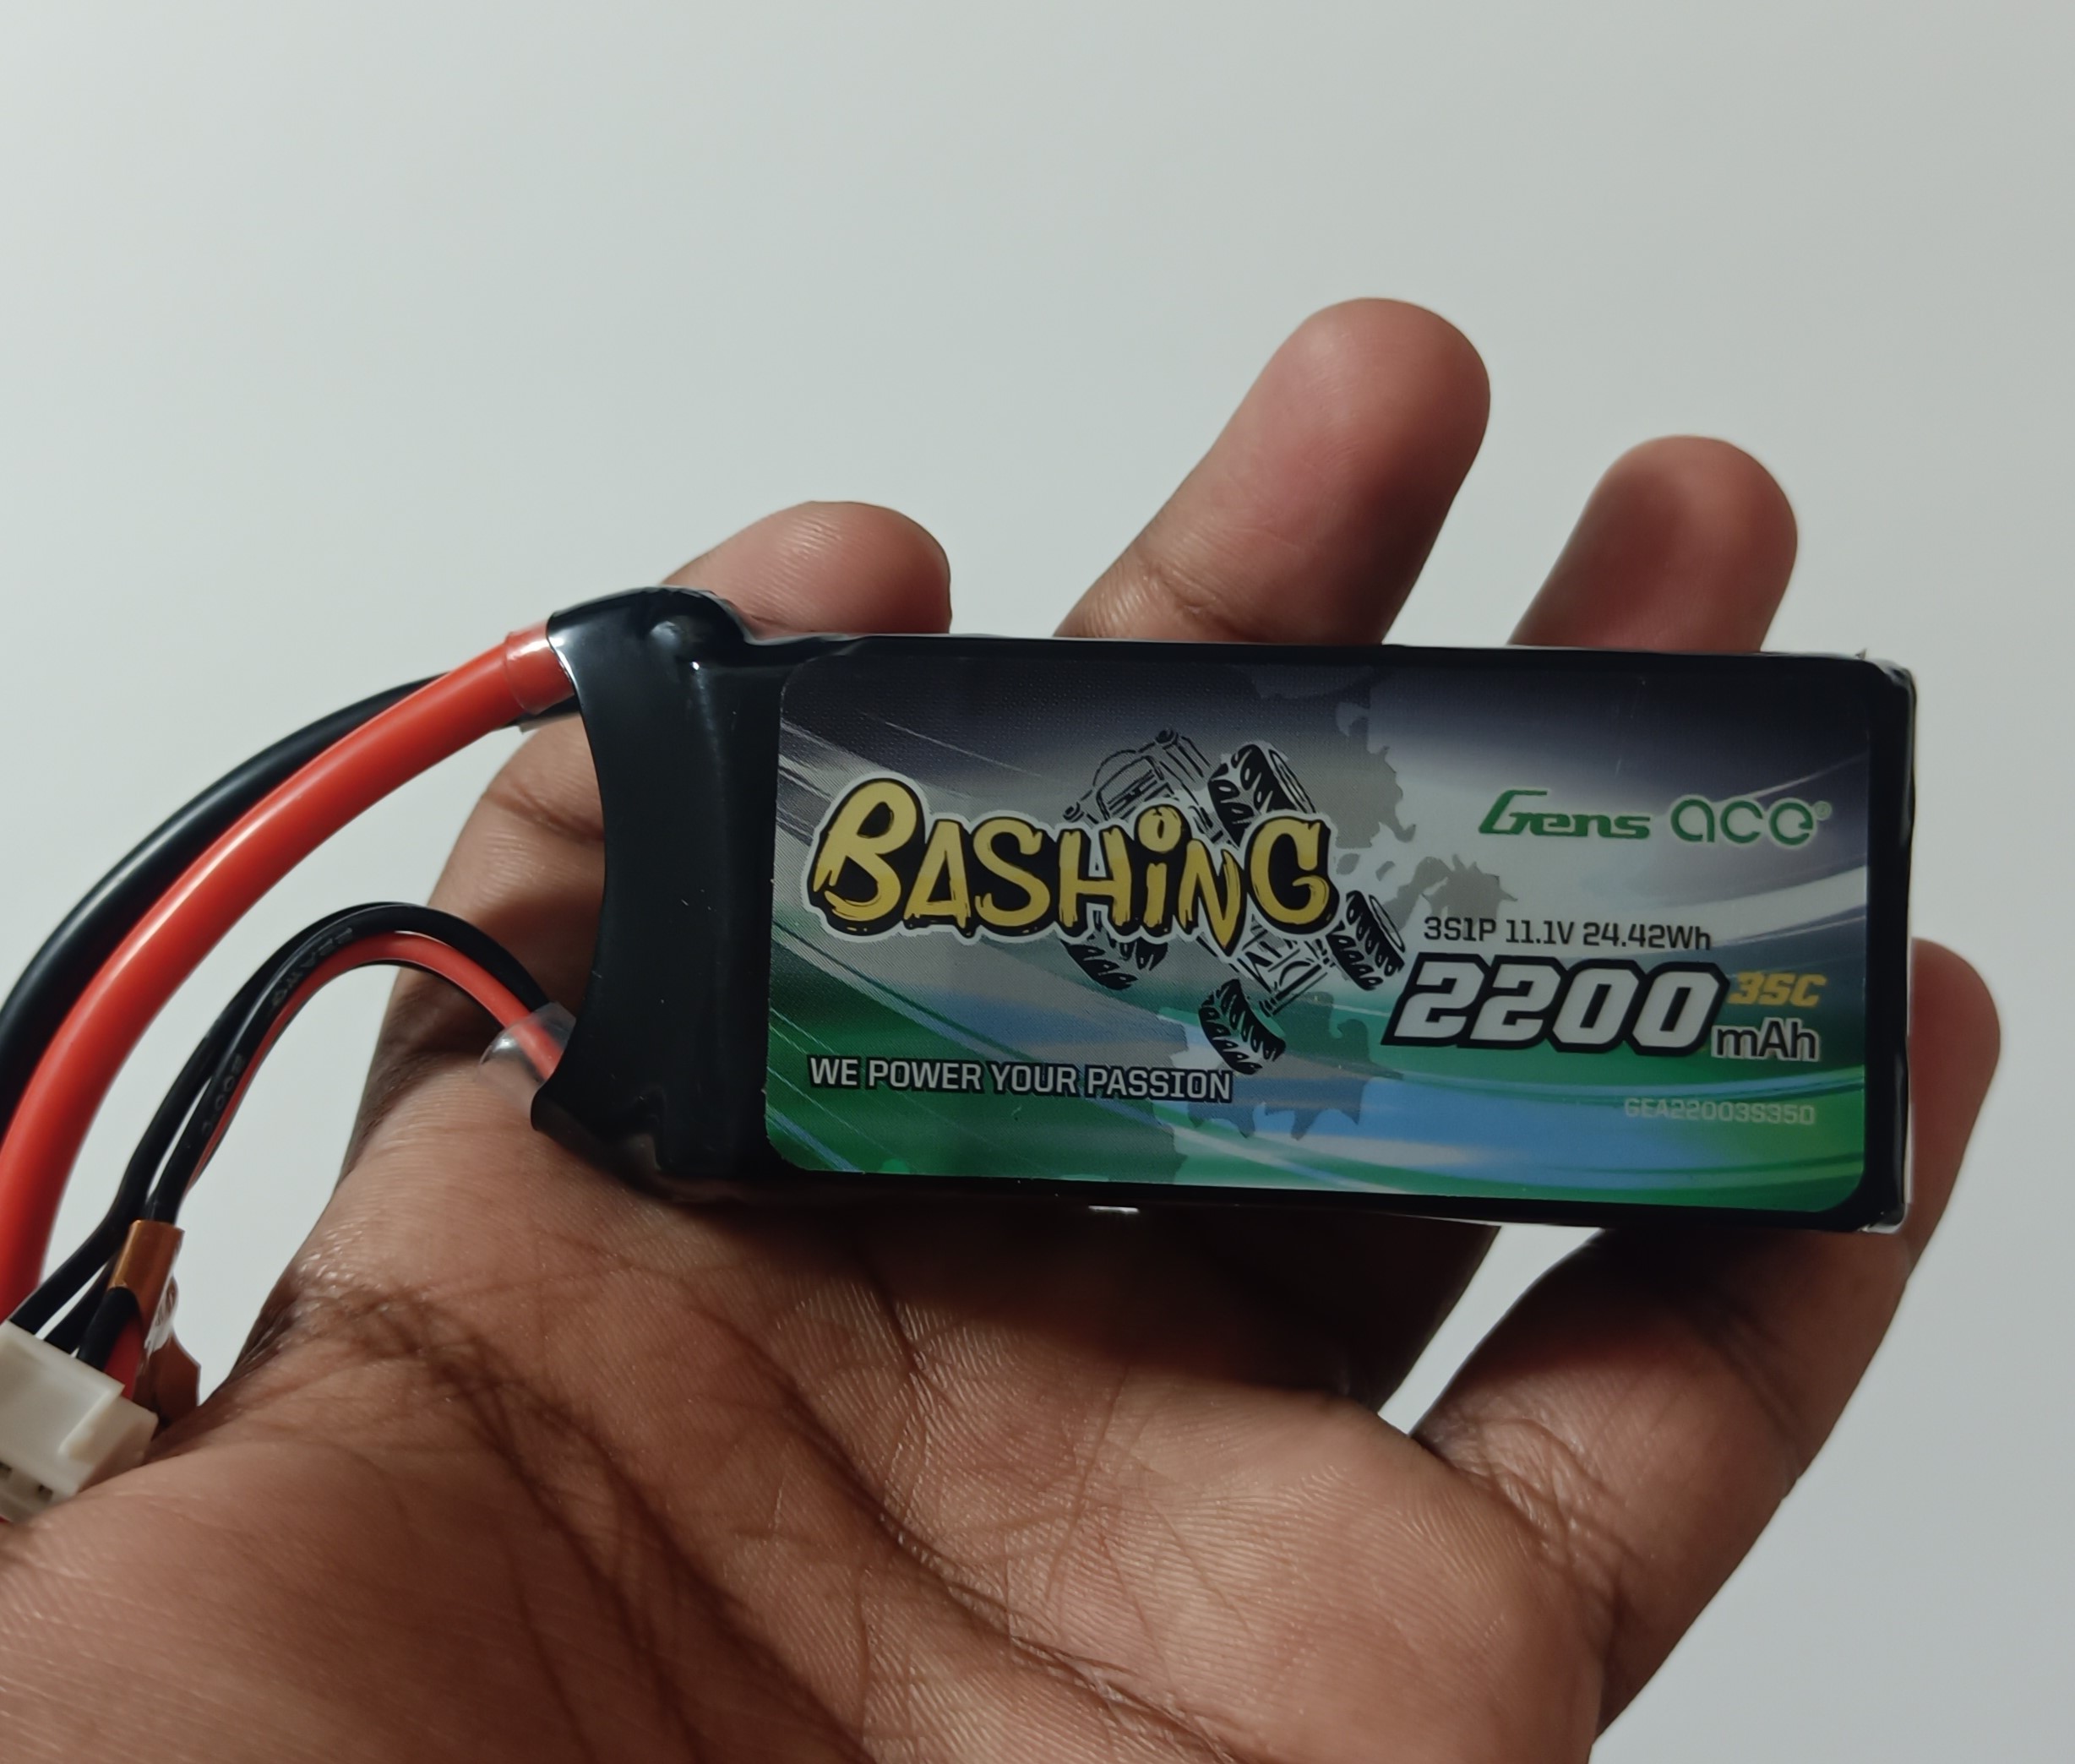
2200mAh 11.1V 35C 3 Cell Battery
This battery provides ample power, ensuring the drone operates for longer durations. The 35C discharge rate means it can deliver high bursts of power when needed for faster acceleration or tougher conditions.
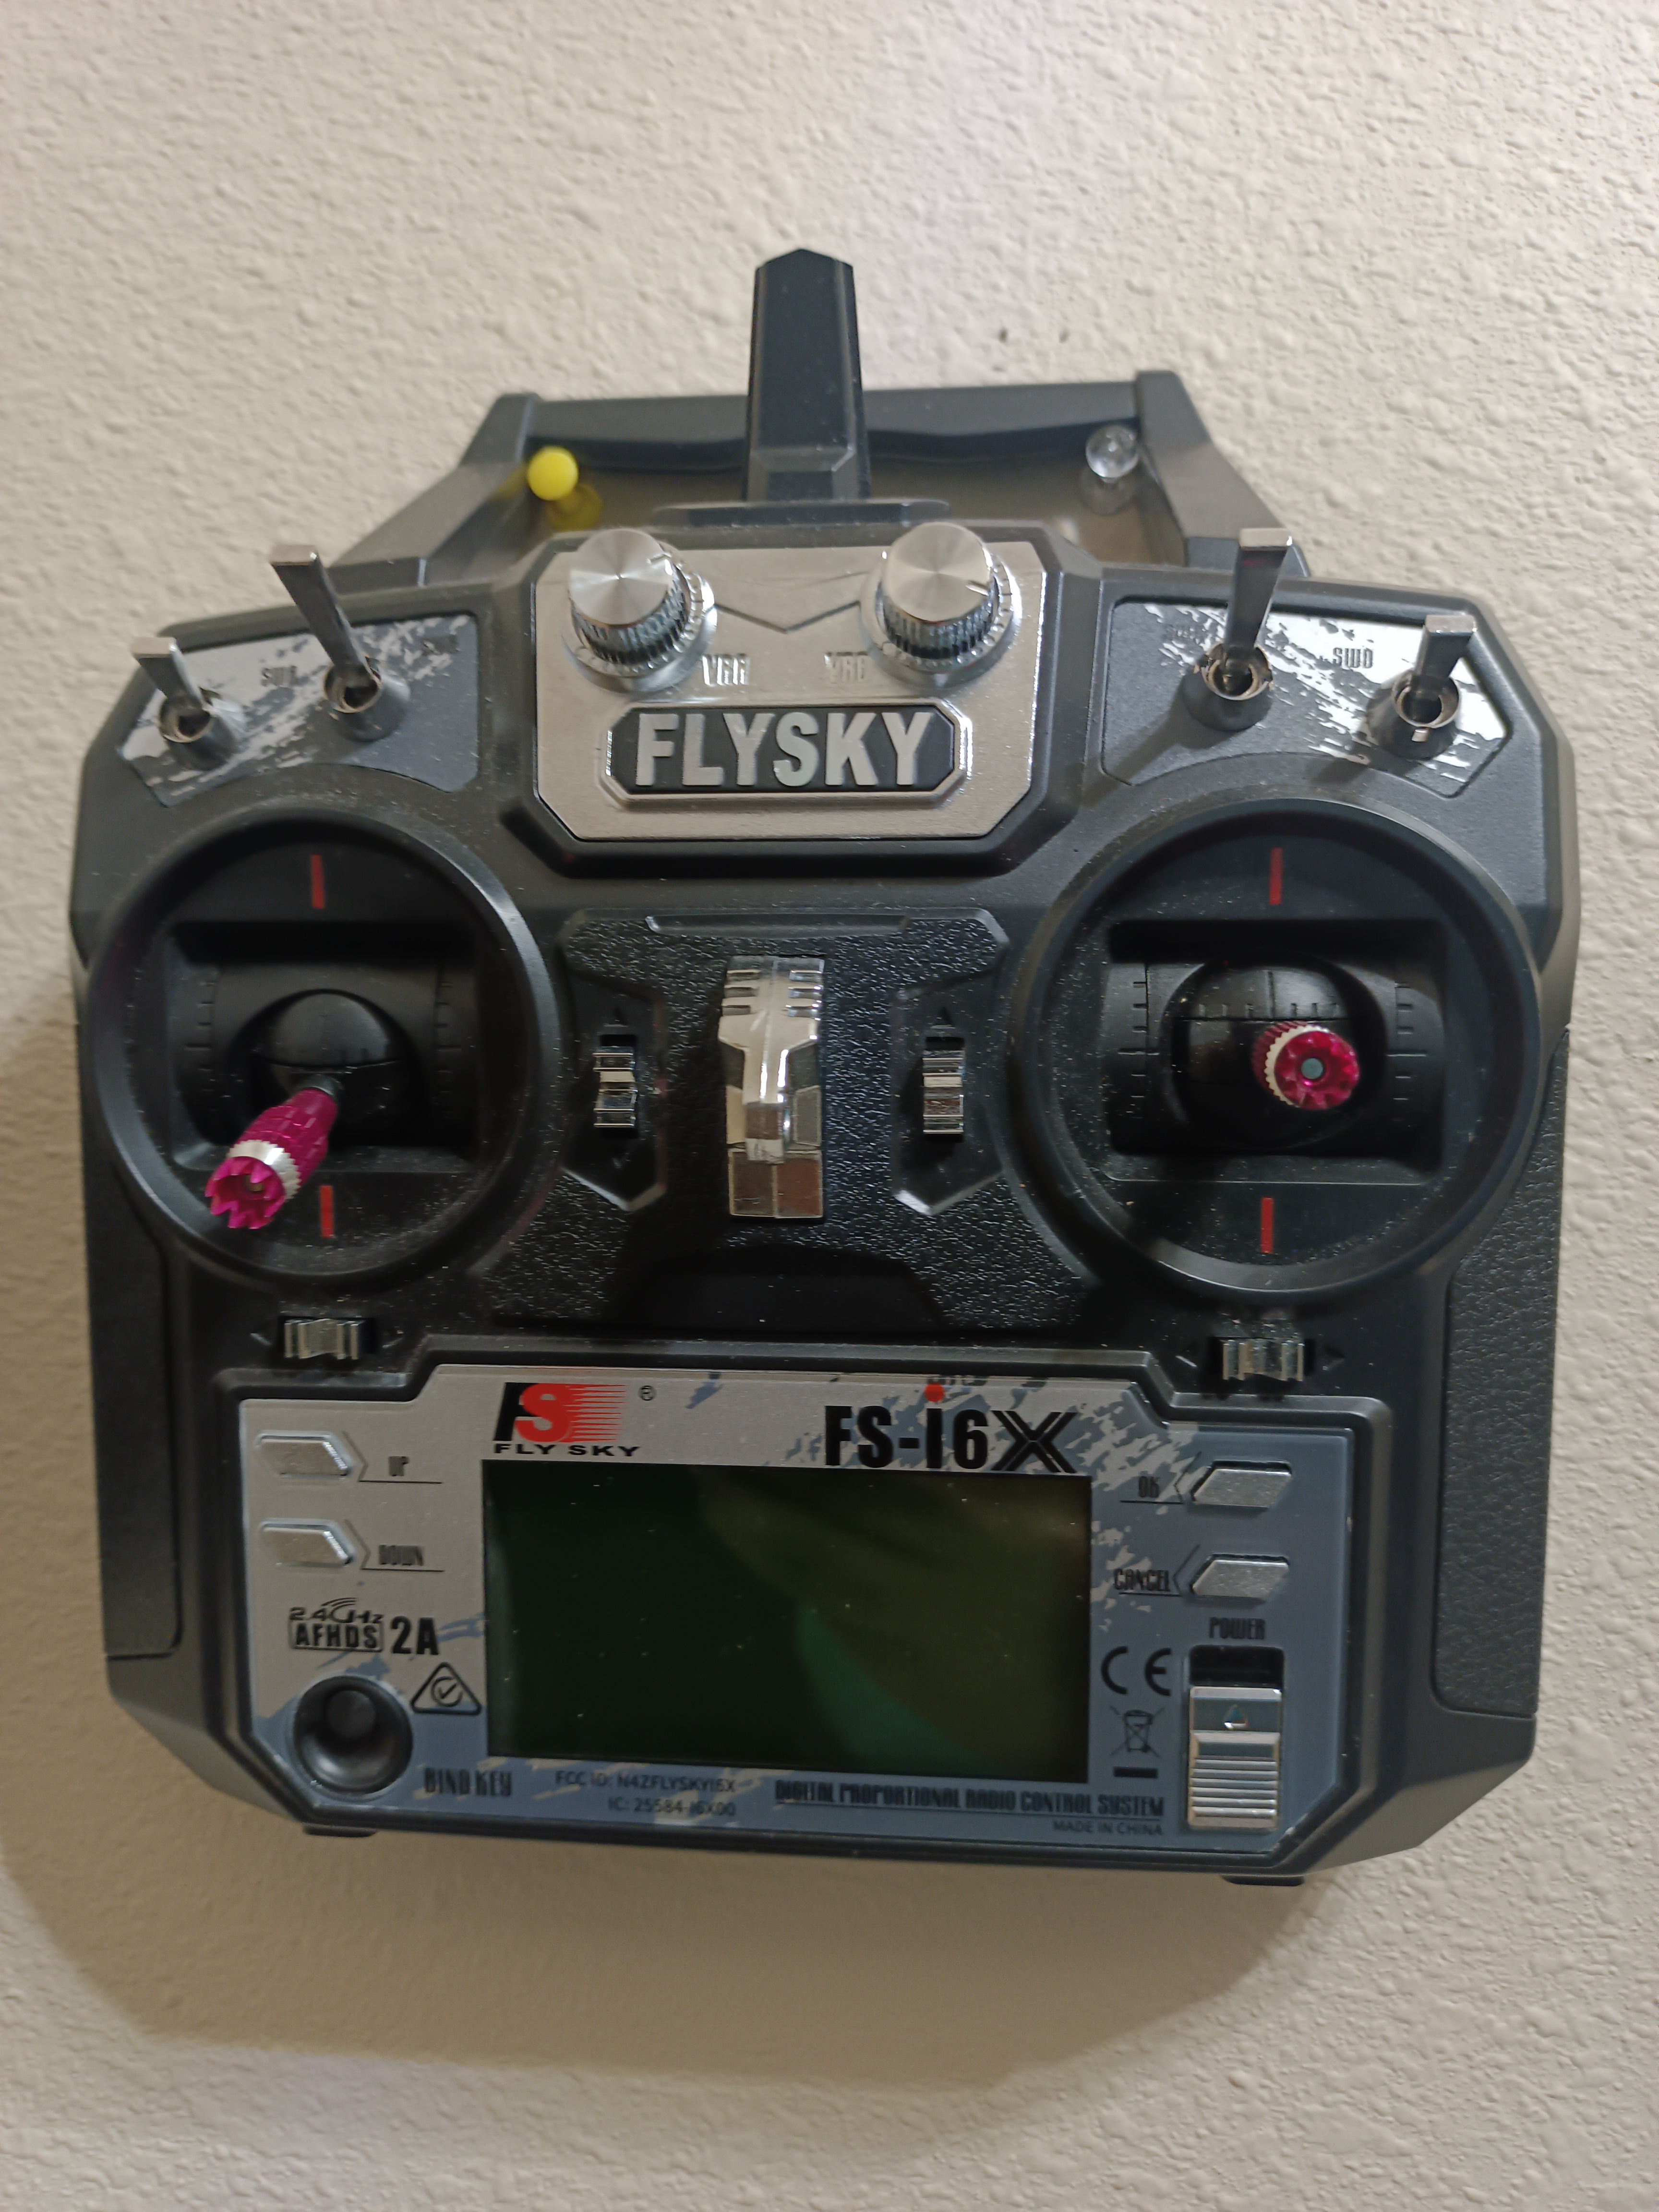
FlySky i6 Transmitter and Receiver
The FlySky i6 transmitter allows for reliable, long-range control of the drone. Operating at a 2.4GHz frequency, it ensures minimal interference and offers customizable channels for versatile operation. The receiver, paired with the flight controller, delivers responsive and precise commands.
Building the Drone: Step-by-Step Guide
Step 1: Assembling the Frame
Attach the arms to the central body of the carbon fiber frame using screws.
Ensure all parts are securely fastened for stability during flight.
Step 2: Installing the Motors
Mount the 1800KV BLDC motors to the frame arms.
Secure the motors and check alignment for proper balance.
Step 3: Wiring the ESCs
Connect each ESC to its corresponding motor.
Attach the ESCs to the frame, securing them with ties or adhesive.
Step 4: Power Distribution Setup
Solder the power leads from the ESCs to the power distribution board.
Connect the battery lead to the board for power delivery.
Step 5: Flight Controller Installation
Mount the APM 2.8 flight controller on the frame’s central body.
Wire the ESC signal lines to the flight controller.
Connect the GPS module and compass for navigation features.
Step 6: Attaching the Propellers
Install the 5-inch propellers on the motors.
Ensure proper orientation for optimal lift.
Step 7: Transmitter and Receiver Setup
Bind the FlySky i6 transmitter to the receiver.
Connect the receiver to the flight controller to complete the control system.
Step 8: Battery Installation
Secure the 2200mAh battery to the frame with straps.
Connect the battery to the power distribution board for power supply.
Step 9: Calibration and Testing
Calibrate the flight controller using appropriate software.
Test motor and control response using the FlySky i6 transmitter.
Perform test flights to check stability and make necessary adjustments.
*The indoor flight test was performed under expert guidance. Do not attempt similar flights without proper supervision and experience.
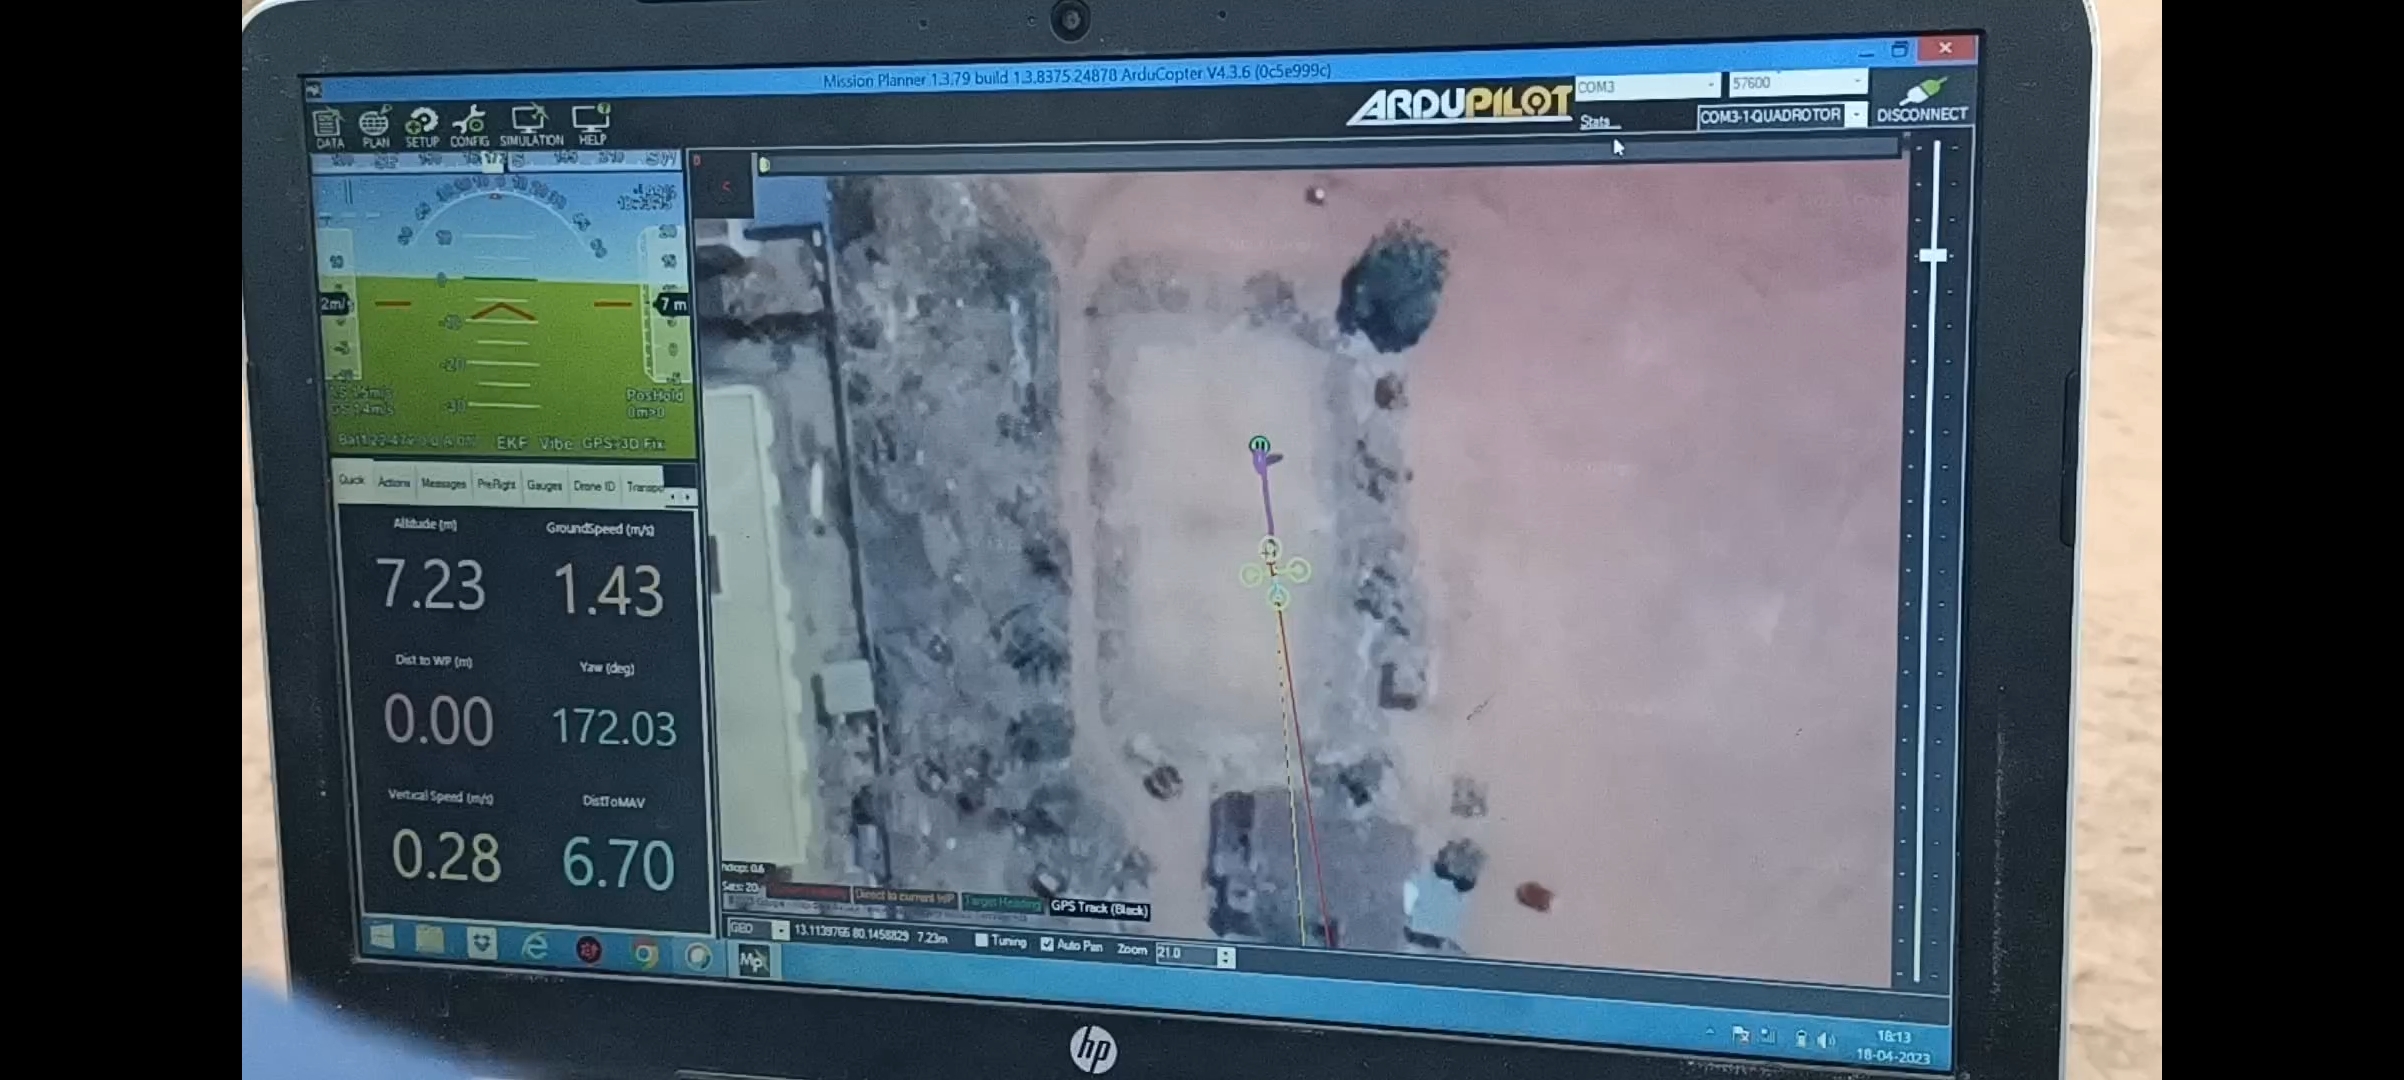
ArduPilot Mission Planner
ArduPilot Mission Planner is a powerful ground control software designed for configuring, controlling, and monitoring drones equipped with the APM 2.8 flight controller. It allows users to plan autonomous flight missions by setting waypoints, adjusting parameters, and monitoring real-time data from the drone.
Future Advancements and Applications
As of now, this drone is still a prototype. With continued research and industry experience, I am working on incorporating several key future advancements, which include:
Camera for Aerial Monitoring
I plan to integrate a high-definition camera for real-time aerial surveillance and mapping applications, which could be useful for real estate, agricultural inspections, and environmental studies.
GPS for Precise Tracking
The NEO-M8N GPS module will be enhanced to allow more precise tracking, enabling the drone to autonomously navigate and return to its starting point accurately. This feature is essential for mapping, search-and-rescue, and survey missions.
Detachable Medical Kit
In future iterations, I aim to develop a detachable medical kit mechanism. This would allow the drone to deliver first aid supplies during emergency situations in remote areas.
Fertilizer Dispensing System
Another planned application is integrating a fertilizer dispensing system, making the drone suitable for targeted agricultural spraying, ensuring efficient crop management.
Conclusion
This hybrid drone prototype, built using affordable and accessible components, is an evolving project with great potential for real-life applications. While it remains a prototype and is not certified by any organization, the future advancements in its design could pave the way for diverse use cases, including firefighting, surveillance, and medical emergencies. As I continue to refine the design with more industry experience, this drone could become a versatile and powerful tool in various fields.


No Comments Yet
Be the first to leave one!